How to Approve a Custom Backpack Prototype
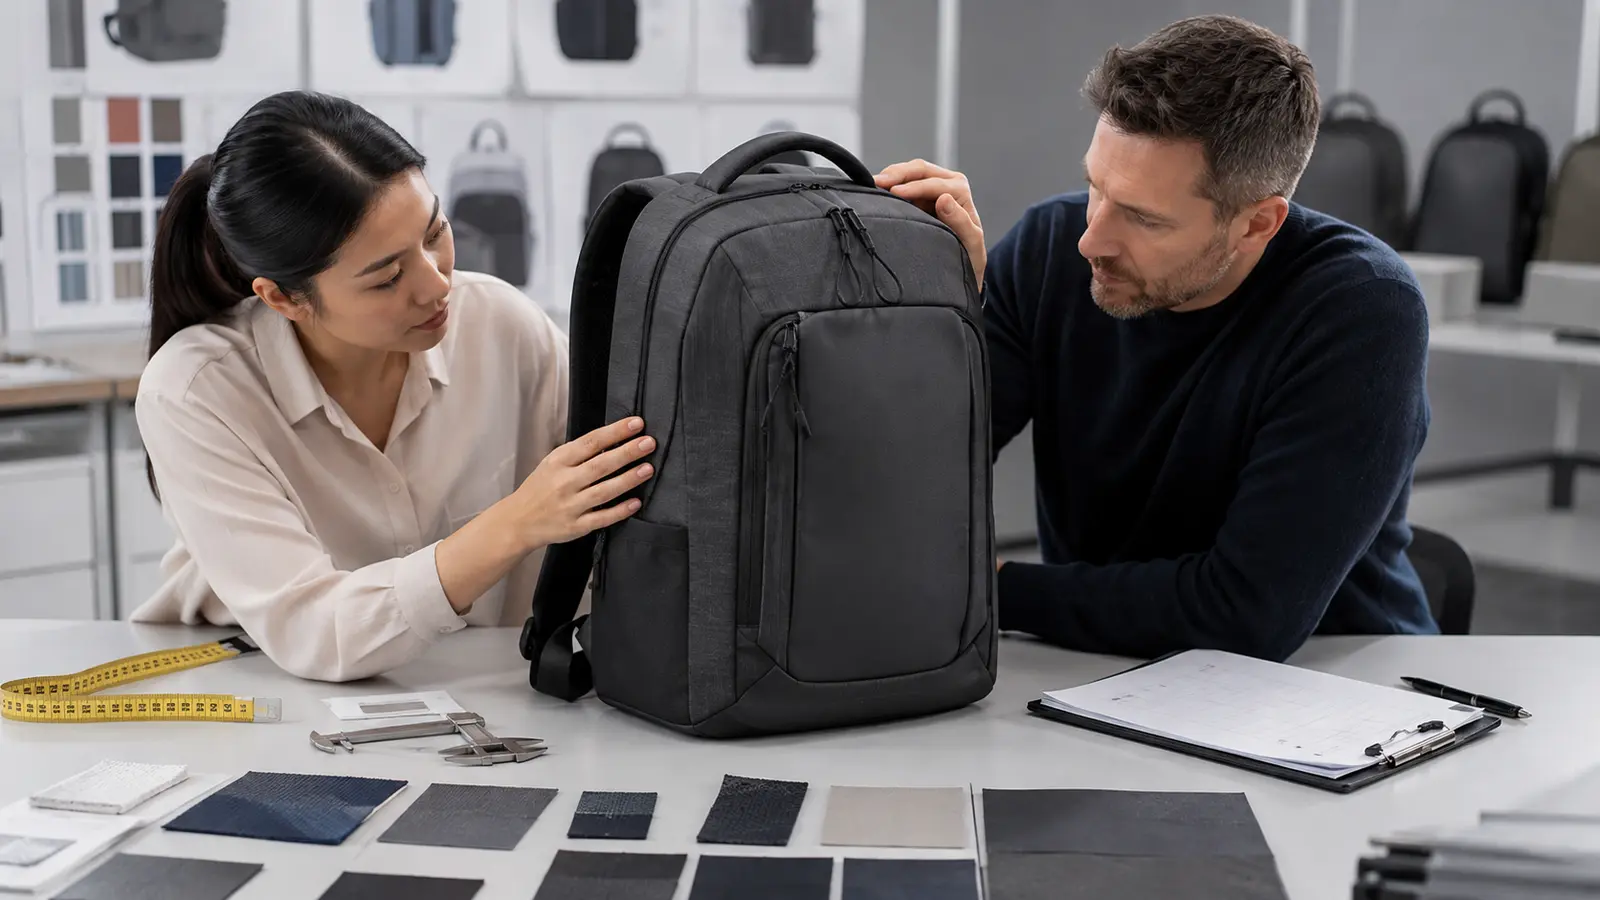
A custom backpack prototype is the buyer’s best opportunity to find specification gaps before bulk production. It converts a drawing, reference photo, material list, and set of expectations into a physical object that can be measured, packed, worn, opened, pulled, and compared with the approved documents.
The review should not end with “the sample looks good.” A backpack may have the correct appearance but the wrong usable pocket size, an uncomfortable strap position, a zipper that catches, or a lining that differs from the material card. Each requirement needs an inspection method, result, and written decision.
This checklist helps professional buyers review structure, function, comfort, workmanship, and production readiness before approving an order.
Quick Answer: What Should You Inspect on a Backpack Prototype?
Inspect the backpack against the latest approved specification in eight groups: overall appearance and dimensions; usable capacity and compartment layout; outer fabric, lining, color, coating, and padding; zippers, buckles, webbing, and adjusters; shoulder straps, handles, back panel, and comfort; logo, labels, stitching, binding, and reinforcement; loaded use and agreed water-resistance observations; and packaging or labeling where these are part of the order.
Record every result as Approve, Approve with Conditions, Revise and Resubmit, or Reject. Major changes to structure, dimensions, materials, comfort, or function normally require a revised physical prototype. The final approved sample should be identified as the Golden Sample and linked to the final Tech Pack version before bulk production begins.
Prepare the Approval File Before Opening the Sample
The inspection becomes unreliable when the buyer does not know which document version the factory used. Before reviewing the package, assemble one approval file containing:
- project name, SKU, sample number, and sample version;
- dated Tech Pack and bill of materials;
- approved design rendering and artwork files;
- finished measurement table with tolerances and measurement points;
- material swatches, color standards, and hardware references;
- logo size, location, color, and process specifications;
- expected functions and representative contents;
- test methods, loads, durations, and pass/fail criteria;
- previous revision comments and supplier responses;
- packaging specification if packaging is included in approval.
The Backpack Tech Pack should be the main source of truth. Reference photos can explain intent, but they do not define hidden layers, exact measurements, usable capacity, stitch construction, material grade, or permitted tolerances.
A sample approved against the wrong file may not represent the planned bulk specification. Put the version number on the approval sheet and photograph the sample with its identification tag.
Use Four Clear Approval Statuses
| Status | When to use it | What happens next |
|---|---|---|
| Approve | All critical requirements meet the agreed specification and any minor observations are acceptable | Freeze documents, identify the Golden Sample, and authorize the next agreed production stage |
| Approve with Conditions | A limited issue does not change structure, function, safety, fit, commercial terms, or inspection method; the correction is objective and documented | Supplier confirms the correction in writing; buyer decides whether a production first article is required |
| Revise and Resubmit | A change affects dimensions, compartment usability, materials, hardware, comfort, construction, logo execution, or performance | Update the Tech Pack and Revision Report, make another prototype or affected-subassembly sample, and inspect again |
| Reject | The concept, materials, function, or workmanship is fundamentally unsuitable, or the sample cannot represent the order | Stop approval, identify root problems, and decide whether to redesign, change specification, or discontinue the project |
“Approve with Conditions” should not become a shortcut for unresolved risks. If the buyer cannot verify the correction in bulk or if the change affects other parts, request a new sample. Verbal promises, messaging-app comments, and arrows on isolated photos are not a complete approval record.
ASQ explains that a quality plan can define tolerances, test parameters, and acceptance criteria. Applying that principle at prototype stage makes the later bulk inspection measurable rather than subjective. See ASQ’s quality-plan overview.
Step 1: Inspect Overall Appearance and Structure
Begin with a full visual review before measuring details. Place the bag on a flat surface and view the front, back, sides, top, bottom, and interior. Compare it with the approved rendering while remembering that a flat mockup cannot show every three-dimensional effect.
Check:
- overall silhouette and whether the bag stands, folds, or slouches as intended;
- front-panel, side-panel, gusset, and base proportions;
- symmetry of pockets, straps, handles, seams, and decorative elements;
- shape of corners, zipper routes, and opening angles;
- position and balance of compartments when empty and packed;
- visibility of reinforcement, foam, stiffeners, or piping where specified;
- unintended wrinkles, twisting, dents, uneven top lines, or panel distortion;
- whether the product looks consistent from normal viewing distance and close inspection.
If the supplier says bulk production will use a different method, require a written description and decide how the first production unit will be checked.
Step 2: Verify Finished Dimensions and Shape
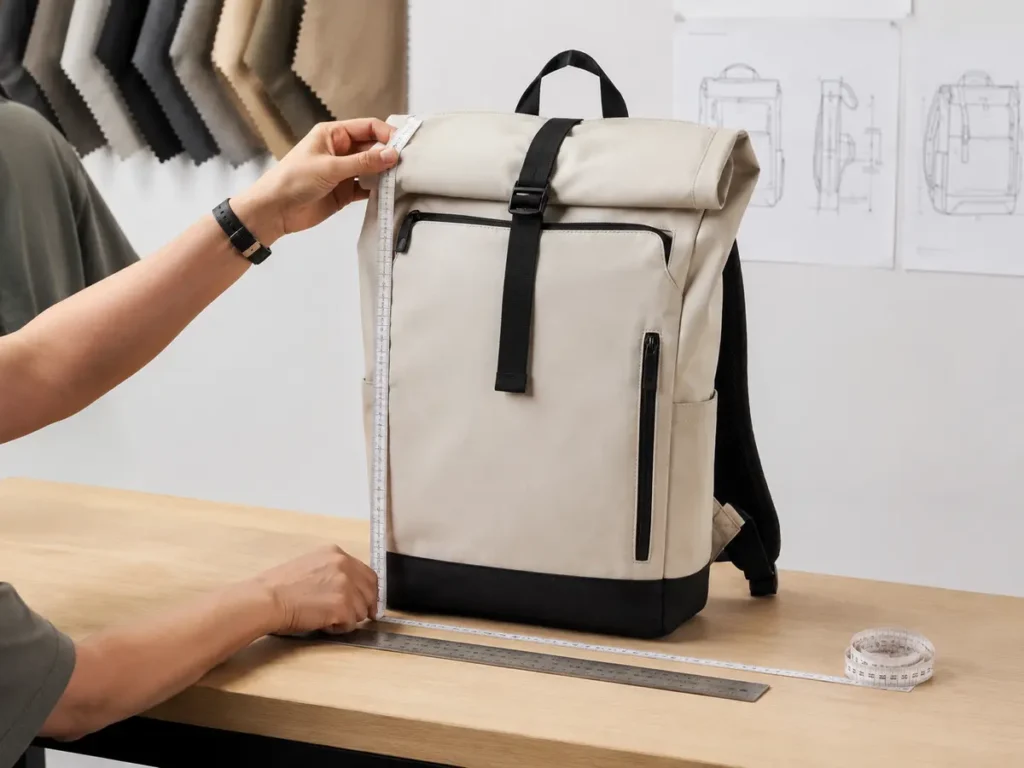
Use the measurement points in the Tech Pack, not the largest points you happen to find. Soft bags change shape depending on whether they are flattened, standing, empty, or packed. Define the conditioning and measurement state.
| Measurement | Define before measuring | Common source of disagreement |
|---|---|---|
| Finished height | Bottom reference plane to specified top point; include or exclude handle | Roll tops, domed panels, and padding change the apparent top |
| Finished width | Exact horizontal line or widest body point | Side pockets and gusset expansion can inflate the result |
| Finished depth | Empty, naturally standing, or packed state | Soft gussets collapse and stiff bases hold shape differently |
| Handle drop | From handle underside to agreed top reference | Curved handles and padded wraps produce different readings |
| Strap length | Padded section, total extended length, and adjustment range | Measuring only webbing omits the padded section |
| Pocket opening | Usable opening along zipper or edge | External pocket width is not the usable opening width |
Record the target, tolerance, actual result, and measurement method. A prototype outside tolerance should not be “approved because it is close” unless the deviation is formally accepted and the specification is updated. Otherwise, bulk inspectors will not know whether to use the original value or the sample.
External size is not usable capacity
Outer height × width × depth is not the actual internal volume of a soft bag. Curved panels, foam, lining, dividers, openings, and pockets reduce usable space. ASTM lists F2153 as a backpack-capacity measurement method, illustrating why capacity needs a defined method. See the ASTM standards listing.
If capacity is a sales claim or purchasing requirement, specify the method and whether expanded pockets are included. Do not change a labeled liter value based only on one person’s calculation.
Step 3: Check Every Compartment and Opening
Compartment approval has two parts: dimensions and usability. A laptop sleeve may have the correct flat width but be too tight after foam, binding, and the zipper opening are considered. A bottle pocket may fit the target bottle when the main bag is empty but become unusable after the main compartment is packed.
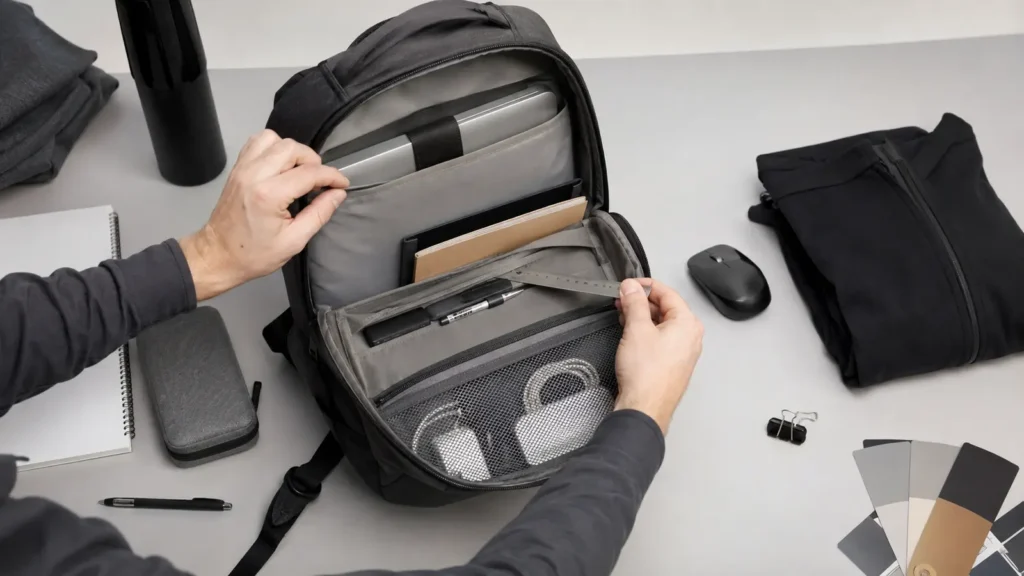
How to measure compartment dimensions
- Identify the compartment and exact reference points in the Tech Pack.
- Record the bag state: empty, naturally opened, or packed to the representative load.
- Measure internal height, width, and depth without forcing the lining or foam.
- Measure the usable opening separately from the internal cavity.
- Insert the intended object, such as a laptop-size dummy, binder, shoe pair, bottle, ball, or equipment case.
- Close the compartment without excessive force and check adjacent compartments.
- Remove the object and inspect lining, binding, seams, and zipper movement.
Use nonvaluable test objects or accurate dummies where possible.
Compartment Measurement Record
| Location | Target item or function | Target internal size | Actual internal size | Usable opening | Packed-condition result | Status |
|---|---|---|---|---|---|---|
| Main compartment | ||||||
| Laptop sleeve | ||||||
| Front pocket | ||||||
| Side pocket | ||||||
| Internal organizer | ||||||
| Special equipment compartment |
Photograph the measuring points and the representative object inside the compartment. This prevents a later revision from being evaluated with a different interpretation.
Step 4: Confirm Outer Fabric, Lining, Color, and Coating
Compare the physical materials with the approved swatches and bill of materials under consistent lighting. Do not rely on a digital photo or screen color as the final material standard.
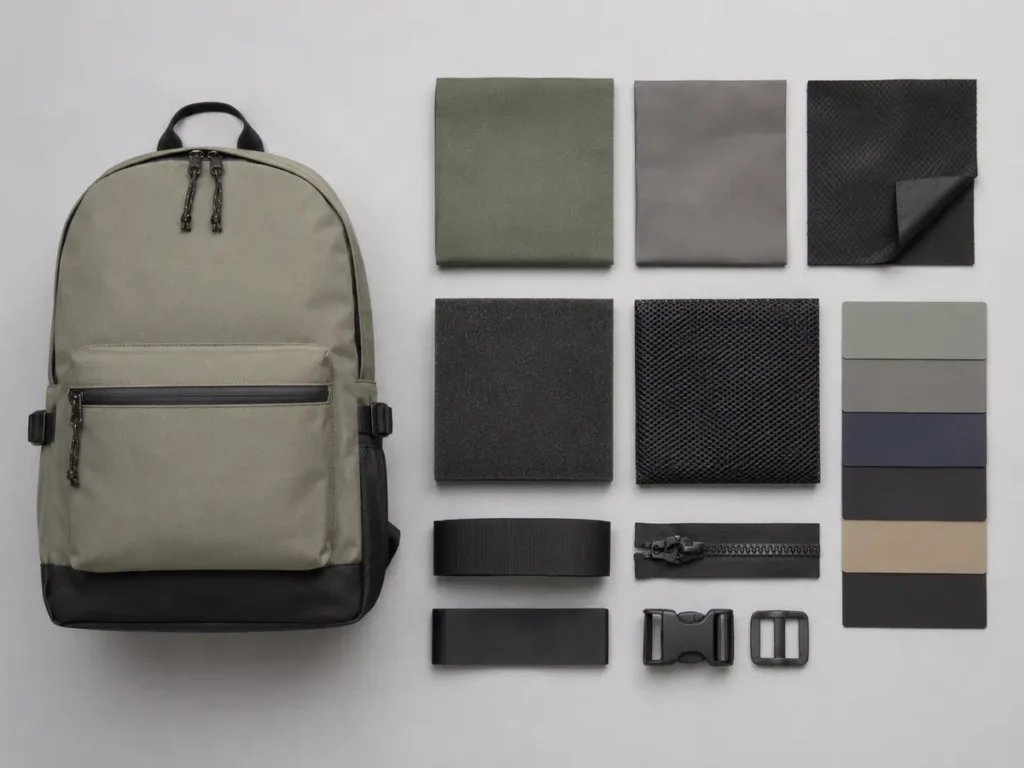
For the outer fabric and lining, check:
- fiber and construction stated in the specification;
- fabric code, color, weight, denier, weave, or knit where applicable;
- surface texture, hand feel, gloss, and direction;
- coating or laminated layer on the correct side;
- lining color, opacity, print, and pocket compatibility;
- foam, EVA, mesh, nonwoven, or structural-sheet type and thickness;
- color relationship between fabric, webbing, zipper tape, thread, binding, and hardware;
- visible whitening, crease marks, coating damage, delamination, odor, or color transfer.
Denier alone does not define finished performance. Two 600D fabrics may differ in yarn, weave, weight, coating, abrasion, tear, color, and hand feel. Link a coded approved swatch to the sample version.
Color should be evaluated with the physical standard under an agreed viewing condition. If different materials cannot look identical because their texture and gloss differ, approve the intended visual relationship rather than claiming an impossible numerical identity.
Step 5: Operate Zippers, Buckles, Webbing, and Adjusters
Open and close every zipper through its full path with the bag empty and packed. Check both directions on two-way zippers. Observe whether the slider catches lining, binding, piping, tight corners, or an overfilled compartment.
Inspect zipper teeth or coil, sliders, pullers, tape, top and bottom stops, stitching, garage covers, and ends. A zipper may move smoothly in one cycle yet split under lateral force or become difficult at the same turn repeatedly. Use the related Backpack Zipper Test guide to specify cycling, pull strength, corner operation, and bulk sampling.
For buckles and adjusters:
- connect and release each buckle several times;
- confirm male and female parts are compatible and correctly oriented;
- apply the intended strap tension and check unintended release;
- adjust webbing through its useful range and look for slip;
- verify webbing width and thickness suit the hardware slot;
- check sharp edges, flashing, cracking, discoloration, and difficult operation;
- confirm loose webbing tails have the specified management method.
Judge hardware in the assembled product; a correct component may still be difficult to reach or adjust after sewing.
Step 6: Inspect Stitching, Binding, Logo, and Reinforcement
Turn the bag inside out only if the design permits it without damage. Otherwise, use openings and touch to inspect as much internal construction as possible. Ask the supplier for a construction sample or close-up production evidence when critical reinforcement is hidden.
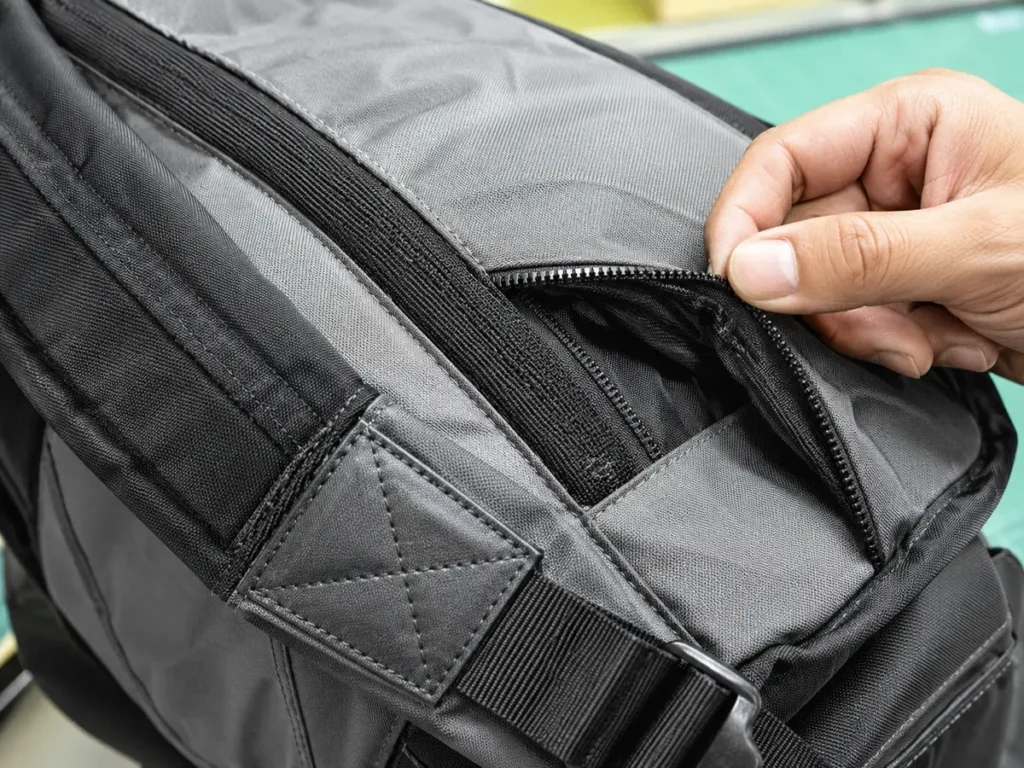
Check:
- seam allowance and whether raw edges are fully enclosed where required;
- stitch type, density, tension, and backtacking;
- skipped stitches, broken thread, loose ends, needle damage, or seam grin;
- smooth binding around curves and corners;
- reinforcement patches, internal webbing, bartacks, or Box-X stitching at load points;
- shoulder-strap, handle, side-strap, and lower-anchor symmetry;
- pocket corners and zipper-end reinforcement;
- whether added stitch density damages or excessively stiffens the material.
For logos and private-label elements, verify artwork version, process, dimensions, placement from defined reference points, colors, edge quality, legibility, orientation, and interaction with seams or pockets. Review embroidery from both sides when accessible because dense stitches can pucker a panel or expose backing inside the bag.
Do not approve “centered by eye.” Define the centerline and measurement points. If a logo must move after the sample, update the drawing rather than relying on a message that says “slightly higher.”
Step 7: Test Shoulder Straps, Handle, Back Panel, and Comfort
Pack the prototype with representative contents and record the total load. Adjust it for a target user. Wear both shoulder straps and, where included, adjust the sternum or waist strap without overtightening.
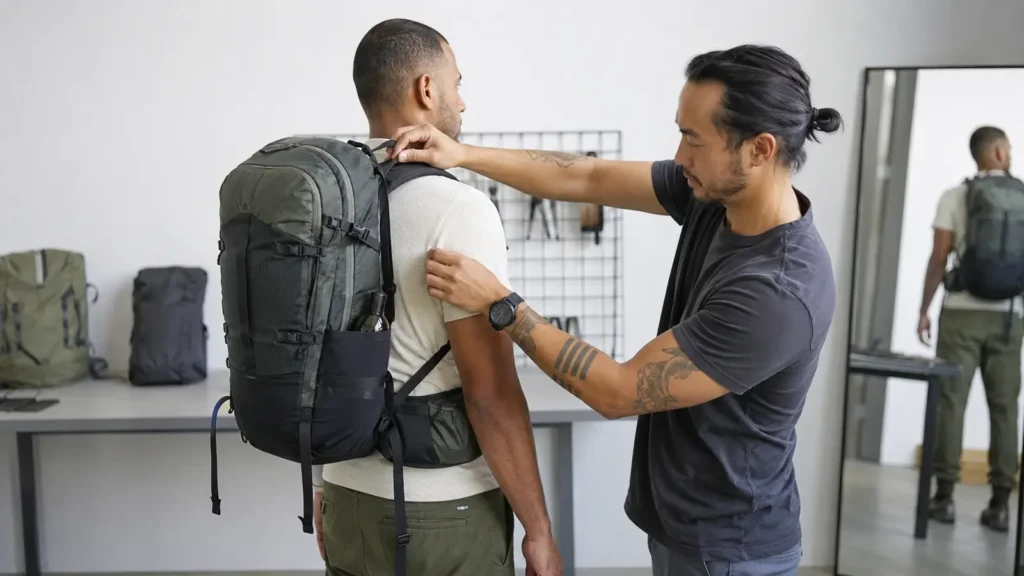
Observe:
- clearance from the neck and underarm;
- whether the padded strap lies flat or twists;
- balance of left and right strap pressure;
- foam compression and recovery;
- webbing slip during walking;
- bag bounce, tilting, or pulling away from the back;
- heat, rough mesh, hard binding, or pressure points;
- reach and usability of the adjusters;
- top-handle comfort and clearance when lifting;
- back-panel shape, stiffness, and contact.
Test representative wearers when the product serves a wide population. For detailed attachment and loading methods, use the Backpack Strap Test guide.
Should you perform a load test?
Yes, when the bag is expected to carry meaningful contents. However, define the test rather than adding an arbitrary heavy weight. The appropriate load, duration, cycles, lift method, motion, and acceptance criteria depend on the intended use and construction.
SATRA describes separate methods for static handle loading, handle “snatch” loading, and attachment strength of load-bearing fittings such as handles and straps. This supports treating static holding, shock, and connection strength as different questions. See SATRA’s luggage testing overview and static handle loading scope.
Loaded Use-Test Record
| Field | Record |
|---|---|
| Sample ID and Tech Pack version | |
| Representative contents and packed arrangement | |
| Total load and weighing method | |
| Wearer code / target user group | |
| Adjustment settings | |
| Test actions and duration | |
| Strap, handle, seam, and hardware observations | |
| Comfort and stability observations | |
| Permanent deformation or foam recovery | |
| Pass / Revise / Fail |
Step 8: Check Water-Repellency Claims Carefully
A coated outer fabric does not make a sewn backpack waterproof. Water may enter through needle holes, zipper paths, seam intersections, openings, unsealed binding, or a poorly protected pocket.
ISO 4920 describes a spray method for evaluating a fabric’s resistance to surface wetting and explicitly states that the method is not intended to predict rain penetration because it does not measure water passing through the fabric. AATCC TM22 similarly applies to textile fabric and evaluates resistance to wetting. See ISO 4920 and AATCC TM22.
For prototype approval, decide whether you need:
- a fabric-only surface-wetting result;
- a practical whole-bag spray observation;
- an impact or rain-resistance test;
- a hydrostatic test on the fabric;
- seam or zipper leakage observation;
- no performance claim beyond ordinary incidental splash protection.
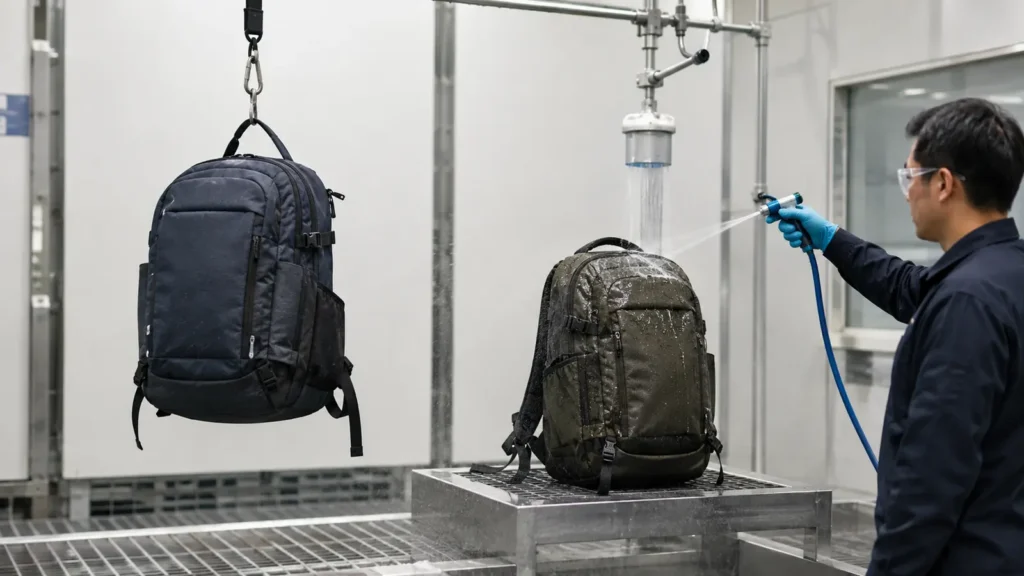
Never describe a casual spray demonstration as certification. Do not put electronics inside a development sample unless the test setup is designed to protect people and property. Use absorbent indicator paper or safe dummy contents to identify water entry.
Step 9: Decide Whether a Second Prototype Is Necessary
A second prototype is normally justified when changes affect:
- overall dimensions, pattern pieces, structure, or compartment usability;
- primary fabric, coating, lining, foam, structural sheet, or reinforcement;
- zipper route, hardware, buckle position, or webbing path;
- shoulder straps, back panel, comfort, or load performance;
- major decoration or multiple linked details that cannot be verified independently.
A complete second prototype may not be necessary for a low-risk removable-label correction or small print shift that can be verified on a representative panel. Both parties should still agree on the required evidence.
Use risk, not sample cost alone, to decide. If an unverified correction could make the bag unusable, change its appearance materially, or cause repeated bulk defects, the second sample is usually less expensive than reworking production.
Can Prototype Changes Affect Price, MOQ, and Lead Time?
Yes. A prototype revision can alter material consumption, component minimums, tooling, pattern complexity, sewing time, printing or embroidery setup, testing, packaging, and production sequence.
| Change | Possible commercial effect |
|---|---|
| Larger dimensions or added pocket | More fabric, lining, zipper, foam, labor, and shipping volume |
| New custom buckle, puller, or molded part | Tooling, color minimum, component MOQ, and longer development |
| Upgraded fabric or coating | Different supplier MOQ, price, color availability, and lead time |
| Changed logo process | New setup, stitch count, screen, transfer, patch, or placement fixture |
| Separate youth/adult structure | Additional patterns, samples, materials, and inspection references |
| Higher test requirement | Laboratory cost, sample consumption, and testing schedule |
Do not treat the original quotation as automatically valid after a structural revision. Ask the supplier to issue an updated quotation, MOQ, sample schedule, bulk lead time, packaging dimensions, and any revised test cost before final approval.
Need a prototype review? Send JIUMU the current Tech Pack, sample photos, quantity, target contents, problem list, logo files, packaging needs, and delivery target through Contact Us. The review can then focus on measurable changes rather than general comments.
Create a Written Revision Report
One revision report should replace scattered email, chat, and annotated-photo instructions. Assign each issue a unique ID.
| Field | Required entry |
|---|---|
| Project / SKU / sample ID | Exact identifiers |
| Current Tech Pack version | Version inspected |
| Issue ID and category | For example DIM-01, ZIP-02, STRAP-03 |
| Current condition | Measurement or observable result |
| Required condition | Revised value, material, construction, or appearance |
| Evidence | Photo filename, marked drawing, measurement, or test result |
| Severity | Critical, major, or minor under the agreed project definition |
| Responsible party and due date | Buyer or supplier owner |
| Price / MOQ / lead-time effect | Confirmed, none, or pending quotation |
| Verification method | Second prototype, component sample, first article, or document confirmation |
| Final status | Open, accepted, corrected, or closed |
Update the Tech Pack itself for permanent specification changes. The Revision Report explains what changed; the Tech Pack defines the new production requirement. Both should carry consistent version numbers.
Approve the Golden Sample and Production Baseline
The Golden Sample is the physical production reference, but it does not replace drawings, measurements, material codes, and tolerances. The baseline combines the sample and controlled documents.
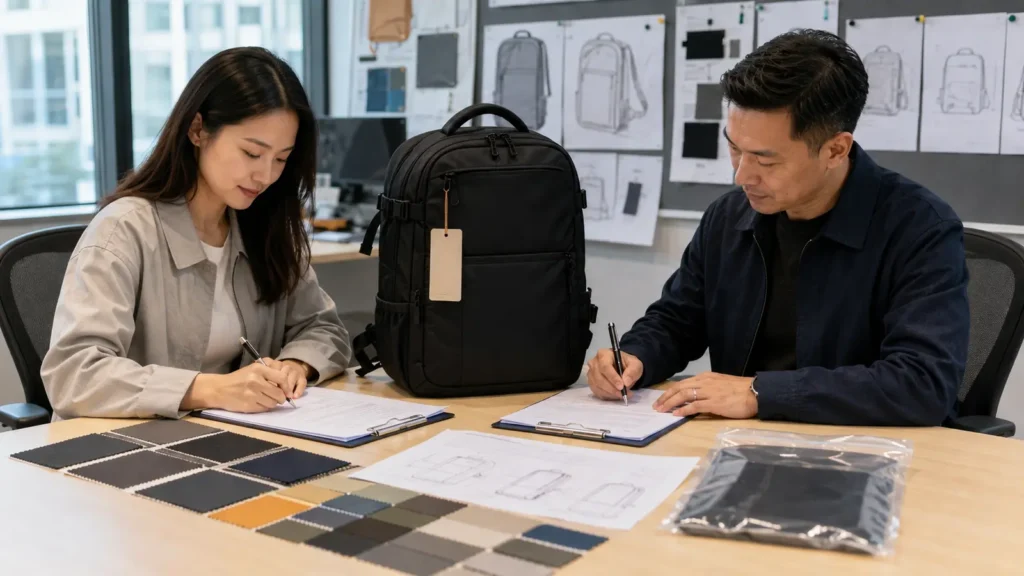
The approval record should include:
- Golden Sample ID and photographs;
- final Tech Pack and bill-of-materials versions;
- final artwork, color, logo, and label references;
- measurement table and tolerances;
- approved deviations from the original specification;
- test methods, conditions, results, and limitations;
- buyer and supplier approver names, signatures, and dates;
- retention location and intended retention period;
- rules for replacing or updating the Golden Sample;
- requirement for a bulk first article where appropriate.
Prototype approval authorizes production to the approved baseline. Define measurable tolerances and the response to nonconformities.
Move From Prototype Approval to Bulk Quality Control
The supplier should translate the approved prototype into production documents, material purchasing, cutting, sewing, logo application, assembly, inspection, and packaging controls. A first production unit or preproduction unit is useful when production machinery, dies, fixtures, or operators can produce a result different from the handmade prototype.
Bulk inspection and prototype approval are different stages. Prototype approval confirms the design baseline. Bulk inspection samples finished units to judge conformance to that baseline. The current ISO 2859-1:2026 defines acceptance sampling systems for inspection by attributes; a buyer using such a system still needs project-specific defect definitions and acceptance rules. See ISO 2859-1:2026.
Link this workflow to JIUMU’s Quality Control page and define which measurements or functions are checked at incoming material inspection, during production, at the first article, and before shipment.
Complete Prototype Approval Checklist
| Area | Approval questions | Status / notes |
|---|---|---|
| Identification | Does the sample ID match the latest Tech Pack, BOM, artwork, and revision report? | |
| Appearance | Are silhouette, proportions, symmetry, and panel shape correct? | |
| Finished dimensions | Were all measurements taken using defined reference points and states? | |
| Capacity | Is the claimed or required capacity based on an agreed method? | |
| Compartments | Do internal dimensions, openings, access, and representative contents work? | |
| Outer fabric | Does the physical material match code, construction, color, texture, and finish? | |
| Lining / padding | Are lining, foam, mesh, board, and reinforcement correct? | |
| Zippers | Do all sliders, stops, paths, corners, and tapes operate correctly empty and packed? | |
| Hardware | Are buckles, adjusters, pullers, hooks, and fasteners compatible and usable? | |
| Webbing | Are width, thickness, routing, stitching, adjustment, and slip acceptable? | |
| Straps / handle | Are shape, spacing, comfort, lifting behavior, and attachment suitable? | |
| Back panel | Does it provide the intended fit, structure, padding, and ventilation construction? | |
| Stitching / binding | Are seams secure, edges covered, curves smooth, and thread correct? | |
| Reinforcement | Are load points reinforced according to the approved construction? | |
| Logo / labels | Are process, version, size, position, color, legibility, and orientation correct? | |
| Loaded use | Does the bag remain functional and stable under the agreed representative load? | |
| Water claim | Was the correct fabric or whole-bag method used, with limitations recorded? | |
| Packaging | Do bag, inserts, tags, barcode, carton, and protective supports match the order? | |
| Commercial update | Are revised price, MOQ, timing, testing, and shipping effects confirmed? | |
| Final decision | Approve, Approve with Conditions, Revise and Resubmit, or Reject? |
Common Prototype Approval Mistakes
Approving from photos only
Photos cannot confirm dimensions, hand feel, usable openings, hidden reinforcement, zipper operation, or loaded comfort. Use them for documentation, not as the only approval method.
Measuring without defined reference points
Add illustrated measurement points and bag condition to the Tech Pack.
Testing with an arbitrary extreme load
Define representative-use and structural test conditions separately instead of adding an arbitrary extreme load.
Calling a fabric spray test a waterproof-bag test
Fabric wetting, water penetration, and whole-bag leakage are different properties. Match the claim to the method.
Approving many changes without a new sample
Several small changes can interact. Review their combined effect before production.
Keeping approval only in chat messages
Consolidate chat decisions in the Revision Report and final controlled documents.
Questions to Ask the Supplier Before Approval
- Which exact Tech Pack, BOM, artwork, and material-card versions were used?
- Which prototype processes will change during bulk production?
- How are finished dimensions measured and what tolerances are proposed?
- How is usable capacity or compartment fit verified?
- What material and hardware codes will be purchased for production?
- Which reinforcement layers are hidden inside the sample?
- What load, zipper, buckle, strap, color, and water tests can be performed?
- Which revisions require a second prototype or production first article?
- How do revisions affect price, MOQ, lead time, packaging, and freight volume?
- How will the Golden Sample and version records be retained for bulk and repeat orders?
How JIUMU Supports Backpack Prototype Development
JIUMU supports OEM and ODM custom-bag development from a Tech Pack, reference sample, drawing, or concept. Buyers can confirm dimensions, materials, hardware, logos, labels, packaging, sampling, and quality-control requirements, then link the approved Golden Sample to the final documents.
Frequently Asked Questions
Final Recommendation
Approve a custom backpack prototype only when the sample, controlled documents, measurements, materials, tests, commercial terms, and written decision agree. If a significant change cannot be verified, make a second prototype.
After approval, identify the Golden Sample, freeze the Tech Pack and bill of materials, document accepted deviations, confirm the first-article requirement, and transfer the same criteria into bulk quality control.
Request a custom backpack prototype review: send JIUMU your Tech Pack or concept, target dimensions and contents, material preferences, quantity, logo files, test expectations, packaging needs, and target delivery date through Contact Us.
About JIUMU
JIUMU supports OEM and ODM custom bags, teamwear, hats and branded merchandise for professional buyers. Established in 2010 in Guangdong, China.