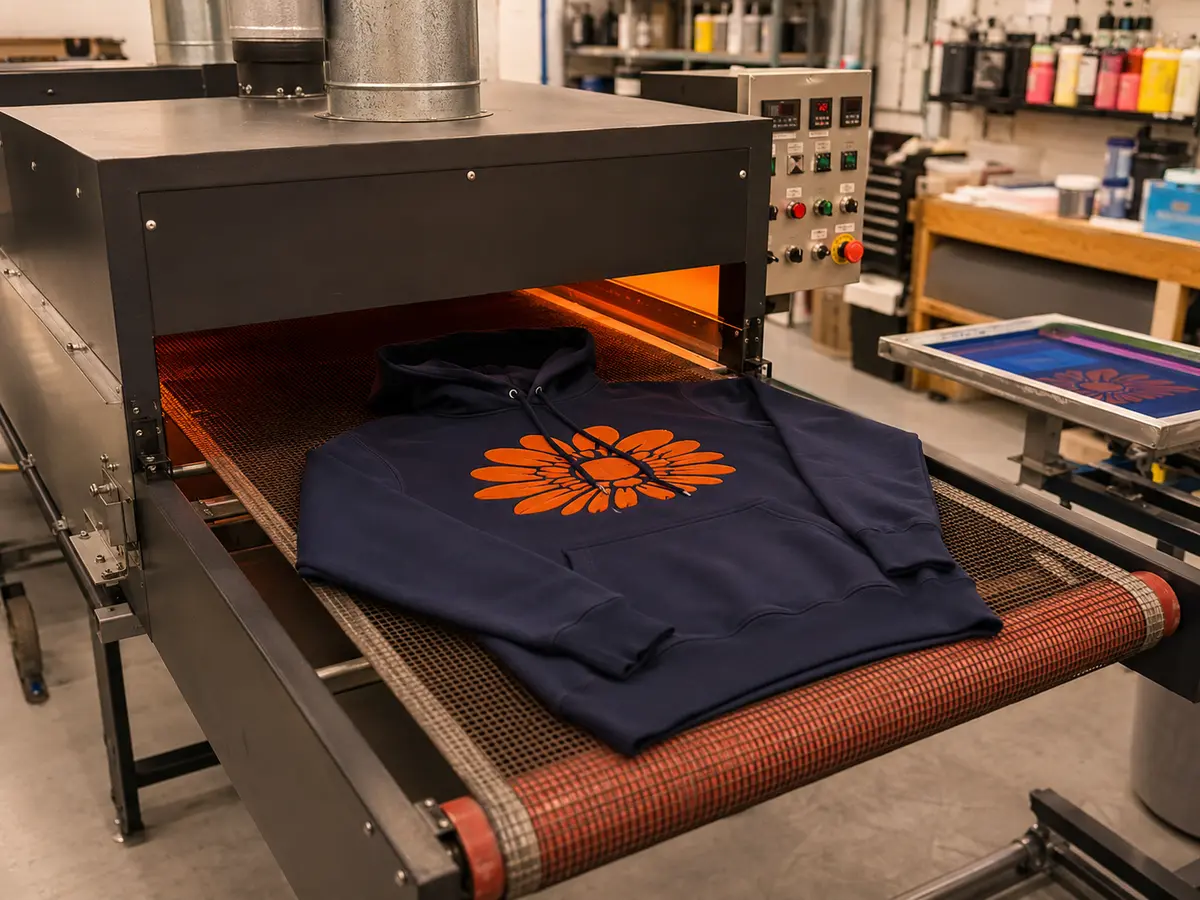
How to Make Puff-Print Hoodies: A Production Guide
Puff printing turns a flat screen-printed graphic into a raised, tactile surface. The idea is straightforward; producing it consistently across a bulk hoodie order is not. Fabric, artwork, chemistry, additive ratio, ink deposit, flash, dryer profile, and cooling all affect loft, edges, color, flexibility, and wash performance. The approved sample therefore becomes the physical production master.
This guide explains how to make puff-print hoodies from specification through quality control. It is written for apparel brands, sports clubs, schools, uniform dealers, distributors, and promotional buyers planning custom orders—not as a substitute for the technical data sheet, safety data sheet, or operating instructions supplied with a particular ink and curing system.
Quick Answer: Puff-print hoodies are normally made by preparing artwork with sufficiently bold shapes, selecting a compatible hoodie and puff ink system, weighing and mixing the formula, depositing a controlled ink film through a suitable screen, gelling intermediate colors without prematurely expanding the puff, and completing activation and cure in a calibrated conveyor dryer. The production team should approve a washed sample, record the exact recipe and machine settings, then inspect loft, edges, adhesion, dye migration, placement, and color during bulk production.
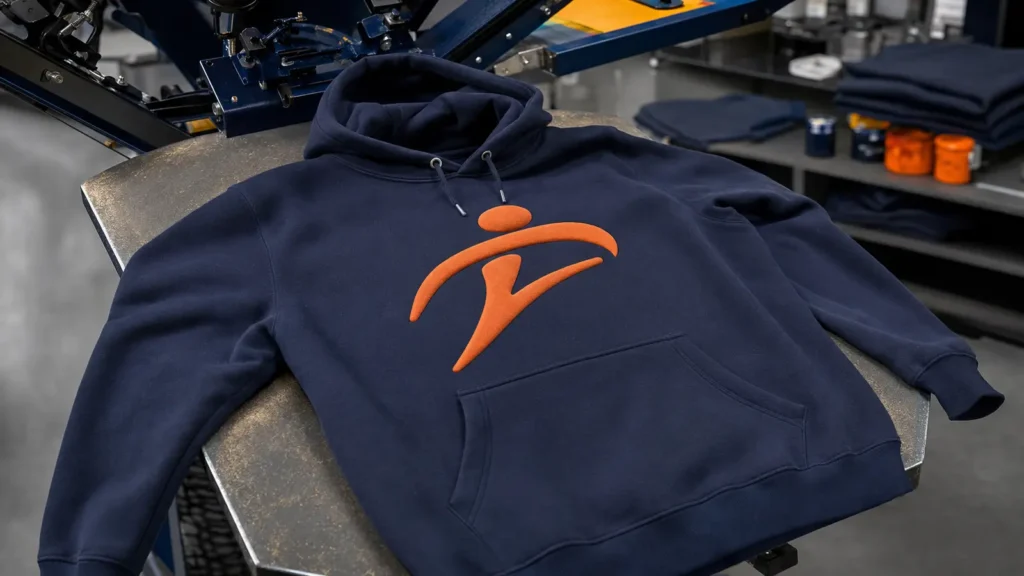
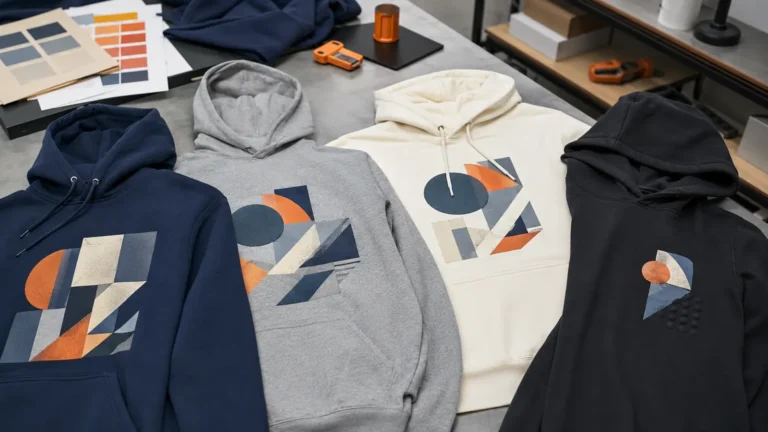
Navy custom hoodie with raised orange puff print at a screen-printing station
What Is Puff Printing on a Hoodie?
Puff printing is a dimensional screen-printing effect. A heat-reactive component in the ink system expands during controlled heating, increasing the thickness of the printed layer. The cured surface often looks softer and more rounded than a conventional flat plastisol print.
Production may use either a ready-to-print puff base or an additive mixed into a compatible ink. These are not interchangeable recipes. For example, one FN-INK additive page recommends 10%–20% by weight, while an Avient Flexipuff technical bulletin permits a different maximum addition. That variation is the important lesson: the ink manufacturer’s current technical data sheet controls the recipe. A ratio copied from another brand, video, or old job can create weak, flaky, under-cured, or collapsed prints. See the product-specific guidance from FN-INK and Avient Specialty Inks.
Puff print also differs from high-density screen printing. Puff expands chemically or physically under heat and tends to develop rounded shoulders. High-density ink builds a deliberately thick deposit through a high-build stencil and is usually chosen for sharper, more architectural edges. Silicone, embroidery, chenille, and molded patches create other tactile effects, but require different processes and cost structures.
| Decoration method | Typical visual character | Main production control | Useful for |
|---|---|---|---|
| Puff screen print | Raised, soft-looking, rounded dimension | Formula, deposit and cure profile | Bold chest logos, streetwear, team merchandise |
| Standard screen print | Flat to moderately raised, crisp color | Registration, opacity and cure | Larger quantities and multi-color graphics |
| High-density print | Tall, firm, sharper edges | High-build stencil and repeated controlled deposit | Premium geometric marks and technical branding |
| Embroidery | Thread texture and stitch direction | Digitizing, backing, thread tension | Small chest marks, names and durable branding |
| Patch | Separate dimensional component | Patch construction and attachment | Removable-looking badges, heritage styling |
Start With a Production Specification, Not a Machine Setting
Before artwork is separated or ink is mixed, define what the buyer expects to receive. “Make it puffy” is not measurable enough for sampling or repeat orders.
A workable puff-print specification should identify:
- hoodie style, fabric composition, fabric weight, color, size range, and approved supplier;
- print location and placement measurement from stable garment reference points;
- finished graphic width and height for every size group;
- puff color, flat-print colors, underbase, and print sequence;
- intended surface character: subtle lift, medium loft, or pronounced rounded puff;
- acceptable edge appearance, hand feel, and maximum visual variation;
- care label, packaging, wash test and inspection method;
- destination market and buyer-specific testing requirements.
Document the approved sample with front, side-light, and macro photographs. Keep a sealed control sample and record the formula, ink lots, screen, stencil, strokes, flash, dryer profile, measured ink-film temperature, and test results.
Step 1: Choose a Hoodie That Supports the Effect
Puff can be printed on cotton, cotton-rich fleece, and some blends or synthetics when the ink system is compatible. The best blank is not simply the heaviest hoodie. It is the hoodie whose surface, dye behavior, stretch, moisture content, construction, and shrinkage are predictable under the required heat.
Cotton-rich fleece is a practical starting point because a smooth face yarn supports cleaner edges and cotton avoids the dye-migration risk of many polyester garments. Very hairy outer faces can create fiber lift, while moisture in cotton slows heating.
Blends can improve shape retention, but dark, red, maroon, or sublimated polyester may release dye under heat and discolor a light puff layer. Polyester may therefore require a compatible low-bleed, low-cure, or barrier strategy. The ink film must still meet its product-specific cure requirement. PRINTING United recommends pretesting polyester blends, managing temperature, selecting suitable low-bleed ink, and confirming cure by wash testing (technical guide). Test the exact garment color lot, not merely the advertised fiber percentage.
| Hoodie variable | Why it affects puff | What to approve during sampling |
|---|---|---|
| Surface smoothness | Controls edge quality and apparent height | Macro photo, fiber penetration, roughness |
| Fabric composition | Changes heat response, stretch and dye risk | Exact fiber blend and ink compatibility |
| Fabric color/dye lot | Dark or unstable dyes may migrate | Post-cure and delayed color check |
| Fabric weight/density | Changes platen contact and heating rate | Print pressure, dryer profile, finished hand |
| Stretch and recovery | High loft can crack if the area stretches heavily | Stretch check after full cure and cooling |
| Moisture and finishing agents | Can alter heating or adhesion | Conditioning, pretreatment decision, wash test |
| Garment construction | Seams, pocket, zipper and drawcord affect leveling | Placement template and platen selection |
Step 2: Prepare Artwork for Expansion
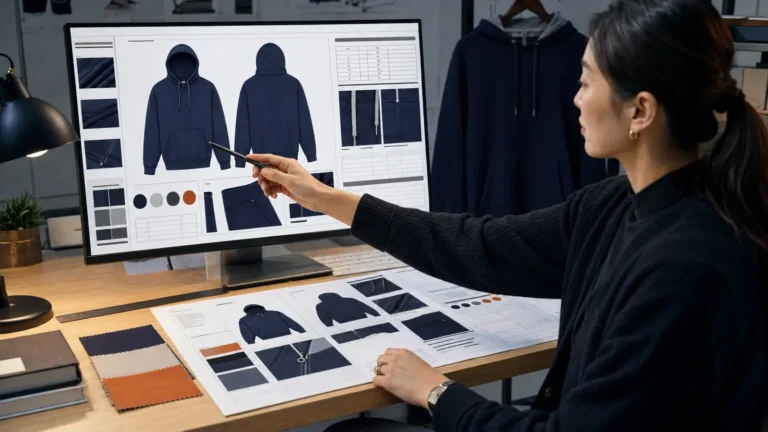
Puff is not a neutral copy of the vector file. Expansion rounds corners, closes small negative spaces, broadens narrow lines, and can reduce fine detail. The artwork should anticipate that behavior.
Use bold shapes, sufficiently open counters, and controlled spacing. Avoid placing critical micro-text, thin serifs, tiny halftones, or narrow reversed lines inside a high-loft area. If a detailed logo must remain exact, split the decoration into a puff layer and a conventional flat detail layer. The print order and flash sequence must then be sampled because an already expanded surface is difficult to overprint cleanly.
Also compensate for garment sizes. One fixed graphic may look oversized on youth hoodies and undersized on 3XL garments. A practical order can use two or three artwork sizes, each with a documented placement template. Do not scale stroke widths blindly: reducing a design may push open spaces below the reliable production limit.
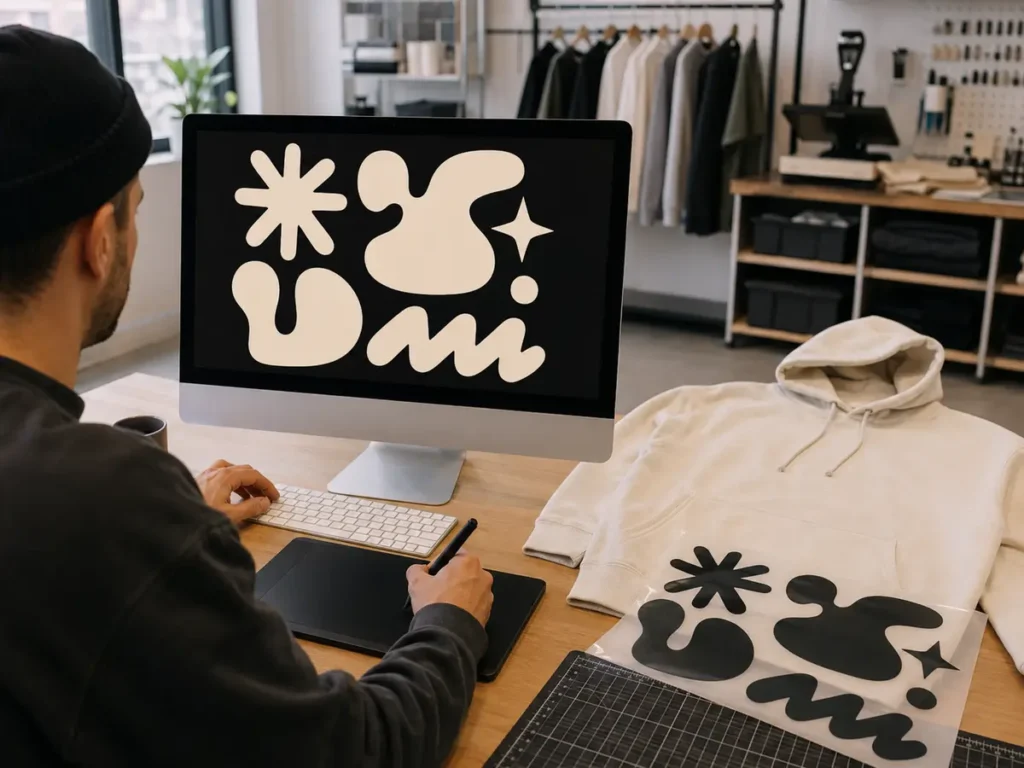
Apparel designer preparing bold abstract artwork and film for a puff-print hoodie
For approval, convert fonts to outlines, mark every layer as puff or conventional ink, confirm finished dimensions, review minimum positive and negative detail, decide whether multiple art sizes are needed, and produce a strike-off on the actual fabric and color.
Step 3: Select the Puff Ink System
The choice is usually between a ready-to-print base, a tintable base, or a puff additive used with a named compatible ink series.
A ready-to-print base reduces weighing variables and can simplify repeatability, but it still requires controlled tint strength, screen deposit, and curing. An additive provides more color flexibility, but the formula must be weighed accurately and locked. Adding more concentrate does not produce unlimited height. Excess additive can weaken the ink film, distort color, create a coarse cellular surface, or cause the puff to expand and then collapse.
Ask the ink supplier for the current technical data sheet and safety data sheet. Confirm:
- compatible ink series and garment types;
- percentage range by weight and maximum pigment loading;
- mesh and stencil recommendations;
- flash and cure requirements;
- storage conditions and usable life;
- clean-up and disposal instructions;
- available compliance statements relevant to the destination market.
Do not infer chemical claims from appearance. Claims such as phthalate-free, PVC-free, bio-based, or restricted-substance compliant require product-specific documentation for the exact formulation and market. Follow the applicable SDS for ventilation, protection, handling, and disposal.
Step 4: Weigh, Mix and Record the Formula
Measure additive and ink by weight, not by spoonful, volume estimate, or visual judgment. Use a calibrated scale with enough resolution for the batch size. Tare the container, add the base ink, calculate the additive amount from the manufacturer’s allowed ratio, and mix until the formula is uniform without entraining unnecessary air.
For illustration only, if a compatible additive were specified at 15% of base-ink weight, a batch using 1,000 g of base ink would receive 150 g of additive. That calculation is not a universal recommendation. If the supplier defines percentage on total mixed weight rather than base-ink weight, the math changes. Write the convention on the recipe sheet.
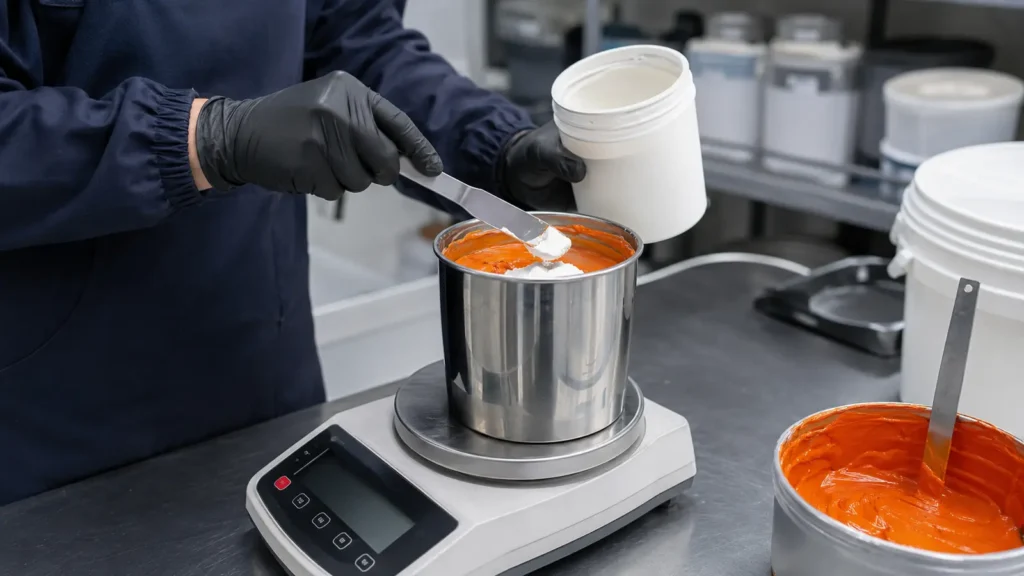
Technician weighing puff additive into orange screen-printing ink
Record the date, operator, job, product and lot numbers, weight of every component, total mix, method, permitted working time, and sample or production batch. List every approved pigment or modifier; do not hide it inside a generic “puff ink” description.
Color often becomes lighter or more matte as the layer expands. Approve the cured color under controlled lighting, retain a cured standard, and keep any instrumental method, aperture, backing, and sample orientation consistent.
Step 5: Build the Screen for a Controlled Ink Deposit
Puff height depends strongly on the wet ink volume delivered through the screen. Mesh count alone does not define that volume. Thread diameter, screen tension, stencil thickness, stencil smoothness, off-contact, squeegee profile, pressure, speed and number of strokes work together.
Technical recommendations therefore vary by product and desired effect. A printer may choose a coarser mesh for a heavier deposit or a higher mesh with a deliberately thick stencil for more detail. One published dimensional-puff demonstration used a higher thin-thread mesh with a thick emulsion build, while other product sheets specify coarser ranges. The correct setup is the one validated with the chosen ink and artwork, not a number copied without context. PRINTING United notes that mesh, thread, tension and stencil thickness are primary controls of ink deposit and edge quality (process-control paper).
Aim for an even stencil, adequate exposure, stable tension, and a clean seal at the artwork perimeter. A rough or underexposed stencil can create ragged edges before the ink has even expanded.
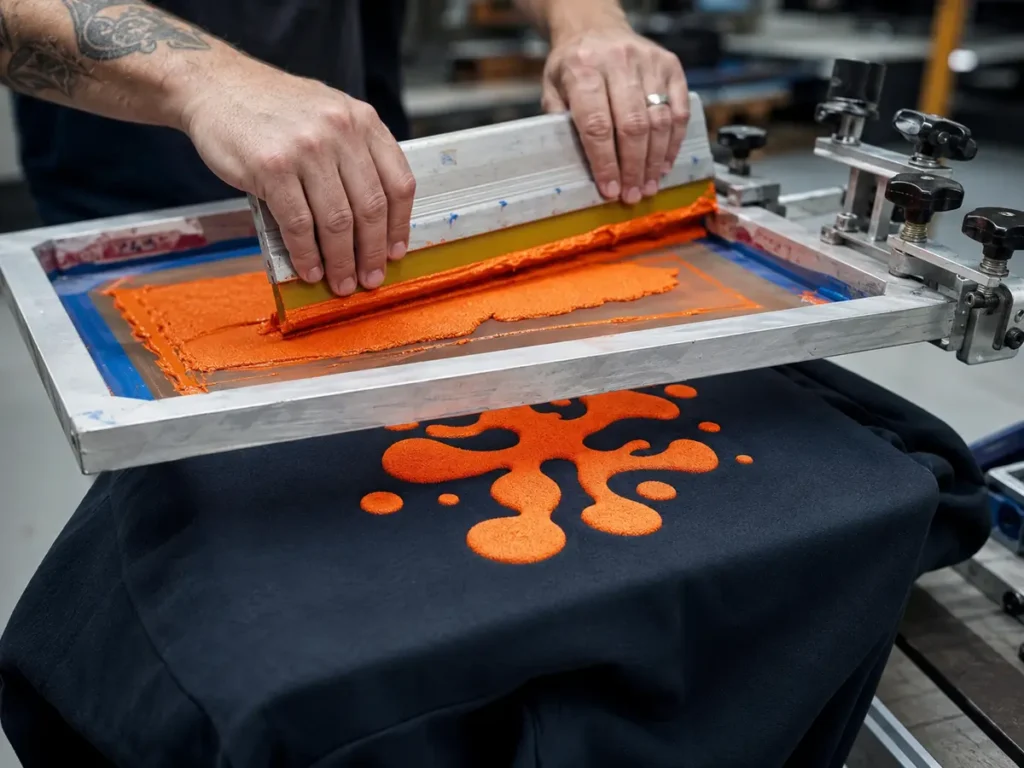
Screen printer depositing orange puff ink through a thick stencil onto navy fabric
Step 6: Load and Stabilize the Hoodie
Hoodies are thicker and less uniform than T-shirts. The pocket, hood, seams, drawcord, zipper, and fleece bulk can prevent the print area from lying level. Use a platen and adhesive method suitable for fleece, and keep drawcords, pocket layers, or zippers away from the active printing plane.
For pullover chest prints, verify the relationship between the graphic and the neckline, not only the platen edge. For zip-up hoodies, use a zipper-compatible platen or split artwork so the squeegee does not strike the zipper. A seam under one side of the design changes pressure and ink deposit, producing uneven height.
Condition garments consistently before production. Very cold or damp cartons should not move directly from storage to press if that creates a different heat response from the approved sample.
Step 7: Print and Flash Without Prematurely Activating the Puff
Print with the documented squeegee, angle, speed, pressure and stroke count. The goal is to clear the stencil and leave a repeatable film, not to drive ink deep into the garment or pile on uncontrolled layers.
In a multi-color design, print order matters. A conventional underbase may improve opacity or dye control, but it also changes total thickness and heating. Puff is often placed late in the sequence so later screens do not land on an expanded surface. If it must be overprinted, gel it only enough to support the next screen without fully activating the expansion.
A 2024 puff-print demonstration from ScreenPrinting.com emphasizes that the flash should gel the puff layer without fully activating it and that final expansion occurs in the conveyor dryer; it also shows how artwork, ink volume, fabric and temperature interact (dimensional puff demonstration). Treat its setup as an example, not a substitute for the data sheet of your selected product.
Planning a custom puff-print hoodie order?
Send JIUMU your hoodie reference, quantity by size, fabric preference, garment colors, vector logo, target puff effect, packaging needs and required delivery date. We can review the specification and arrange a sample before bulk production.
Step 8: Cure for Full Adhesion Without Collapsing the Loft
Curing is the most sensitive stage. The puff must receive enough heat and time to expand and fully cure, but excessive or overly aggressive heat can over-expand and collapse the cellular structure. Thick ink deposits also need more time for heat to reach the full film than thin conventional prints.
Follow the ink manufacturer’s target ink-film temperature and dwell requirement. Do not assume the conveyor panel temperature equals the temperature inside the print. Validate the profile with appropriate temperature measurement tools, then confirm cure with physical testing. A ready-to-print puff base may specify a conventional cure temperature, while a low-cure additive system may require something different. Both can be correct for their own chemistry.
Hoodie construction adds variables. Cotton can carry moisture; thick fleece raises the print closer to heating elements; polyester can heat quickly and release dye. A conveyor-dryer guide from ScreenPrinting.com notes that garment type and ink-film thickness affect heating, and that puff requires controlled heat to avoid expansion followed by deflation (dryer guidance).
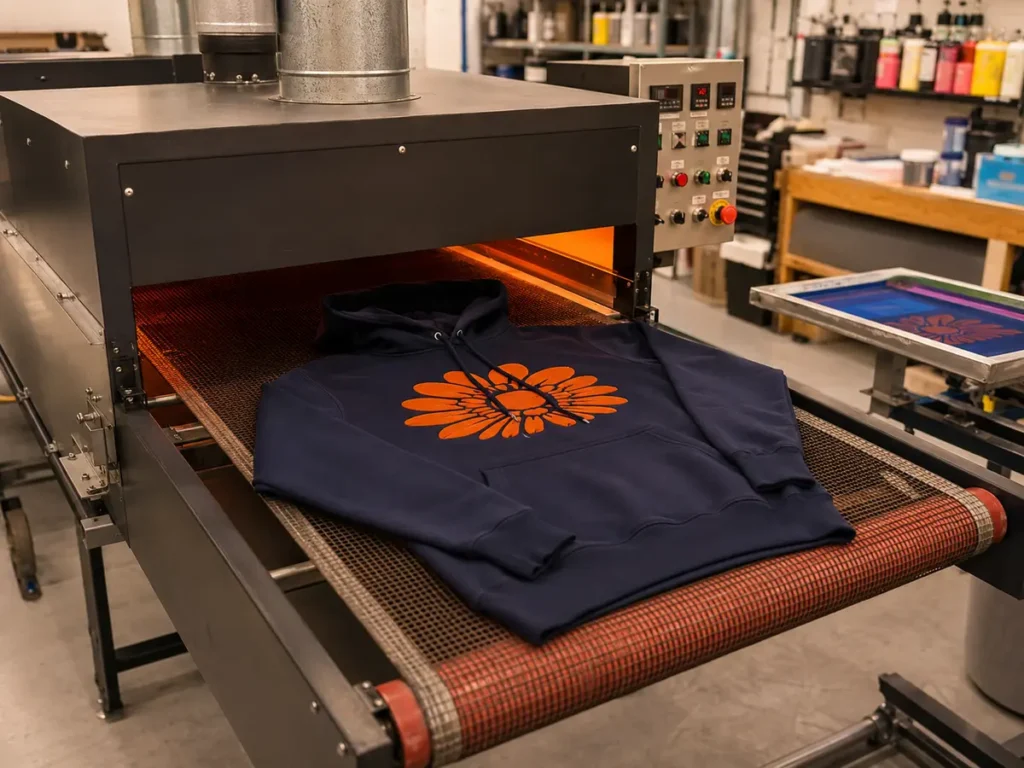
Navy puff-print hoodie passing through a conveyor dryer
For validation, warm up and map the dryer, run the actual hoodie, measure the print through the heating window, allow it to cool, then perform the approved adhesion, stretch, and wash tests. Check the left, center, and right belt positions when width uniformity matters. Record settings only after the sample passes.
Step 9: Cool, Handle and Pack Correctly
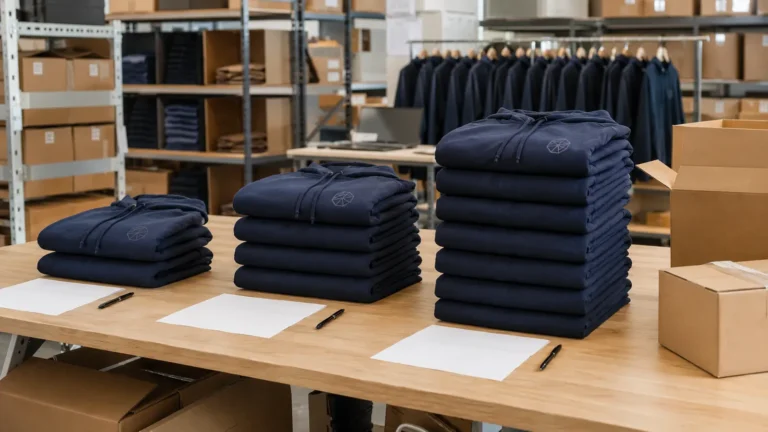
Do not stack garments while the print is still soft or excessively hot. Pressure from the next hoodie can flatten the surface, transfer texture, or distort a raised edge. Provide enough cooling distance or time before folding.
Decide how the graphic sits in the final fold. A thick stack crease directly through a large puff print may leave an impression during transport. Use tissue, a suitable fold, or individual packaging when required by the approved presentation. If a retail polybag carries warnings or recycling marks, confirm the exact destination-market and buyer requirements rather than using a generic statement.
Quality Control for Puff-Print Hoodies
Puff cannot be judged by height alone. A lower but stable effect may outperform a tall print that cracks after washing.
Inspect the approved sample and bulk pieces under consistent side lighting. Check:
- graphic width, height and placement;
- correct garment, color, size and dye lot;
- uniform loft across the design and across garments;
- smooth, repeatable surface texture;
- edge definition and open negative spaces;
- cured color and opacity;
- absence of scorching, shine, staining or dye migration;
- adhesion and flexibility after cooling;
- wash performance and care-label compatibility;
- folding, labels, hangtags, size stickers and packaging.
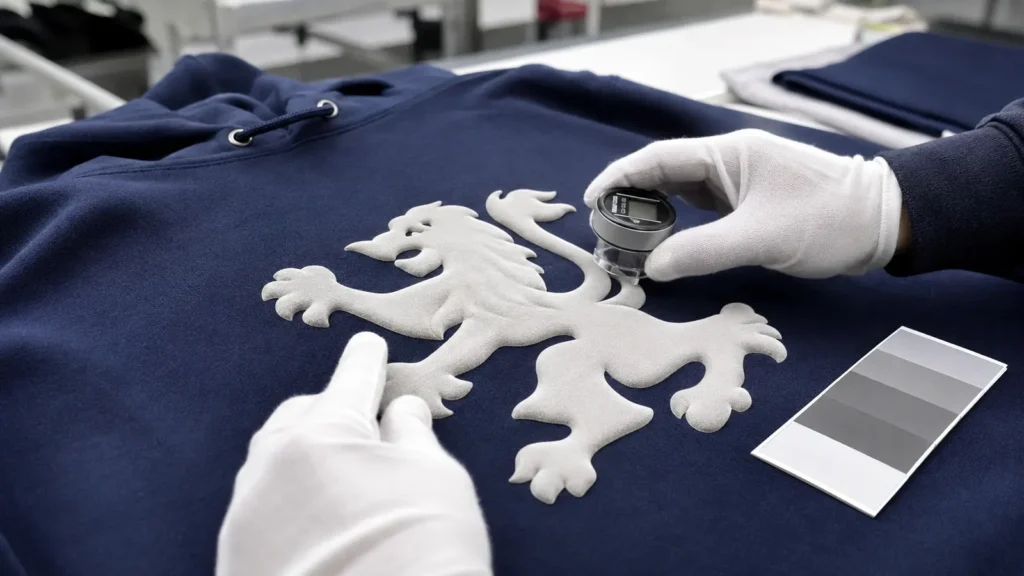
Quality inspector checking the uniform height and surface of a cured puff print
Recommended checkpoints
Approve the strike-off on the actual material, then approve a complete size-set or pre-production sample as required. At production start, compare the first pieces against the sealed standard before releasing the run. Conduct periodic in-line checks after ink replenishment, breaks, dryer adjustments, or changes in garment cartons. Finish with random final inspection and the agreed test record.
PRINTING United’s plastisol troubleshooting guidance connects peeling, cracking, rubbing and wash-off to under-cure, improper additives, or unsuitable process settings, and repeatedly recommends following manufacturer limits and performing wash tests. Those principles are directly relevant to puff systems because the ink layer is deliberately thicker.
Puff-Print Defects and Corrective Actions
| Defect | Likely process causes | Corrective direction |
|---|---|---|
| Low or uneven loft | Uneven deposit, inconsistent pressure, poor screen tension, cold spots, garment seams | Level platen, standardize stroke, check screen and map dryer profile |
| Collapsed or cratered surface | Excess additive, excessive peak heat, activation too early, too many heavy layers | Return to approved formula, reduce thermal shock, control deposit and flash |
| Rough edges or closed counters | Artwork too fine, rough stencil, excessive expansion, high pressure | Open artwork, improve stencil, reduce uncontrolled deposit or loft |
| Cracking after stretch/wash | Under-cure, incompatible system, excessive additive, insufficient flexibility | Verify full cure, use only compatible modifiers, reduce loft and retest |
| Color shift after cure | Expansion changes opacity, pigment load differs, dye migration | Approve cured standard, lock formula, use suitable low-bleed/barrier system |
| Scorching or garment shine | Excess heat, slow belt, fabric sensitivity | Reprofile dryer within ink requirements and retest exact garment |
| Puff stuck or flattened in packing | Garment stacked hot, fold pressure on print | Increase cooling, revise folding and packaging |
| Batch-to-batch height variation | Recipe drift, ink temperature, screen or dryer variation | Weigh every batch and maintain production records and control samples |
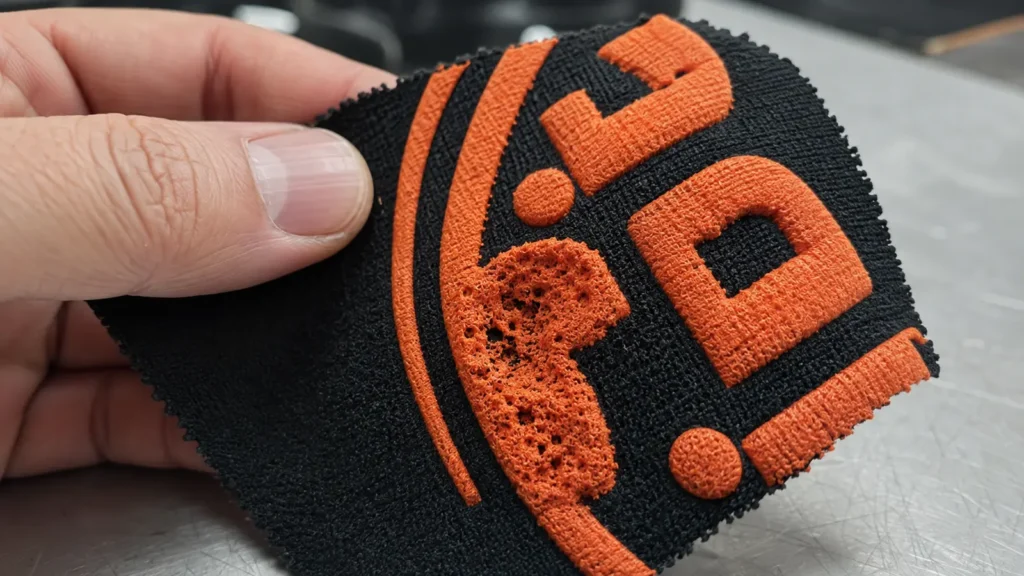
Collapsed and cratered puff-print defect on a test fabric swatch
Change one variable at a time during troubleshooting. If the team changes additive ratio, mesh, stroke and dryer temperature together, it may find an acceptable sample without learning which change solved the problem. That makes the next batch difficult to reproduce.
How Durable Is Puff Printing?
A correctly formulated and cured puff print can be suitable for regular apparel use, but durability depends on the exact ink, garment, design, height and care method. The raised structure is more exposed to abrasion and repeated folding than a thin flat print. Very fine protrusions and extremely high loft are usually less forgiving than broad, moderate-height shapes.
Define the wash test before ordering. State washer temperature, detergent, cycle, drying method, number of cycles, and acceptance criteria. Evaluate cracking, flaking, loss of loft, color change, adhesion and garment shrinkage. If the product will be sold, the care instruction should reflect the garment and decoration as a combined item, not the blank hoodie alone.
For U.S. distribution, most textile products require labels identifying fiber content, country of origin, and the responsible company identity; apparel care instructions are governed separately. Buyers should review the current FTC textile-labeling guidance and obtain market-specific advice where needed. JIUMU can support custom labels and packaging, but the importing or selling party should approve final legal content.
What Drives the Cost of Puff-Print Hoodies?
Puff printing adds development and control costs beyond a simple one-color flat print. The effect can still be efficient at scale when artwork and specifications are stable.
| Cost driver | Why it changes the quotation | How a buyer can control it |
|---|---|---|
| Hoodie blank or custom construction | Fabric weight, composition, dye and trim dominate base cost | Select one approved body and limit unnecessary variants |
| Artwork size and number of locations | Larger deposits use more ink and press time | Prioritize one strong location or group compatible graphics |
| Number of colors/screens | Each screen adds setup, registration and flash decisions | Combine colors thoughtfully and avoid detail that adds no value |
| Puff chemistry and underbase | Specialty base, additive and bleed control add material | Match chemistry to fabric instead of over-specifying every order |
| Sample rounds | Each revision consumes setup and garments | Send complete artwork, dimensions and acceptance criteria initially |
| Size/color assortment | More SKUs increase sorting and changeover | Consolidate low-volume variants when possible |
| Testing and inspection | Buyer-specific protocols require time and records | Agree test methods before sampling, not after production |
| Labels and packaging | Woven labels, hangtags, stickers and individual packing add operations | Provide final files and packing map early |
| Delivery schedule | Rush work can disrupt sampling and production planning | Reserve time for sample approval and transit contingency |
An accurate quotation needs more than total quantity. Send quantity by size and color, destination, delivery target, hoodie specification, artwork file, print dimensions, locations, color references, desired loft, label files, packaging plan, test requirements and any reference sample.
A Reliable Sample-to-Bulk Workflow
Review the market, hoodie, order matrix, artwork and testing needs first. Approve a digital mockup for scale and placement, then a strike-off for color, expansion and cure on the real fabric. A complete pre-production sample becomes the physical standard. At bulk start, verify materials and first pieces against that standard; retain formula, screen, dryer and inspection records through final packing and in the repeat-order archive.
Questions to Ask a Puff-Print Hoodie Supplier
- Which puff ink system will be used, and is it compatible with this exact fabric and color?
- Will you use a premixed base or an additive? How is the recipe controlled by weight?
- How do you prevent dye migration on polyester-rich or dark hoodies?
- What artwork details need to be enlarged or separated for expansion?
- How do you measure actual ink-film temperature and dryer consistency?
- What sample and wash tests are included?
- Will the sealed approval sample be used at production start and final inspection?
- How are formula, screen, placement and cure settings archived for repeat orders?
- Can you provide custom neck labels, woven labels, hangtags and packaging?
- What information must be approved before the production schedule begins?
Common Buying and Production Mistakes
The most common mistake is approving only a front-view photograph, which can hide uneven loft, rough cell structure, edge collapse or cracking. Review the physical sample or request macro and side-light documentation plus test results. Avoid extreme height, tiny reversed text, blank changes after approval, mixed dye lots, panel temperature used as proof of cure, hot stacking, undefined care instructions, and color approval from a flat mockup.
Another costly error is comparing quotations without matching the specification. One supplier may quote a moderate one-pass effect on a stock hoodie, while another includes custom fabric, low-bleed underbase, multiple sample rounds, woven labels and individual packaging. Align the product, testing and service scope before comparing unit prices.
Why Work With JIUMU on Custom Puff-Print Hoodies?
JIUMU supports B2B custom teamwear and branded apparel for teams, schools, clubs, distributors, uniform dealers, promotional companies, retailers and private-label brands in North America and Europe. Our approved capabilities include OEM/ODM development, screen printing, embroidery, sublimation, heat transfer, patches, fabric sourcing, Pantone color matching, private labels, hangtags, custom packaging, digital mockups, samples, bulk production, quality control and export support.
For puff-print projects, the practical value is coordination. The hoodie body, raised print, flat companion colors, neck label, hangtag and packaging should be developed as one specification. JIUMU’s typical MOQ starts at 50 pieces, subject to garment construction and customization.
Explore custom hoodies, review broader custom team uniforms, or combine hoodies with custom team jackets and other coordinated merchandise.

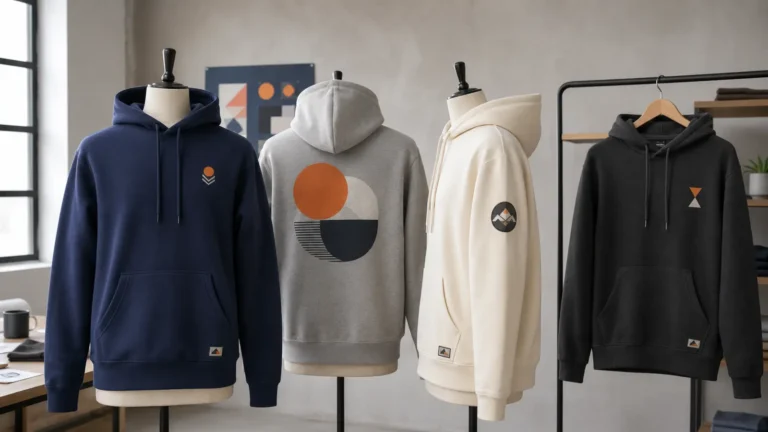
Sports-club staff wearing coordinated custom hoodies with raised geometric emblems
Frequently Asked Questions
Final Recommendation
The most reliable puff-print hoodie is not created by maximizing additive or dryer heat. It comes from a locked system: suitable fabric, expansion-aware artwork, a named ink formula, controlled deposit, measured curing, complete cooling, documented testing and a sealed approval sample.
For a bulk order, ask the supplier to show how the effect will be repeated—not only how the first sample will be made. Recipe control, dryer mapping, first-piece comparison, in-line inspection, wash testing and repeat-order records are what turn an attractive sample into a dependable product.
About the author
JIUMU Teamwear Production Team develops custom teamwear, logo apparel and branded merchandise specifications for international B2B buyers.