How to Approve a Custom Hat Sample Before Bulk Production
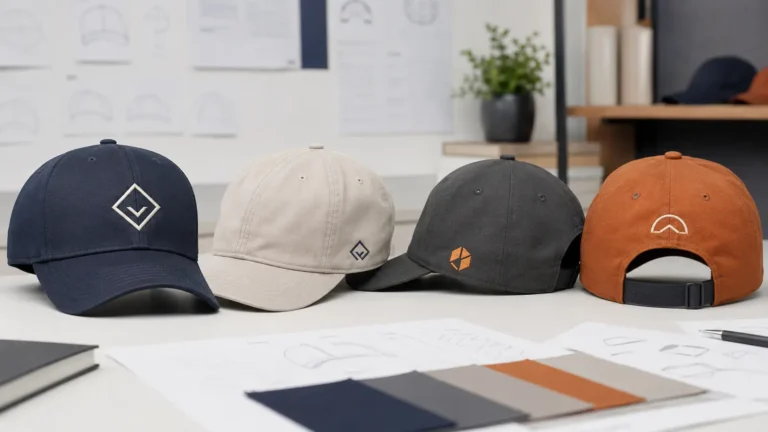
A custom hat sample is the last practical opportunity to correct the product before materials, embroidery programs, labels and production capacity are committed to a bulk order. Approving it because it “looks good” is not enough. The buyer needs to compare the physical hat against the current specification, record every decision and define what the supplier may reproduce.
The objective is not to find a theoretically perfect hat. It is to confirm that the sample meets the agreed commercial requirements—and that any acceptable handmade or sample-stage variation will not be mistaken for a bulk-production standard.
Quick Answer
Check the complete hat, not only the logo. Confirm the cap style, crown profile, dimensions, fit, fabric, color, visor length and curve, embroidery, seams, eyelets, top button, sweatband, labels, closure, packaging and overall workmanship. Compare each item with the latest approved specification and mark it as approved, approved with documented conditions, or revision required.
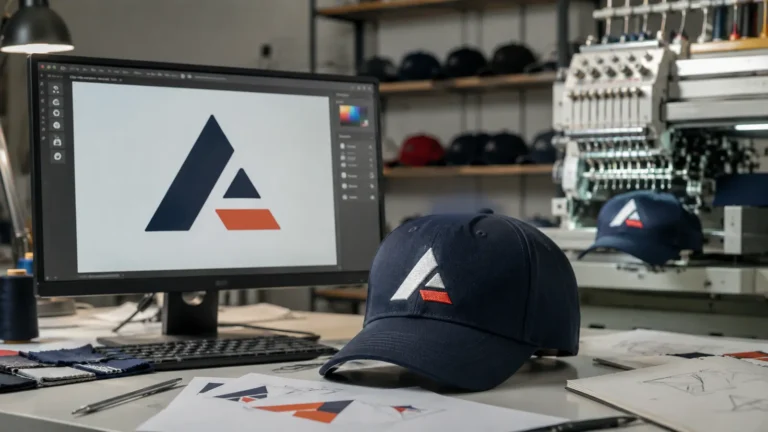
A digital mockup is useful for artwork and placement planning, but it cannot prove fit, fabric hand, color under real light, visor stiffness, embroidery texture or construction quality. After approval, both buyer and supplier should retain a clearly identified physical reference—often called the Golden Sample—linked to a version number, approval date and signed change record.
What Should You Have Before Inspecting the Sample?
Do not begin with memory or an old chat thread. Assemble the exact documents that define the sample:
- current tech pack or cap specification;
- latest artwork file and decoration mockup;
- approved material and color references;
- measurement points and project-specific tolerances;
- label, hangtag and packaging files;
- sample version number and revision history;
- purchase quantity, colorways and size breakdown;
- intended wearer group and use case;
- target delivery date and any required testing.
Quality control is comparison against pre-established requirements, not a general opinion about workmanship. ASQ describes a quality plan as documentation that specifies quality standards, practices, resources, specifications and the sequence of activities. That principle applies directly to sample approval: the checklist must point back to agreed requirements. See ASQ’s quality-plan overview.
Use one document as the source of truth. If the purchase order says “navy,” the color card says one navy and a message approves another, the supplier cannot know which reference controls production. Resolve contradictions before issuing approval.
Use Three Clear Approval Decisions
Every sample review should end in one of three states.
| Decision | Meaning | Next action |
|---|---|---|
| Approved | The physical sample and related specification may be used as the bulk-production reference | Sign, date, assign a version and preserve the sample |
| Approved with conditions | Specific documented corrections may be made without another full physical sample | List each permitted correction, evidence required and who can release production |
| Revision required | The sample is not authorized for bulk production | Supplier updates the sample or affected component; buyer reviews again |
Avoid phrases such as “looks okay,” “please improve slightly,” or “approved except for the issues mentioned earlier.” They are hard to audit and easy to interpret differently. State the exact item, current condition, required result and verification method.
For example:
Front logo is 4 mm too low relative to the approved placement drawing. Move the logo upward 4 mm, keep its width unchanged and send a straight-on photo with a ruler before production. All other front-logo properties remain unchanged.
That instruction is measurable. “Move it up a bit” is not.
1. Confirm Hat Style, Silhouette and Proportion
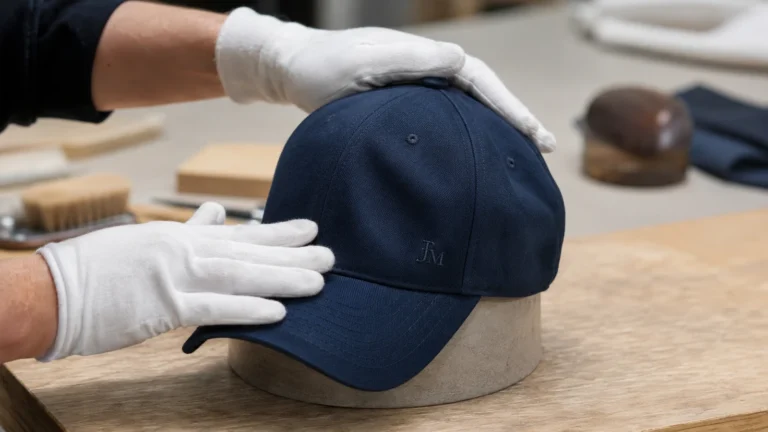
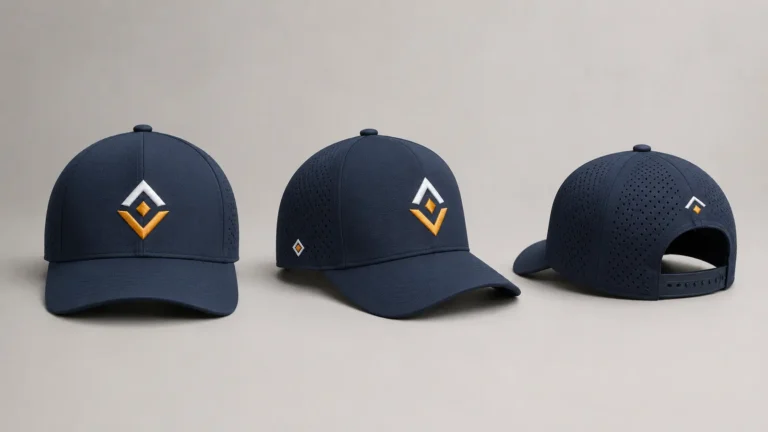
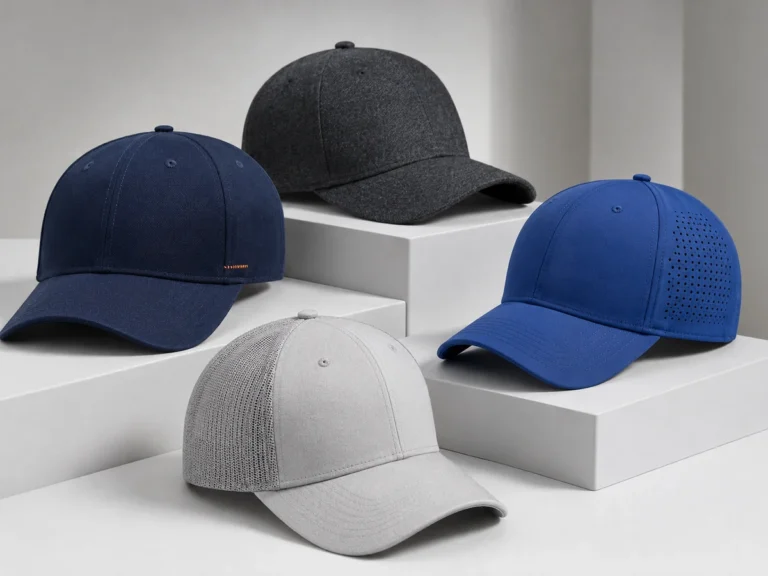
Place the sample on a neutral surface and view it from the front, both sides, rear, top and three-quarter angles. Then compare it with the selected cap style and approved reference.
Check:
- five-panel or six-panel construction;
- structured, semi-structured or unstructured crown;
- low-, mid- or high-profile silhouette;
- flat, pre-curved or buyer-shaped visor;
- crown-to-visor proportion;
- front-panel width and center seam;
- rear opening and closure type;
- visual symmetry when the cap is empty and when worn.
The product name alone does not define the shape. Commercial headwear ranges may combine profile, structure, panel count, bill style, fit and closure in different ways. Richardson, for example, lists these as separate technical attributes on its cap product pages. This supports using a complete construction schedule rather than approving a generic label such as “trucker cap.” See this Richardson technical-spec example.
A structured crown should hold the intended front shape without excessive leaning or collapse. An unstructured dad hat should look relaxed, but the panels should still join cleanly and the crown should not twist. Judge the hat on an appropriate head form and on people, because a cap that appears symmetrical when stuffed can sit differently under actual tension.
2. Measure Crown Height, Hat Circumference and Critical Dimensions
Use the same measurement method used in the specification. Measuring from a different start point can create a false discrepancy even when the hat has not changed.
For crown height, define the path: for example, from the bottom edge at the center front to the top button, following the crown surface. For circumference, define whether the measurement follows the inner sweatband and whether the closure is set at a specified position. Record the cap in a relaxed state without stretching the fabric.
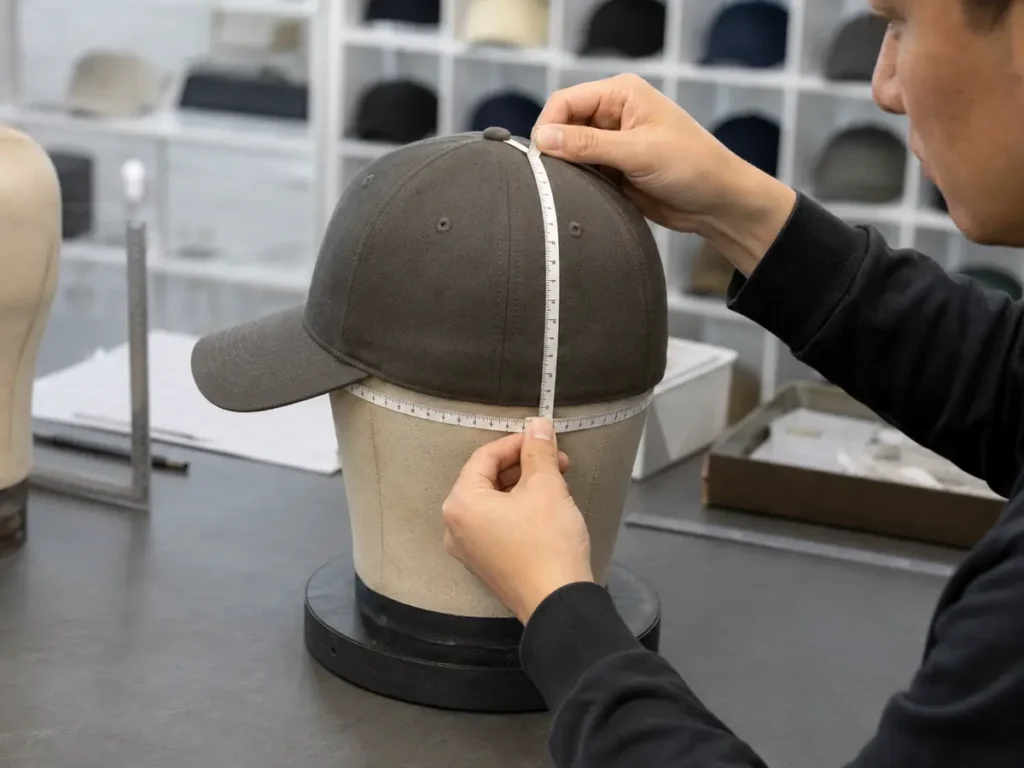
At minimum, record:
- crown height;
- inside circumference or fitted size;
- front-panel width where relevant;
- rear opening width;
- closure adjustment range;
- visor length at center;
- visor width at its widest point;
- logo width, height and position;
- sweatband depth;
- label dimensions and placement.
Do not invent a tolerance after receiving the sample. The acceptable variation should be project-specific and agreed before approval. Fitted hats need especially careful sizing because the closure cannot compensate for circumference variation. Adjustable caps still need a defined base setting and usable adjustment range.
If the order covers multiple sizes, approving one size may not prove every graded size. Decide whether the supplier must provide a full size set, a selected size run or one representative size plus confirmed grading rules. Record the decision.
3. Check Fabric, Hand Feel and Color Under Controlled Light
Compare the sample with the approved fabric swatch, not only with a screen image or a color name. Confirm:
- fiber composition and fabric construction if specified;
- weight or thickness where commercially important;
- weave or knit appearance;
- brushed, washed, coated or performance finish;
- stretch and recovery;
- surface marks, barre, streaks or unwanted shine;
- consistency between crown, visor and closure components;
- color relationship between fabric, embroidery thread, mesh and trims.
Touch matters. Two fabrics can look similar in a photo but differ in stiffness, density, stretch and surface feel. Those differences affect crown shape, embroidery stability, comfort and perceived value.
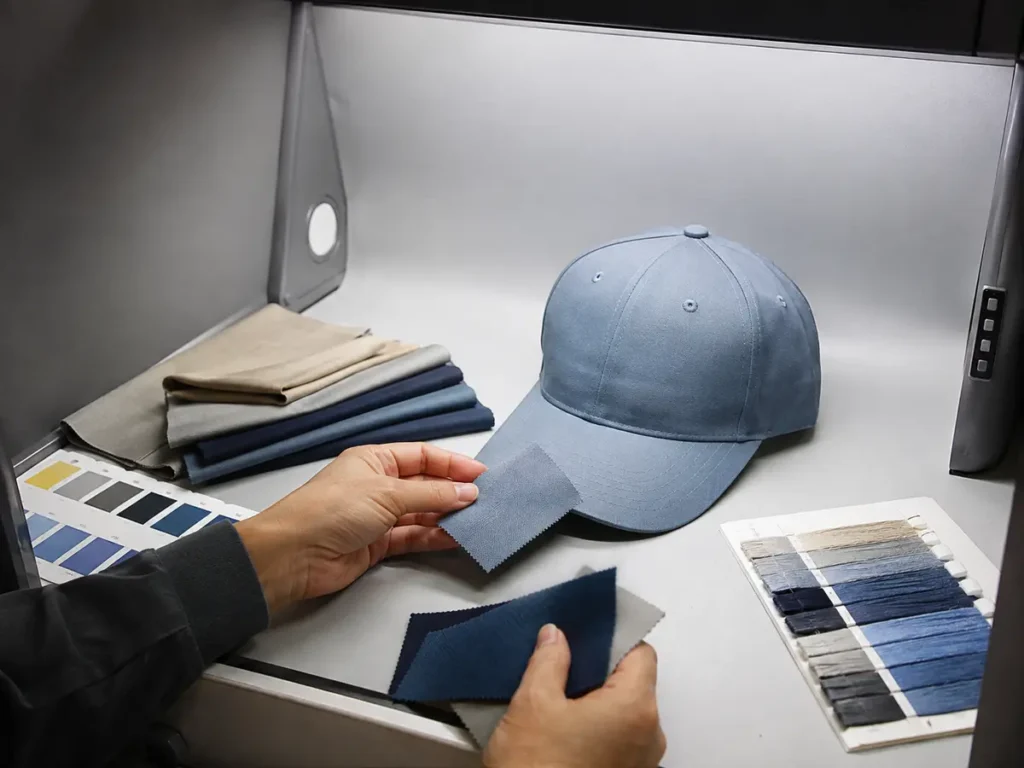
Color must be evaluated under defined light because materials can match under one source and separate under another—a phenomenon associated with metamerism. Pantone recommends controlled visual assessment and, for textile standards, combines physical references with visual and instrumental evaluation. See Pantone’s color evaluation guidance and its note on D65 daylight evaluation.
For the project record, state:
- controlling physical color reference;
- lighting condition used for approval;
- whether the decision concerns an exact match or an agreed visual range;
- any accepted difference caused by material texture or thread sheen.
A photographed sample is not a reliable master color standard because the camera, lighting, editing and monitor all affect appearance.
4. Inspect Visor Length, Curve, Symmetry and Stiffness
The visor changes the character and function of the hat. Check it from the front, side and top.
Confirm:
- center-front length and overall width;
- left-right symmetry;
- flat or pre-curved construction;
- curve depth or approved shape template;
- visor board stiffness and recovery;
- topstitch row count and spacing;
- edge smoothness;
- crown-to-visor joining seam;
- top and underside fabrics;
- sandwich or piping detail if specified.
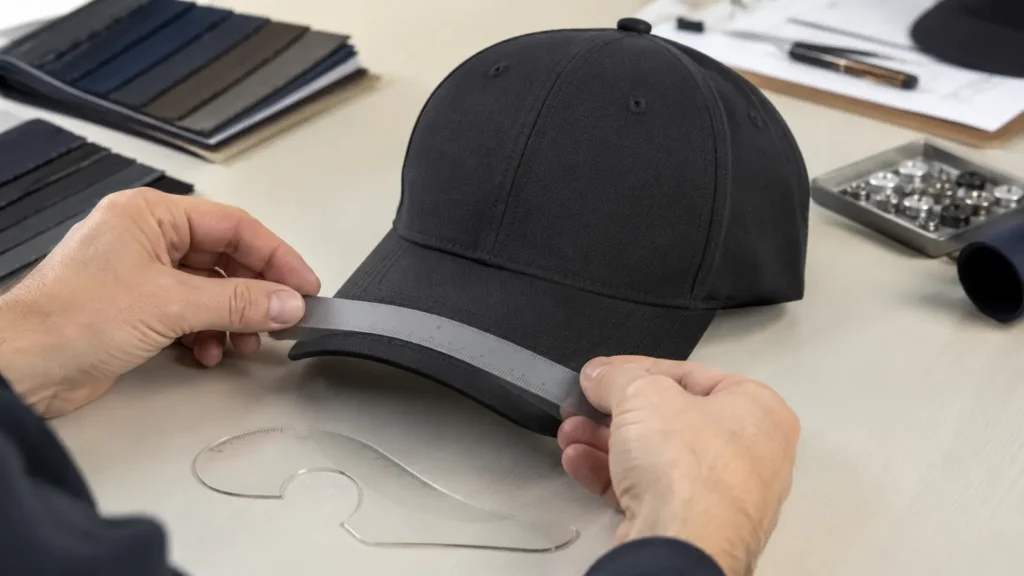
Flex the visor only as intended for normal use. Listen and feel for cracking, abnormal creasing or delamination, but do not perform destructive testing on the only approval sample unless the test method is agreed. If a moisture-resistant or specialty visor board is required, identify the material and test requirement separately instead of assuming stiffness proves composition.
For retail programs, photograph the visor at eye level and from directly above. A small twist may be difficult to notice on the table but obvious on-head.
5. Approve Logo Size, Position, Color and Decoration Method
Measure the finished decoration, not the artwork bounding box on a computer. Record:
- logo width and height;
- distance from the visor seam;
- horizontal relationship to the front center;
- side or rear placement from fixed seams;
- thread, ink, patch or transfer colors;
- flat embroidery, 3D puff, patch or print method;
- border thickness and patch attachment;
- readable text and open negative spaces;
- orientation when the hat is worn.
The center seam can divide artwork, push letters apart or create height variation. A logo that looks centered mathematically may appear off-center because of an asymmetric mark. Approve both the numeric placement and the visual result.
For multiple colorways, do not assume one logo execution covers all combinations. Contrast, thread choice and backing exposure may change. Record each approved cap/color/logo combination.
6. Inspect Embroidery for Puckering, Show-Through and Stitch Defects
Examine the logo at normal viewing distance first, then use close inspection. A buyer should not reject acceptable textile texture because a macro photo enlarges it unrealistically, but close review can reveal defects that will worsen in production.
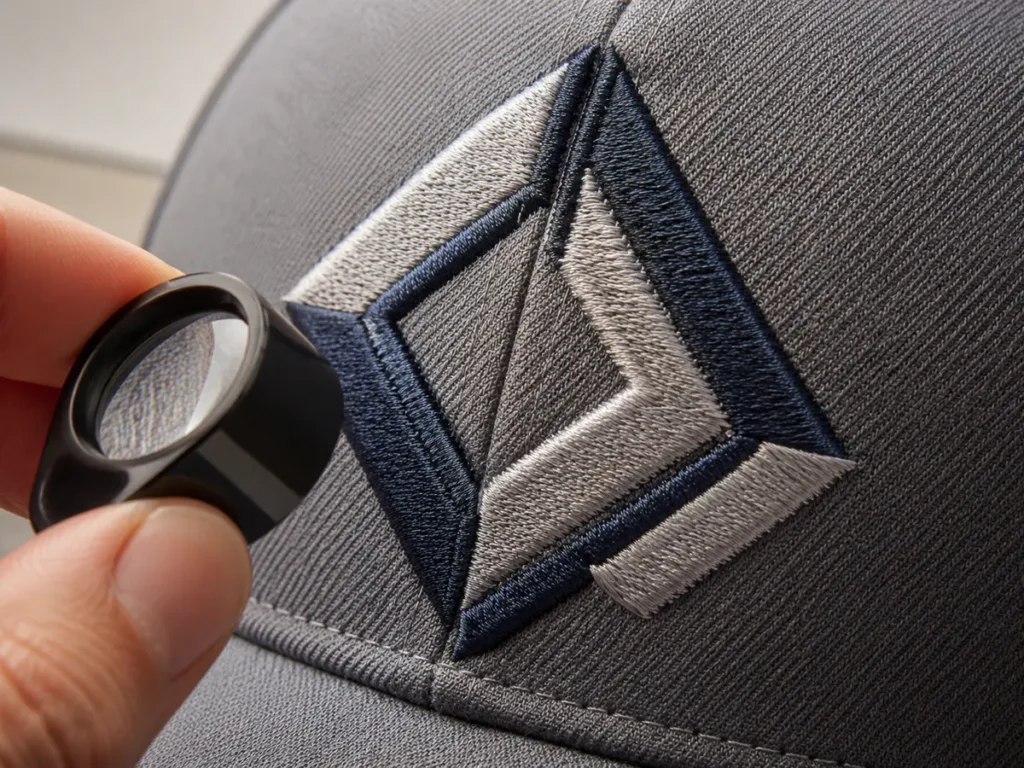
Check for:
- puckering or dimpling around the design;
- fabric distortion and crown flattening;
- gaps that expose the base fabric unintentionally;
- excessive density or a hard board-like area;
- skipped stitches and broken thread;
- loose loops or unsecured thread ends;
- uneven satin borders;
- fill stitches running outside the artwork;
- small counters that have closed;
- inconsistent puff height or foam exposure;
- color contamination from bobbin or backing;
- misregistration between color layers;
- distortion where the design crosses a seam.
Minor surface movement may be inherent to the fabric, crown curve and stitch construction. The acceptance decision should be based on the intended appearance, durability and agreed sample—not a claim that all textiles must lie perfectly flat under magnification.
If a defect appears, ask for the cause and corrective action. Possible variables include digitizing, stitch density, underlay, thread tension, stabilization, hooping, needle condition, machine speed, logo size, fabric stretch and seam position. Do not prescribe one correction without verifying the cause.
If small copy is failing, the practical correction may be larger text, wider spacing, fewer details or a woven patch. Repeating the same embroidery file at higher density can make legibility worse.
7. Check Panels, Seams, Eyelets, Top Button and Closure
Inspect the outside systematically from front to back:
- panel seams are secure and visually balanced;
- seam allowances do not create ridges or hard points;
- eyelets are present in the correct panels;
- sewn eyelets are open and clean;
- metal eyelets, if used, are secure and smooth;
- the top button is centered, covered correctly and firmly attached;
- visor stitching does not wander;
- piping and color blocking align;
- closure parts operate smoothly;
- strap ends are finished;
- snaps engage without excessive force;
- buckles, clips or hook-and-loop components match the specification.
Run a clean finger around accessible edges and hardware. There should be no sharp burrs or exposed points. Open and close the adjustment system several times. A sample closure that works only when handled carefully is not ready for normal use.
8. Turn the Hat Inside Out
The inside often shows whether the construction is controlled.
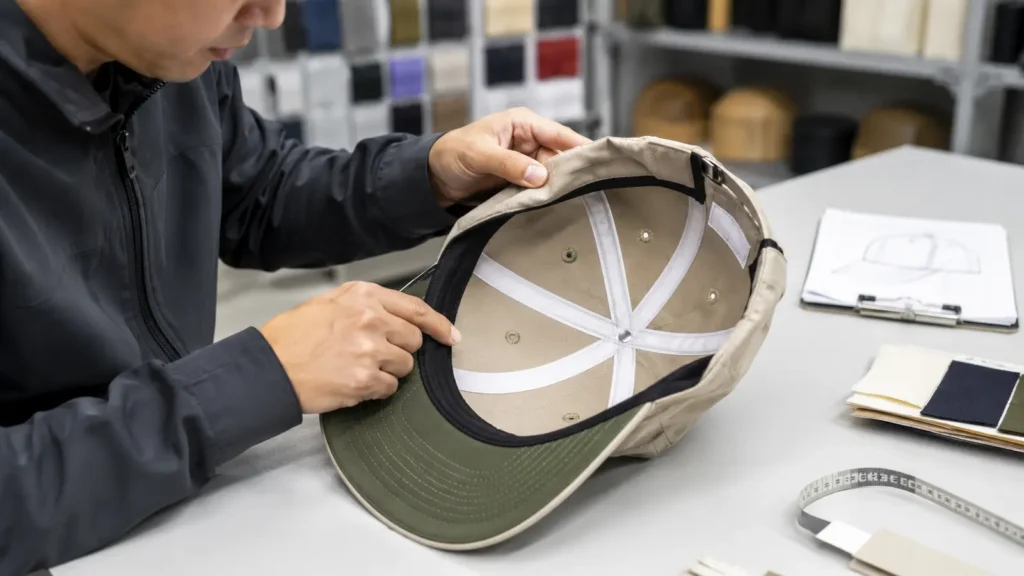
Review:
- sweatband material, depth, softness and stretch;
- sweatband joins and attachment;
- seam binding tape width, color and alignment;
- exposed raw edges;
- embroidery backing and trimming;
- loose threads;
- label content, order, orientation and position;
- care and fiber labels required for the target market;
- country-of-origin marking where applicable;
- brand label and size label;
- interior print or custom tape;
- reverse side of the closure and eyelets.
This guide cannot determine legal label content for every destination. Confirm applicable requirements with a qualified compliance resource for the target market. During sample approval, the essential task is to compare the physical labels with the final approved artwork and placement file.
Labels should be readable, secure and comfortable. A stiff woven-label corner against the forehead can turn a visually correct cap into a poor wearing experience.
9. Conduct a Real Fit and Wear Test
A head form is useful for consistency, but it does not report pressure, depth or comfort. Test the sample on people who represent the intended wearer group.
Evaluate:
- whether the crown feels too shallow or too deep;
- pressure at the forehead and temples;
- sweatband comfort;
- closure range;
- visor position relative to the eyes;
- ear clearance;
- crown collapse or unwanted high points;
- logo appearance on-head;
- movement during normal walking and head motion;
- fit with hairstyles relevant to the target group.
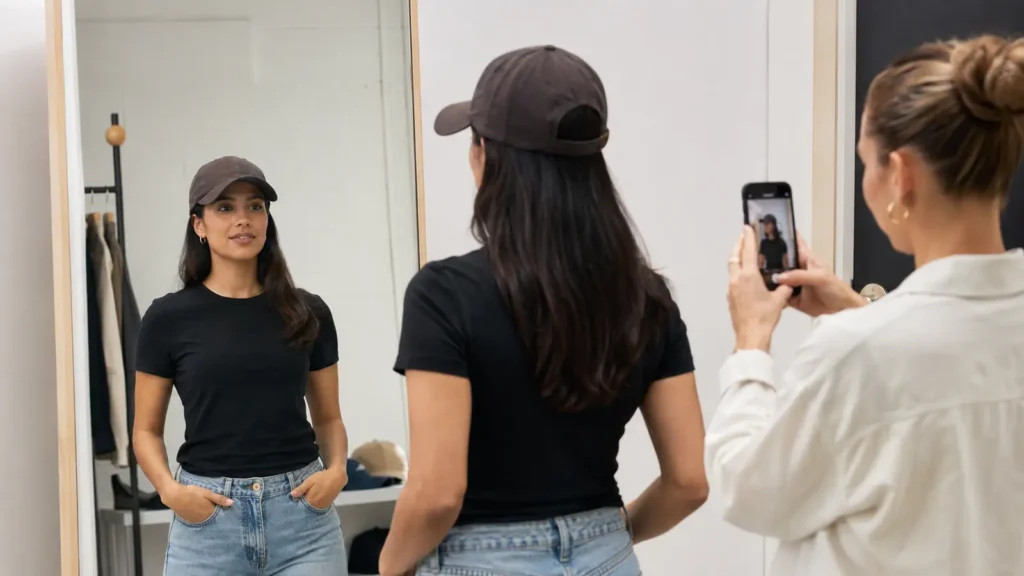
Do not use one wearer’s opinion as proof of universal fit. For an adjustable adult program, include several head sizes. For youth, fitted or unisex programs, define the test group and size distribution. Record comments instead of relying on memory.
Take front, left, right, rear, top and three-quarter photos in consistent light. Include a ruler in close-up correction photos where placement or dimensions are involved. Name files with the project, sample version, view and date.
10. Review Packaging and Shipping Recovery
The sample approval should include the packing method when presentation or crown recovery matters.
Check:
- individual polybag or alternative packaging;
- ventilation or warning requirements where applicable;
- hangtag and barcode placement;
- visor protection;
- crown insert or stuffing;
- nested quantity;
- inner-box and carton arrangement;
- moisture protection where specified;
- carton marks and assortment;
- recovery after the sample has remained packed.
A structured cap can arrive crushed even if it left production in good shape. Pack the approved sample using the proposed method, leave it for an agreed simulation period if needed, then unpack and inspect crown recovery. The production sample and packaging approval should refer to the same cap version.
Copyable Custom Hat Sample Approval Checklist
Use this table as a starting point. Replace “project tolerance” with the actual specification rather than inserting a universal number.
| Area | Checkpoint | Method | Acceptance reference | Result |
|---|---|---|---|---|
| Identity | Style, panel count, structure and closure | Visual comparison | Tech pack version | ☐ Approve ☐ Revise |
| Shape | Front, side, rear and top silhouette | Head form + on-head | Approved reference | ☐ Approve ☐ Revise |
| Crown | Height and profile | Defined tape path | Measurement chart | ☐ Approve ☐ Revise |
| Size | Inner circumference / fitted size | Sweatband measurement | Size chart + tolerance | ☐ Approve ☐ Revise |
| Fabric | Construction, hand and finish | Visual + touch | Approved swatch | ☐ Approve ☐ Revise |
| Color | Crown, visor, mesh and trims | Controlled-light comparison | Physical color reference | ☐ Approve ☐ Revise |
| Visor | Length, width and symmetry | Ruler + top view | Measurement chart | ☐ Approve ☐ Revise |
| Visor | Curve and stiffness | Template + gentle hand check | Approved sample/spec | ☐ Approve ☐ Revise |
| Logo | Method, width and height | Ruler + method confirmation | Artwork/spec | ☐ Approve ☐ Revise |
| Logo | Position and visual centering | Fixed seam references | Placement drawing | ☐ Approve ☐ Revise |
| Logo | Color and readability | Controlled-light visual check | Thread/color reference | ☐ Approve ☐ Revise |
| Embroidery | Coverage, registration and edge quality | Normal + close inspection | Approved stitch-out | ☐ Approve ☐ Revise |
| Embroidery | Puckering, skipped stitches, loose thread | Visual and gentle handling | Defect criteria | ☐ Approve ☐ Revise |
| Exterior | Panels, seams, eyelets and button | 360-degree inspection | Construction spec | ☐ Approve ☐ Revise |
| Closure | Function and adjustment range | Repeat operation | Component/size spec | ☐ Approve ☐ Revise |
| Interior | Sweatband and binding tape | Inside-out inspection | Material/placement spec | ☐ Approve ☐ Revise |
| Labels | Artwork, order, orientation and security | Visual comparison | Final label files | ☐ Approve ☐ Revise |
| Fit | Depth, comfort and stability | Representative wear test | Target wearer brief | ☐ Approve ☐ Revise |
| Packaging | Bag, tags, inserts and crown protection | Pack/unpack review | Packaging spec | ☐ Approve ☐ Revise |
| Documentation | Version, photos, changes and signature | Record review | Approval procedure | ☐ Approve ☐ Revise |
Send JIUMU the current tech pack, artwork, cap reference, sample photos, measured differences and requested decision date. The team can organize the comments into a revision list before bulk production. Contact JIUMU.
How Should Sample Revisions Be Reported?
Use one numbered revision report. Do not scatter decisions across email, chat, annotated photos and calls without consolidating them.
Each issue should contain:
- Issue ID: HAT-S2-01.
- Area: front logo placement.
- Current condition: measured distance on sample.
- Required condition: target dimension and reference point.
- Evidence: marked photo and specification page.
- Disposition: resample, photo confirmation or document update.
- Owner: buyer or supplier contact responsible.
- Due date: agreed response date.
- Status: open, corrected, accepted or closed.
Copyable revision-report example
| Issue ID | Sample version | Current condition | Required correction | Confirmation required | Status |
|---|---|---|---|---|---|
| HAT-S2-01 | S2 | Front logo sits below placement reference | Move upward by recorded amount; size unchanged | Straight-on photo with ruler | Open |
| HAT-S2-02 | S2 | Visor curve differs from approved template | Match approved curve template | Revised physical sample | Open |
| HAT-S2-03 | S2 | Care label orientation reversed | Rotate to match final label layout | Interior photo | Open |
For every new sample, close resolved items and carry forward unresolved ones. Never send a revision list that silently drops earlier requirements.
Is a Digital Mockup Enough?
No. A digital mockup can approve:
- artwork content;
- approximate scale and placement;
- color assignment;
- planned label layout;
- general visual direction.
It cannot approve:
- actual crown height or circumference;
- fit and comfort;
- fabric hand or stiffness;
- true material color;
- visor recovery;
- embroidery density and texture;
- puckering or seam interaction;
- hardware function;
- label comfort;
- packing recovery.
A photograph of a physical sample is stronger than a render but still cannot prove tactile or fit properties. Use photo approval only for narrowly defined corrections when both parties agree that another shipped sample is unnecessary. State exactly what the photograph is authorized to confirm.
How to Create and Control the Golden Sample
After final approval, assign the physical sample a unique identity such as:
Project code – style – colorway – sample version – approval date
The buyer and supplier should ideally each retain a matching approved reference. Seal or store it to prevent casual use, fading, crushing or component removal. Attach or associate:
- signed approval form;
- tech pack revision;
- artwork and embroidery program reference;
- material and color references;
- measurement chart and tolerances;
- approved exceptions;
- packaging specification;
- date and approver;
- clear photographs.
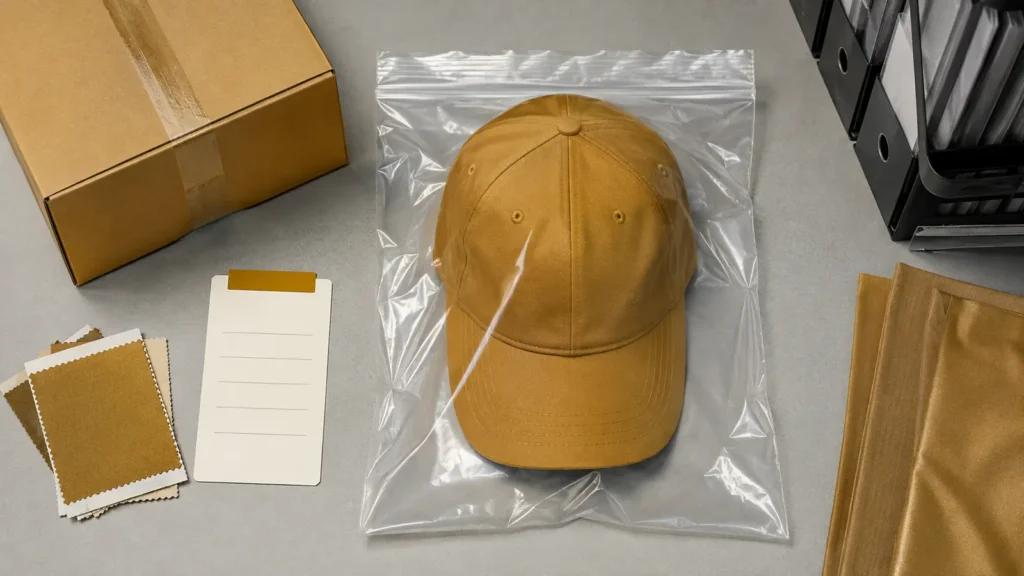
The Golden Sample is a comparison standard, not a substitute for written specifications. A single object cannot show tolerance ranges, size grading, legal label rules or different colorways. It may also include sample-stage hand operations that should not become uncontrolled bulk methods.
If an approved component becomes unavailable, the supplier should issue a change request. Material substitution, color change, revised embroidery, different closure, altered label or packaging change should not be accepted silently because it appears “similar.”
What Happens After Sample Approval?
Approval should trigger a controlled production release:
- buyer issues signed approval and closes revision items;
- supplier freezes the approved bill of materials and files;
- purchase-order details are reconciled with the sample version;
- production instructions identify critical-to-quality checkpoints;
- a pre-production meeting or internal handoff confirms responsibilities;
- first output or pre-production units are compared with the Golden Sample;
- in-process checks monitor measurements, decoration and construction;
- pre-shipment inspection evaluates the finished lot against the agreed specification and sampling plan;
- packing and carton assortments are verified before release.
Sample approval does not mean every bulk unit will be dimensionally identical. Textile products have production variation. The buyer and supplier need agreed tolerances and defect criteria. Formal lot inspection may use an agreed sampling plan; ASQ notes that ANSI/ASQ Z1.4 and Z1.9 provide sampling procedures and acceptance levels. Whether those standards apply—and which inspection level or AQL is appropriate—must be defined for the order. See ASQ’s sampling standards overview.
For more detail, use JIUMU’s Quality Control page and the guide to matching bulk production with the approved sample.
Common Sample-Approval Mistakes
Approving only the front view
The rear closure, side panels, visor twist and interior may contain the most consequential errors. Use a fixed multi-view photo set.
Changing several variables without a new version
If fabric, crown profile and logo size change together, the project needs a new sample identity. Otherwise, nobody can confirm which combination was approved.
Using color names as standards
“Navy” and “khaki” are families, not production references. Use a physical standard and agreed viewing condition.
Assuming a sample represents every size
Fitted or graded sizes can change proportions. Approve the required size set or formal grading rules.
Accepting vague corrective language
“Improve embroidery” gives no measurable target. Identify the visible defect and required confirmation.
Allowing production to start with open issues
If timing forces conditional approval, state the exact conditions, evidence and person authorized to release production. Do not treat silence as acceptance.
Failing to protect the Golden Sample
A sample used for sales meetings, wear testing or photography may fade, soil or deform. Preserve the production reference separately.
What to Send JIUMU for a Custom Hat Sample
To request or revise a sample, send:
- vector logo and all decoration files;
- cap type, panel count, structure and crown profile;
- fabric, composition, color and finish;
- size or adjustment range;
- visor length, curve and stiffness direction;
- logo method, dimensions, colors and placements;
- eyelet, button, closure and trim details;
- sweatband, seam tape, label and hangtag files;
- packaging specification;
- order quantity by color and size;
- target market and use case;
- target sample approval and delivery dates.
JIUMU’s typical MOQ is 50 pieces, subject to product structure and customization. Sample and production timing depend on the cap, decoration and approval scope; confirm the current schedule for the exact project through MOQ & Lead Time or the inquiry team.
How JIUMU Supports Sample Approval
JIUMU has supported B2B custom teamwear, custom hats, uniforms, bags and branded merchandise since 2010 in Guangdong, China. Relevant capabilities include OEM/ODM development, embroidery, woven and rubber/PVC or leather-style patches, Pantone color matching, private labels, hangtags, packaging customization, digital mockups, physical samples, quality control and export support.
For a custom hat program, JIUMU can organize the approved details into a versioned reference covering cap construction, materials, decoration, labels and packaging. The practical objective is repeatable communication: the buyer approves one defined configuration, and production and inspection refer to that same configuration.
Frequently Asked Questions
Final Approval Rule
Approve a custom hat sample only when the physical product, current specification and written decision all agree. If the sample is acceptable with conditions, write the conditions precisely. If the sample needs revision, do not release bulk production simply to preserve the schedule.
The few hours spent measuring, wearing, photographing and documenting the sample protect the buyer from a much larger dispute after production. A well-controlled Golden Sample then turns approval into a practical manufacturing reference for the first order and future repeats.
Request a custom hat sample review: Send your tech pack, logo, cap reference, quantity, sample photographs, measured differences, packaging needs and target date to zhengdong@jiumugear.com, WhatsApp/Phone +86 18507502899, or contact JIUMU online.