How to Shrink or Stretch a Baseball Cap Safely
A baseball cap that feels slightly too tight or too loose can often be improved, but the safest solution depends on its closure, fiber content, sweatband, crown structure, brim insert, and decoration. The goal is controlled fit correction—not maximum shrinkage or stretching. Aggressive heat, soaking, machine washing, or forced pulling can change the crown, curve the brim unevenly, cause color migration, or damage embroidery and patches.
This guide explains how to shrink or stretch a baseball cap safely, how to choose the lowest-risk method for each material, and when replacement or a different cap size is the better decision. It also gives teams, brands, schools, and uniform dealers a practical framework for preventing fit problems before a custom bulk order.
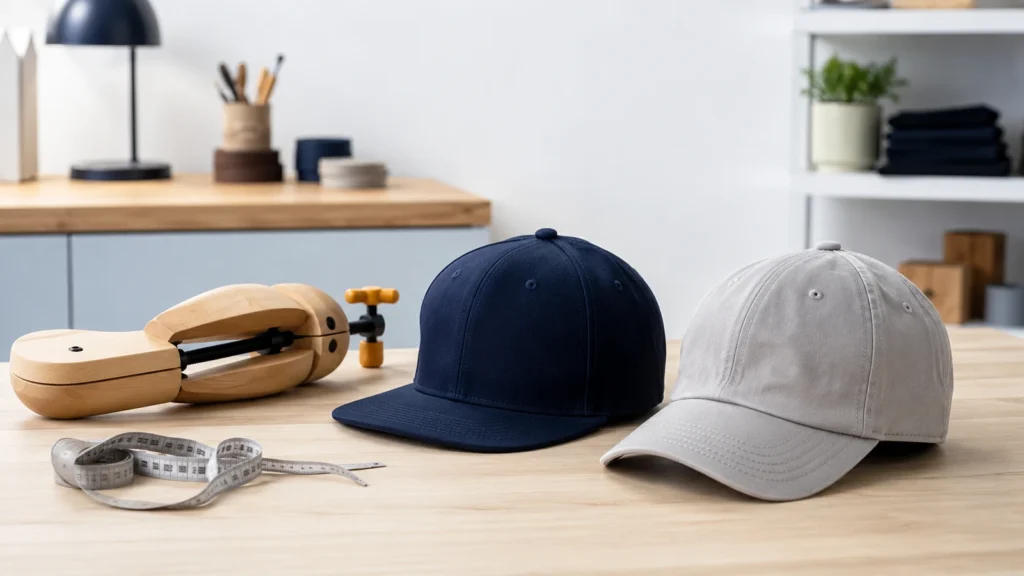
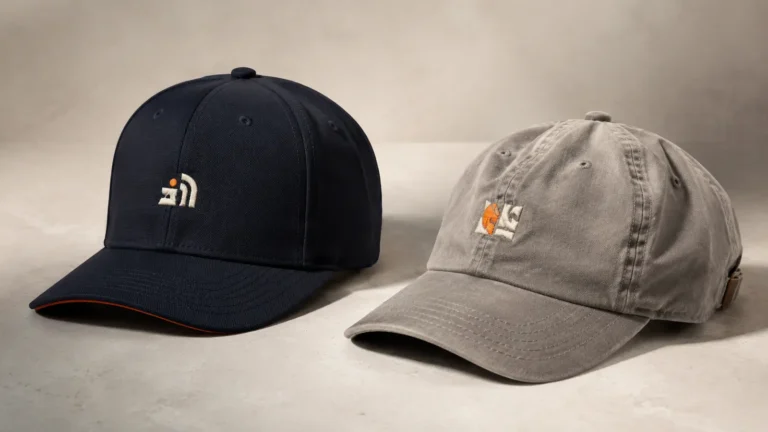
Begin with the care label, material and cap construction before making any fit adjustment.
Quick answer: Start with the care label and cap construction. For a tight fitted cap, use gradual wear, a cap stretcher, or very light moisture applied only to the inner sweatband. For a loose cap, adjust the closure first or install removable cap-sizing tape. If the cap is unstructured cotton and its care instructions permit moisture, lightly dampen the inner sweatband and let the cap air-dry on a slightly smaller form. Do not use boiling water, a clothes dryer, an iron, or intense steam. Polyester and structured caps usually do not respond predictably to home shrinking.
Preventing Cap Fit Problems in Bulk Orders
For team, retail, promotional, or private-label orders, do not rely only on “one size fits most.” Define the measured head range, crown depth, closure type, sweatband, fabric, brim construction, size breakdown, decoration method, and intended wearer group. Approve a production-intent sample on representative wearers before bulk manufacturing.
Compare custom baseball caps and custom fitted hats, then request a custom cap quotation with your logo and fit requirements.
Can You Safely Change the Size of a Baseball Cap?
You can usually make a minor fit correction, especially around the sweatband. You should not expect a home method to convert a cap that is clearly the wrong size into a precise new size.
The phrase “shrink a cap” can also be misleading. Cotton fabric does not simply contract because it becomes hot. CottonWorks explains that dimensional change is associated with wetting, fiber swelling and deswelling, mechanical action, construction, and finishing—not heat alone. That is one reason an uncontrolled washer-and-dryer method can produce an uneven result instead of a clean reduction in circumference. See the technical explanation in CottonWorks’ Guide to Improved Shrinkage Performance of Cotton Fabrics.
Cap construction makes the outcome even less predictable. Crown fabric, reinforcement, sweatband, brim insert, embroidery backing, patches, and closures can all react differently to water, heat, and tension. The safest strategy is to adjust the part that controls fit—usually the closure or sweatband—while protecting the crown and brim.
Decide Before You Adjust: Tight, Loose, or the Wrong Shape?
Do not begin with water. First identify the actual problem.
| Fit problem | Likely cause | Lowest-risk first step | Avoid |
|---|---|---|---|
| Slight pressure at the forehead | Sweatband is snug or cap is not broken in | Short wear sessions or a cap stretcher | Pulling hard on the brim and back panels |
| Tight all around the head | Fitted size is too small | Measure the cap and consider the next size | Trying to gain a large amount through force |
| Loose fitted cap | Circumference is slightly too large | Removable sizing tape behind the sweatband | Full-cap hot-water shrinking |
| Loose adjustable cap | Closure is not set correctly | Shorten the strap or change snap position | Shrinking the entire crown |
| Crown feels shallow | Profile or crown depth is wrong | Choose a deeper profile | Stretching downward from the top button |
| Pressure above the ears | Shape mismatch, not only circumference | Try a different cap block or profile | Overstretching one side |
| Brim sits awkwardly | Brim curve is wrong | Reshape the brim gradually by hand | Soaking or heating the brim insert |
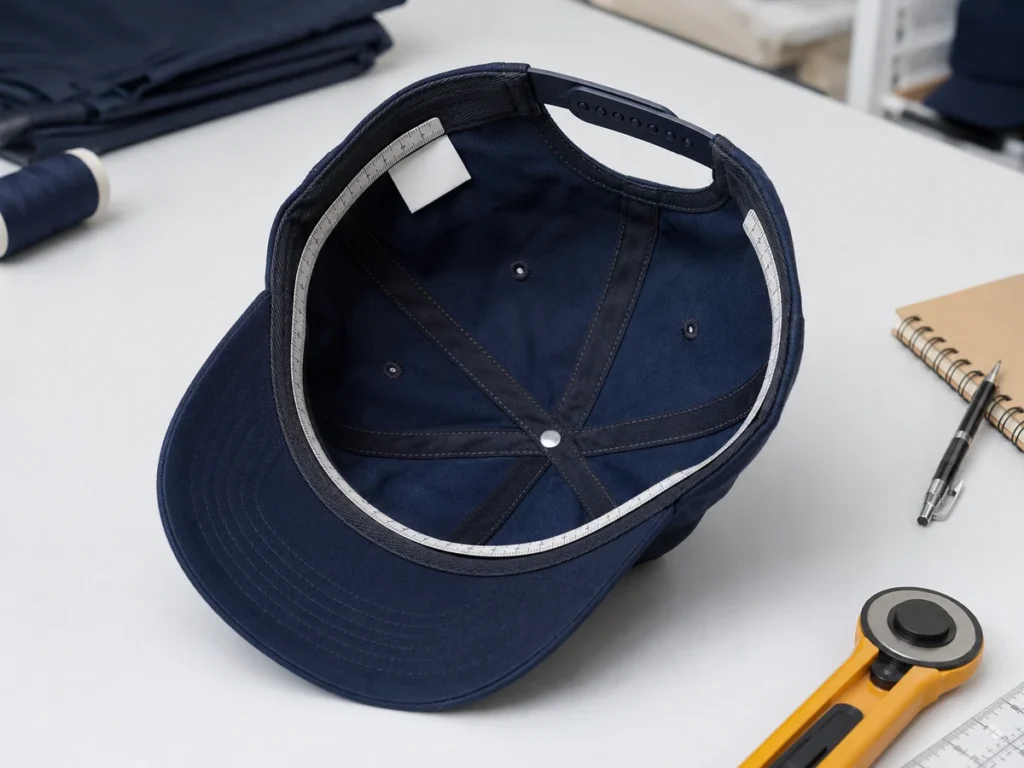
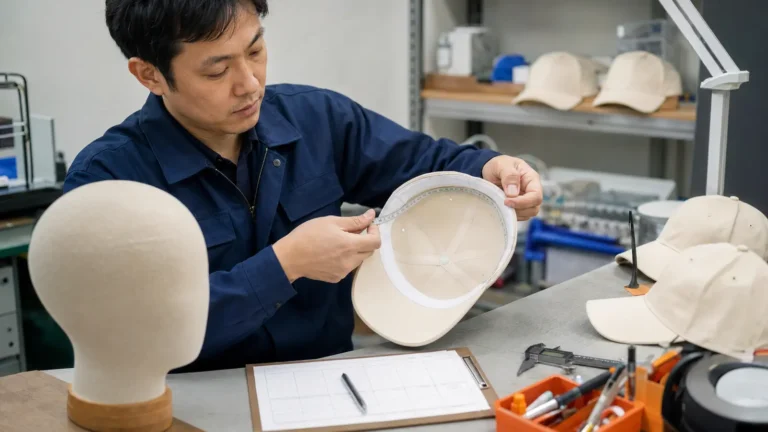
Measure the relaxed sweatband and record the closure, material and pressure area before choosing a method.
Measure the fit instead of guessing
Use a soft measuring tape around the head where the sweatband sits—normally above the eyebrows and ears. Keep the tape level and comfortably snug. Then measure the inside circumference of the cap at the sweatband without pulling it.
Also record:
- The cap’s labeled size
- Closure type and current setting
- Fiber content
- Whether the crown is structured or unstructured
- Whether the brim insert is washable
- Logo method and placement
- The exact pressure area
If the difference is more than a small fit correction, a different size or profile is more reliable than aggressive alteration.
How Cap Materials Respond to Shrinking and Stretching
The care label is the primary instruction. The table below is a practical risk guide, not a substitute for the manufacturer’s directions.
| Material or construction | Stretching potential | Shrinking potential | Main risk | Recommended approach |
|---|---|---|---|---|
| Cotton twill | Moderate for small adjustments | Variable | Color change, puckering, uneven panel relaxation | Light sweatband moisture; gradual air-drying |
| Cotton/polyester blend | Low to moderate | Low and inconsistent | Different fibers respond differently | Adjust closure, use sizing tape, or stretch gradually |
| Polyester | Low | Very low at safe care temperatures | Heat distortion, finish damage, shine | Do not chase shrinkage with heat |
| Wool or wool blend | Moderate when carefully conditioned | Potentially high but difficult to control | Felting, permanent uneven shrinkage | Follow label; use mild, controlled methods only |
| Performance mesh | Low to moderate | Low | Mesh distortion and seam stress | Adjust closure; avoid high heat |
| Stretch-fit with elastane | Built-in recovery, limited extra stretch | Not a safe target | Loss of elasticity under heat | Use within intended size range |
| Structured crown with buckram | Limited | Unpredictable | Crown collapse or bubbles | Keep crown dry; work at sweatband only |
| Patch or dense embroidery | Depends on base cap | Depends on base cap | Warping, adhesive failure, puckering | Keep intense heat and direct steam away |
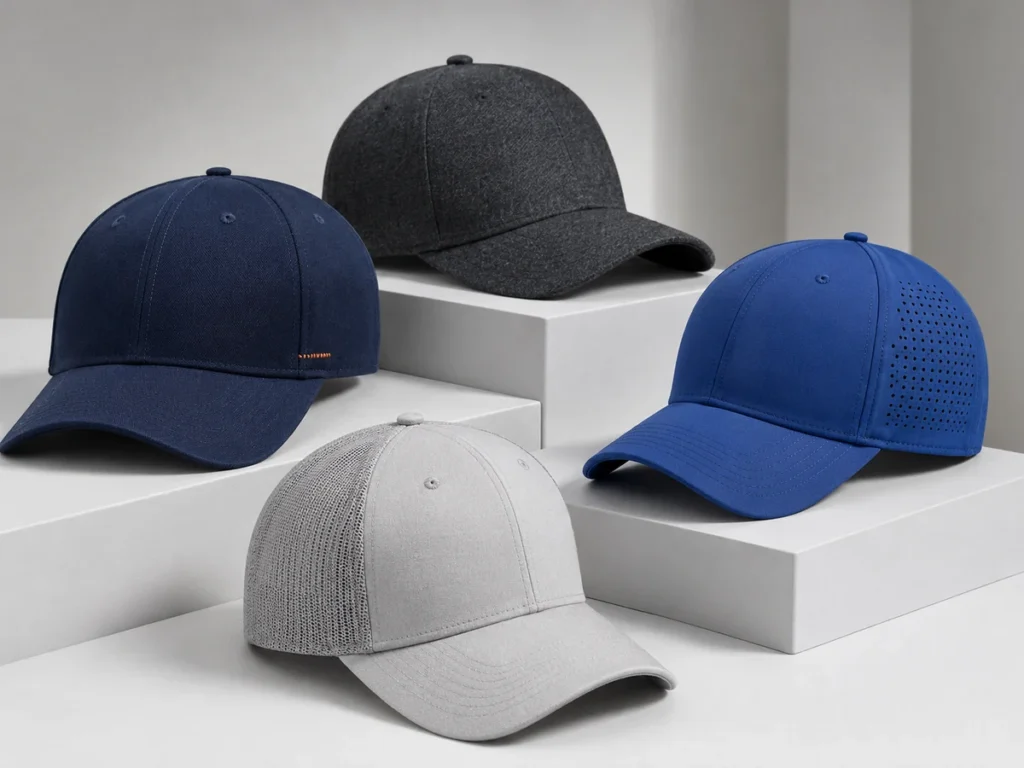
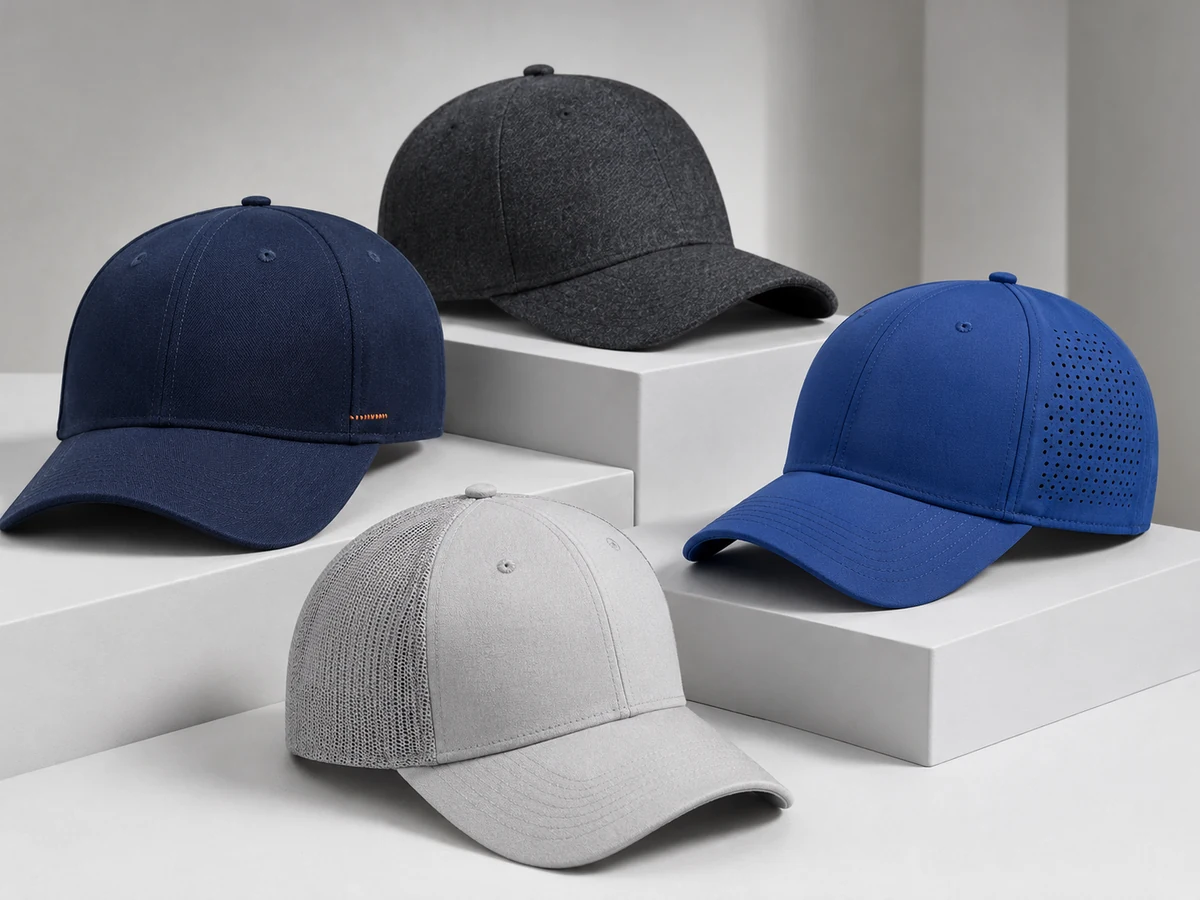
Fiber, fabric construction and finishing affect how safely a cap can be adjusted.
New Era’s official cap-care guidance illustrates why conservative methods matter: for its caps, the company recommends spot cleaning and air-drying, and advises against machine washing, full submersion, machine drying, and intense heat on patches or embroidery. The instructions also note that leather, suede, silk, and other specialty fabrics require special care. Always apply the directions for the cap you own rather than assuming every hat has the same construction. See New Era Customer Care.
For wool, follow the sewn-in care claim. Woolmark recommends mild detergent and a wool or delicate cycle only where the care label permits it; its hand-washing guidance uses lukewarm water and gentle handling for items labeled for hand washing. A baseball cap may contain rigid components that a sweater does not, so this wool guidance supports fiber care but does not authorize soaking an entire cap. See Woolmark’s wool-care guidance.
How to Stretch a Baseball Cap Safely
Use the least aggressive method that can solve the problem. Stop if seams become taut, the sweatband starts separating, the crown distorts, or the brim shifts off center.
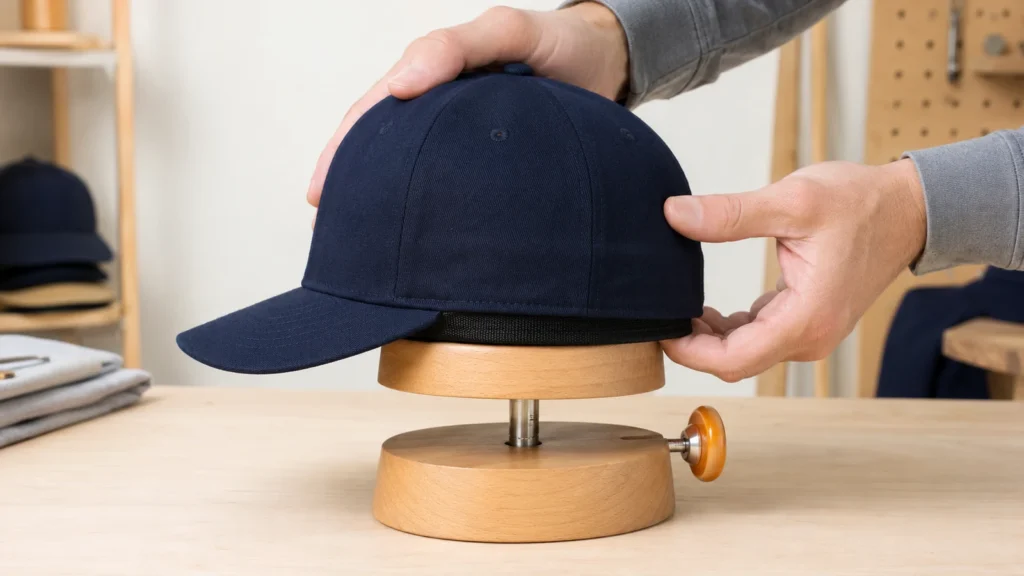
A cap stretcher applies gradual, even pressure to the sweatband without pulling the brim.
Method 1: Break in a slightly tight cap through short wear
This is appropriate when the cap is only mildly snug and causes no pain.
- Wear the cap for 15–30 minutes indoors.
- Remove it if you feel a headache, numbness, a strong pressure line, or discomfort above the ears.
- Let the cap rest in its natural shape.
- Repeat over several short sessions.
Normal movement may allow a small amount of gradual relaxation. Do not wet the cap while wearing it; moisture can transfer dye and set an unwanted crown shape.
Method 2: Use a cap stretcher for an even adjustment
A purpose-made cap stretcher applies more even pressure than pulling the cap by hand.
- Confirm that the stretcher contacts the inner sweatband, not the brim.
- Insert it so pressure is distributed from front to back or side to side, depending on the tight area.
- Expand it only until the sweatband is gently tensioned.
- Leave it for a few hours, then release and test the fit.
- Repeat in small increments if necessary.
For a dry cap, this is the lowest-risk mechanical method. If the care label permits light moisture, you may wipe the inside of the sweatband with a barely damp cloth before stretching. The band should feel conditioned, not saturated. Keep moisture away from the brim insert, patches, leather details, and adhesive-backed decorations.
Method 3: Stretch only the pressure zone
If the overall circumference is acceptable but one area feels tight, orient the stretcher to relieve that zone. Use front-to-back tension for forehead pressure or gentle lateral tension above the ears. Localized adjustment is preferable to making the entire cap too loose.
Method 4: Use your hands only for a very small correction
Hold the sweatband at opposite points and apply slow, steady pressure. Do not grip the brim, top button, eyelets, patch edges, or embroidery. Stop when the fabric is lightly tensioned.
Avoid sudden pulling. A “pop” may be a seam, reinforcement stitch, or fused layer releasing—not successful stretching.
How far should you stretch a cap?
Treat stretching as a minor comfort adjustment. If the cap needs a visibly larger circumference, the safe solution is a larger size, a different profile, or an adjustable closure. A cap that has been stretched beyond its designed block may develop:
- Flattened front panels
- Off-center embroidery
- A widened but shallower crown
- Uneven seam tension
- A brim that no longer sits square
- A sweatband that rolls outward
For a uniform program, do not use stretching as the planned method for fitting many wearers. It is a correction for isolated cases, not a substitute for size testing.
How to Shrink a Baseball Cap Safely
Begin with reversible options. Purposeful fabric shrinkage is less controllable than adding a small amount of removable padding.
Method 1: Adjust the closure
For snapback, strapback, hook-and-loop, and buckle closures, this is the correct first response.
- Move a snapback inward by one position.
- Shorten a fabric strap and secure the excess.
- Reposition a hook-and-loop closure evenly.
- Check that a metal buckle is holding the strap without slipping.
If the front still feels loose after the rear is tightened, the issue may be crown profile or head shape rather than circumference.
Method 2: Install removable cap-sizing tape
Sizing tape is usually the safest solution for a fitted cap that is slightly loose.
- Use clean, dry, removable foam sizing strips intended for hats.
- Lift the sweatband carefully.
- Place short sections behind the sweatband at the back or sides.
- Avoid stacking too much material in one point.
- Test the cap and redistribute the strips until pressure is even.
This method preserves the crown and can be reversed. It is also useful when one team member falls between available fitted sizes.
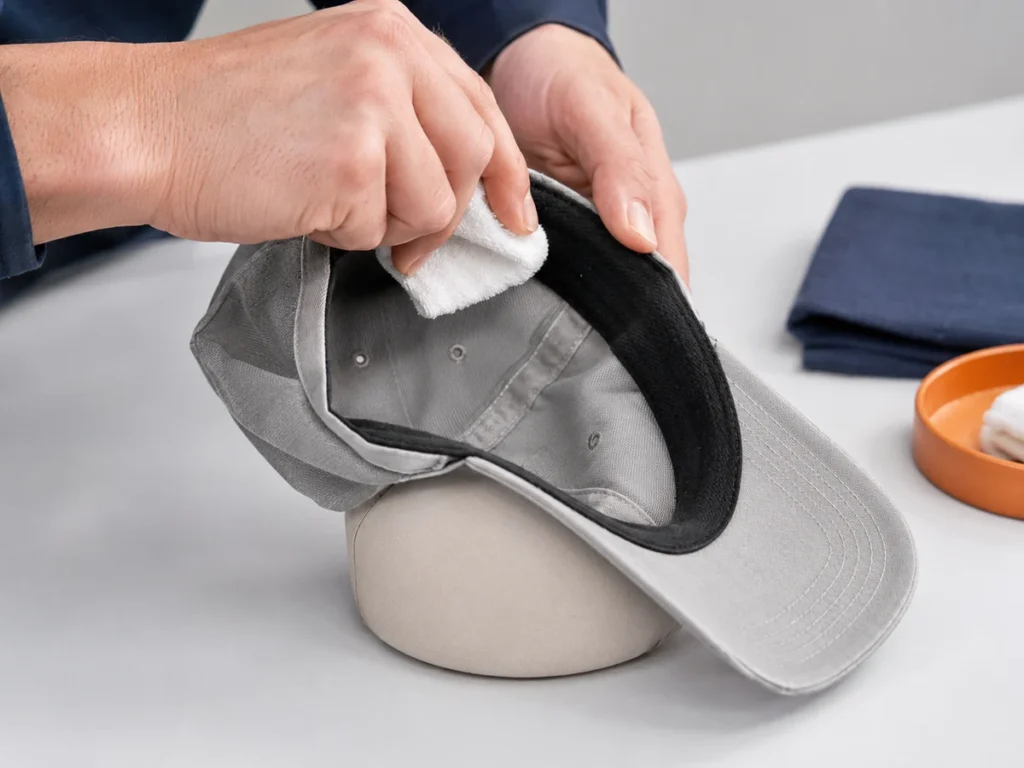
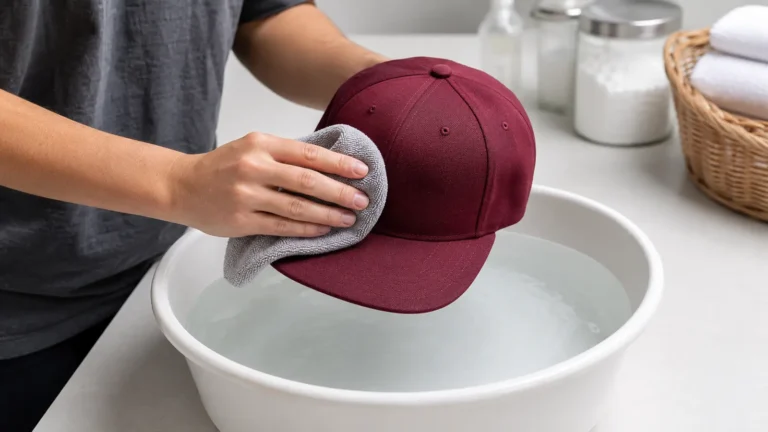
When the care label permits moisture, condition only the sweatband and keep the brim and crown from becoming saturated.
Method 3: Lightly condition a cotton sweatband and air-dry
Use this only when the cap’s care instructions allow light moisture and the cap has no water-sensitive components.
- Protect the brim and exterior crown with a clean towel.
- Use a damp—not dripping—cloth to wipe the inside of the cotton sweatband.
- Keep water away from contrasting color panels and decorative materials.
- Place the cap on a clean form that is slightly smaller than its current fit.
- Arrange the crown and center the brim.
- Let it air-dry away from radiators, hair dryers, direct high heat, and strong sunlight.
- Test the fit only after the cap is completely dry.
Expect only a modest change. If there is no result, do not escalate to boiling water or a tumble dryer.
Method 4: Controlled crown misting—only for eligible unstructured cotton caps
This is a higher-risk option and is not appropriate for every baseball cap. Consider it only if:
- The care label permits water exposure
- The cap is primarily cotton
- The crown is unstructured
- The brim insert is confirmed washable or can remain dry
- There are no leather, suede, silk, adhesive-sensitive, or specialty components
- Colorfastness has been tested in a hidden area
Use a fine mister to apply a small, even amount of lukewarm water to the inside cotton panels. Do not soak the cap. Shape it on a slightly smaller form and air-dry. Inspect the seams, panel symmetry, embroidery, and brim alignment while drying.
If a panel changes color or puckers, stop and return the cap to its natural form.
Why a clothes dryer is not a safe shrinking tool
A dryer combines mechanical tumbling, heat, and uncontrolled contact. Those forces may:
- Twist the crown
- Delaminate or deform reinforcement
- Damage the brim insert
- Set wrinkles
- Create shine on synthetic fabric
- Distort plastic closures
- Pucker embroidery
- Reduce elastane recovery
Even if the cap becomes smaller, it may not become better fitting. Air-drying in a supported shape provides more control.
Methods to Avoid
Online advice often focuses on dramatic transformation rather than predictable cap care. Avoid the following:
Boiling or very hot water
It creates a high risk of dye migration, seam puckering, adhesive failure, and inconsistent dimensional change. It may also deform synthetic fibers and closure components.
Direct steam on logos or patches
Intense steam can affect embroidery backing, patch adhesives, foam, and structured front panels. Official New Era guidance specifically advises against intense heat such as a steamer on patches or embroidery for its caps.
Ironing the crown or sweatband
An iron concentrates heat and pressure in a small area. This can create shine, flatten texture, mark seams, or melt heat-sensitive components.
Washing machine cycles
Agitation and spin forces can deform the crown and brim. A cap cage may reduce impact but does not change the cap’s care label or make every construction machine washable.
Dishwasher cleaning
Dishwashers are designed for hard goods, not textile composites. Heat, detergent chemistry, spray pressure, and long wet exposure can damage a cap.
Pulling the brim to stretch the cap
The brim is not a handle. Pulling it can change its curve, separate stitching, or distort the crown-to-brim seam.
Wearing a saturated cap until it dries
This gives poor control over dye transfer, skin contact, crown shape, and final tension. Use a clean form instead.
How to Protect the Brim, Crown, and Logo During Adjustment
Fit is only one quality criterion. A cap that fits better but looks distorted is not a successful adjustment.
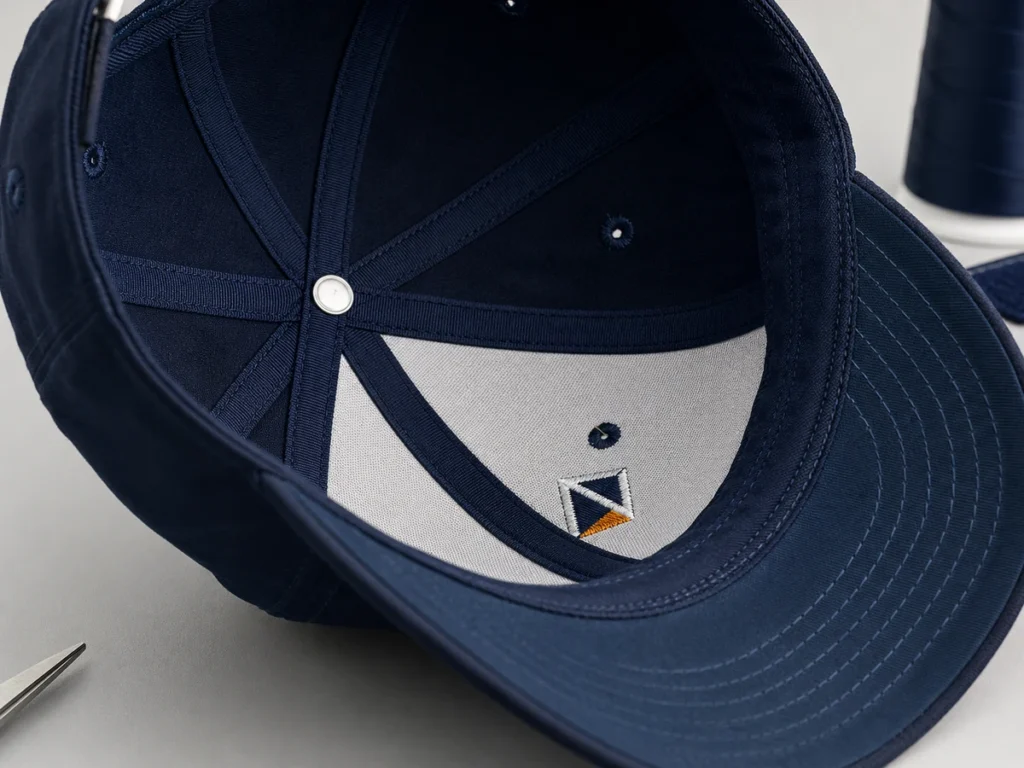
Fit treatment must protect the sweatband, crown support, brim insert and decoration as one assembled product.
Protect the brim
Keep it dry unless the care label specifically permits wet cleaning. Support its existing curve during any sweatband treatment. Do not clamp, fold, or sharply bend it.
Protect a structured crown
Structured front panels may contain buckram or fused support. Keep these panels away from soaking and concentrated steam. While the sweatband dries, fill the crown lightly with clean, colorfast tissue or place it over a smooth cap form.
Protect embroidery and patches
Do not apply direct heat. Avoid stretching directly across dense embroidery because the base fabric and embroidery threads may respond differently. Inspect patch edges before and after adjustment.
Protect multi-color panels
Test a hidden area with a damp white cloth. If color transfers, stop. Clean or condition one color area at a time to reduce the risk of bleeding.
What to Do If You Overstretch or Overshrink a Cap
Stop before applying a second aggressive treatment. Repeated wetting, heat, and tension usually add variability.
If the cap is too loose, let it dry fully, remove any stretcher, and use reversible sizing tape or the closure. If it is too tight, let it dry before measuring, then use a cap stretcher without heat in small stages. If the crown or brim is distorted, support it in a neutral shape, center the front seam and brim, and contact a professional cleaner or the supplier when the cap is valuable or decorated.
A split seam, delaminated crown, warped insert, or bleeding dye is a repair issue—not a sizing issue.
Preventing Fit Problems in Custom Baseball Cap Orders
For teams, schools, distributors, promotional companies, and private-label brands, the better strategy is to specify fit correctly before bulk production.
Choose the right sizing system
| Sizing system | Best for | Procurement advantage | Main limitation |
|---|---|---|---|
| Adjustable snapback | Mixed adult groups, promotions, resale | Broad fit range and simple inventory | Plastic snap may not suit every brand position |
| Fabric strap with buckle | Lifestyle, retail, schools, corporate merchandise | Refined appearance and micro-adjustment | Strap length and hardware must be approved |
| Hook-and-loop | Workwear, events, functional programs | Fast adjustment | Visible closure may feel less premium |
| Fitted numeric sizes | Baseball teams and authentic sport styling | Clean rear profile and consistent look | Requires accurate size distribution |
| Stretch-fit size groups | Teams and staff programs | Fewer SKUs than fitted sizes | Elastic recovery and size range require testing |
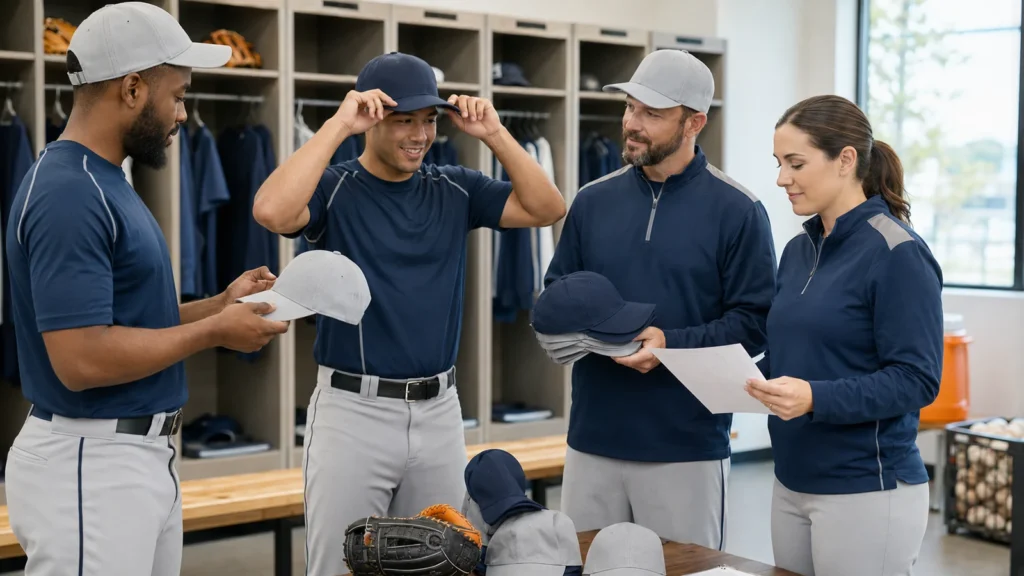
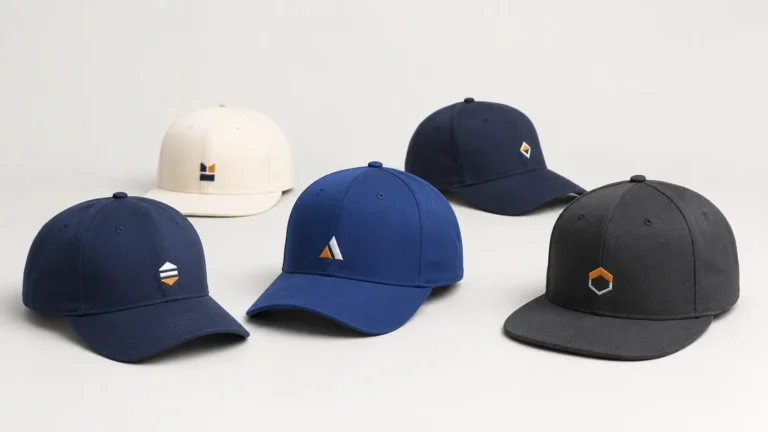
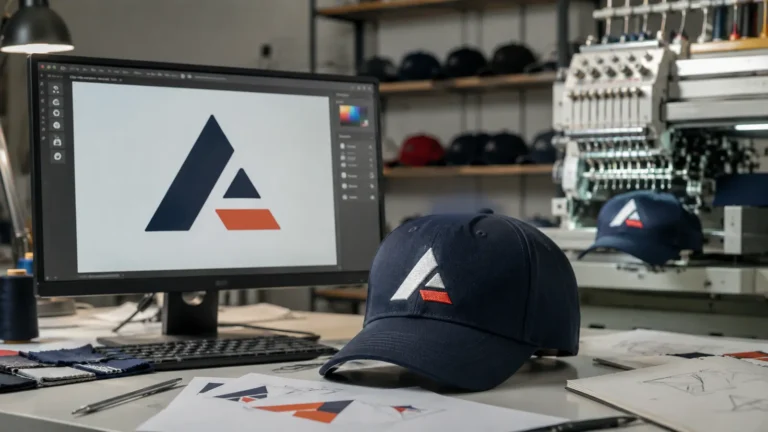
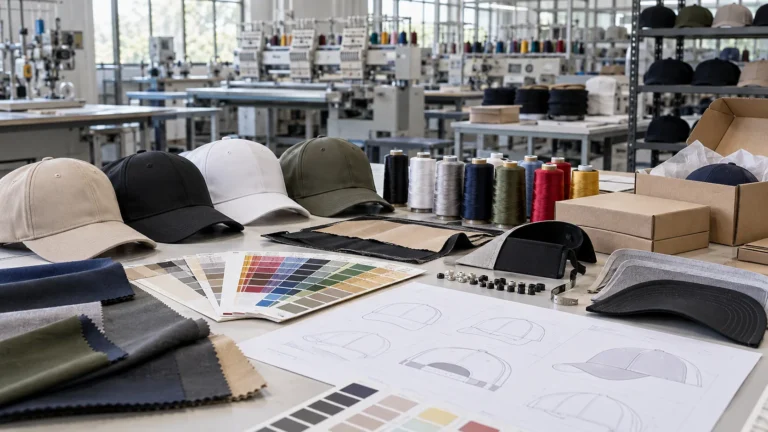
A size survey and decorated sample help teams approve fit before production.
Build a head-size distribution
Do not order one fitted size for an entire group. Ask wearers to measure at the intended sweatband position, then consolidate results into size groups. Keep a record of measurement method so repeat orders use the same basis.
Approve the cap profile, not only circumference
Low-, mid-, and high-profile caps can feel different at the same circumference. The number and shape of panels, front structure, crown depth, brim width, and sweatband construction all affect perceived fit.
Test the decorated sample
Embroidery can stabilize or pull the front panel. A large patch can change flexibility. A thick sweatband can reduce the usable internal circumference. Therefore, approve a sample with the intended:
- Base fabric
- Crown structure
- Sweatband
- Closure
- Brim type
- Logo method
- Logo size and stitch density
- Labels and internal taping
Sample Approval and Quality-Control Checklist
Use one approved cap as the control sample for bulk inspection.
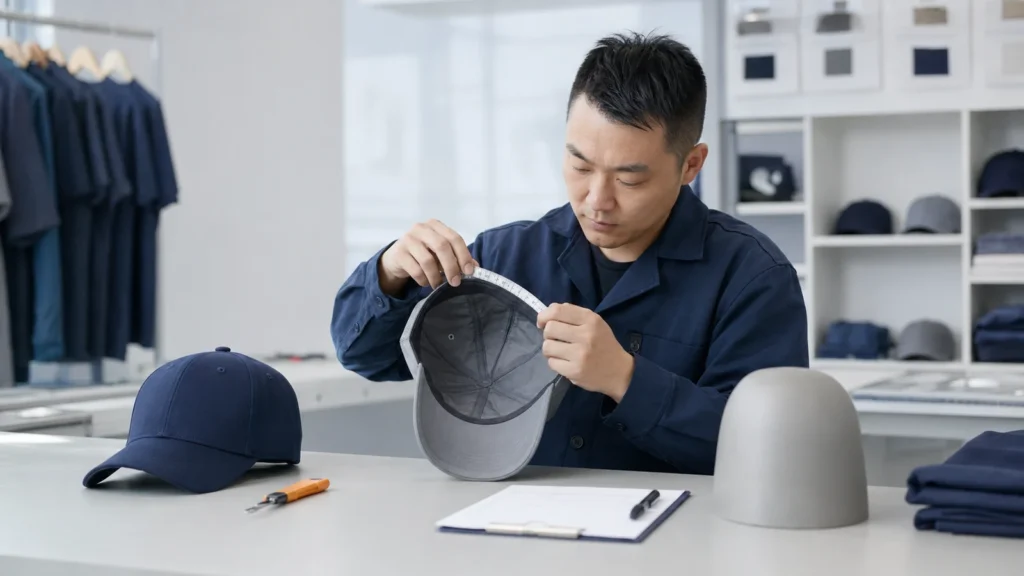
Use an approved control sample and a consistent relaxed measurement method for bulk inspection.
| Checkpoint | What to verify | Why it matters |
|---|---|---|
| Internal circumference | Measure at the sweatband without stretching | Confirms practical fit |
| Crown height and profile | Compare front, side, and rear shape | Prevents a cap that feels too shallow or deep |
| Brim width and curve | Check symmetry and center alignment | Affects appearance and wear position |
| Sweatband thickness | Compare material, width, and seam joins | Changes comfort and usable circumference |
| Closure range | Test minimum, middle, and maximum positions | Confirms adjustment works for the target group |
| Embroidery or patch position | Measure from seams and brim | Detects visual drift and panel distortion |
| Color consistency | Compare crown, brim, button, eyelets, and closure | Supports team and brand consistency |
| Seam tension | Inspect puckering, loose threads, and skipped stitches | Indicates construction stability |
| Recovery after wear | Wear-test or use the agreed fitting form | Identifies unwanted permanent stretch |
| Packaging shape | Confirm crown and brim are protected in transit | Prevents deformation after production |
What to Send a Supplier for an Accurate Quotation
A useful request for quotation should include:
- Cap style: baseball cap, fitted cap, snapback, dad cap, trucker cap, or another structure
- Quantity by color and size
- Target wearer: adult, youth, team, retail, staff, or promotional use
- Crown profile and structure
- Fabric preference or performance requirement
- Brim shape and color details
- Closure type and hardware finish
- Logo artwork, size, position, and decoration method
- Pantone or physical color reference where consistency matters
- Private label, hangtag, barcode, and packaging requirements
- Destination country and target delivery date
- Reference images, tech pack, or approved sample
If fit is a priority, add the wearer head-size distribution and the measurement method used to create it.
Planning a custom cap order? Share your cap style, quantity, size breakdown, colors, logo artwork, decoration method, packaging requirements, destination, and target delivery date with JIUMU. Explore custom baseball caps or request a specification-based quotation.
Questions to Ask a Custom Cap Supplier
- What internal circumference tolerance is used for each size?
- Is the sample measured relaxed or under tension?
- Which crown block and profile will be used?
- Is the sweatband included in the stated internal measurement?
- Can the supplier provide a full size set before bulk production?
- How will embroidery or patch application affect panel stiffness?
- Which components are sensitive to water or heat?
- What care label will be sewn into the cap?
- How are brim curve and crown shape protected during packing?
- What inspection points are recorded before shipment?
- How are repeat-order fabric, color, and fit specifications retained?
Answers should be connected to measurable specifications, sample approval, and inspection—not general promises.
Common Mistakes When Ordering Baseball Caps
Treating “one size fits most” as universal
Adjustable does not mean every wearer will be comfortable. The crown profile and closure range still require approval.
Choosing a fitted cap without a size survey
Inventory becomes difficult without a reliable size distribution.
Approving artwork before approving fit
Approve the blank structure and decorated sample as separate checkpoints.
Ignoring decoration stiffness
Large embroidery areas and patches can make a front panel feel firmer. This may change comfort and perceived profile.
Using home shrinking as a bulk-order correction plan
Home alteration cannot deliver consistent measurements across dozens or hundreds of caps. If production sizing is incorrect, document the variance and discuss corrective action with the supplier.
Failing to define the measurement method
Two people can obtain different results if one stretches the sweatband and the other measures it relaxed. Record the tool, position, and tension standard.
Why JIUMU Is Relevant for Custom Baseball Caps
Established in 2010 in Guangdong, China, JIUMU supplies custom hats, teamwear, uniforms, bags, and branded merchandise for B2B buyers in North America and Europe. Its approved capabilities include OEM and ODM development, embroidery, screen printing, heat transfer, woven and rubber/PVC patches, leather-style patches, fabric sourcing, Pantone color matching, private labels, hangtags, packaging customization, digital mockups, physical samples, bulk production, quality control, and export support. Procurement teams can review the JIUMU company facts and company verification and certificate records before supplier approval.
For cap programs, the practical advantage is the ability to coordinate structure, fit, color, logo method, labeling, and packaging within one specification process. Typical MOQ starts from 50 pieces, subject to cap construction and customization.
Buyers can review JIUMU’s custom baseball caps, explore custom fitted hats, learn about custom hat manufacturing, or read the JIUMU company profile.
Frequently Asked Questions
Final Recommendation
The safest way to shrink or stretch a baseball cap is to make the smallest possible adjustment at the component that controls fit. Stretch a tight fitted cap gradually at the sweatband. Make a loose cap smaller with its closure or removable sizing tape. Use light moisture only when the care label and materials allow it, and always air-dry the cap in a supported shape.
Avoid boiling water, dryers, irons, full submersion, and intense steam. Those methods may alter circumference, but they can also damage the crown, brim, color, logo, and closure.
For B2B cap programs, prevent the problem through head-size data, profile approval, decorated samples, measurable tolerances, and a retained control sample.
About JIUMU
Established in 2010 in Guangdong, China, JIUMU supports B2B custom hat, teamwear and branded-merchandise programs for buyers in North America and Europe.