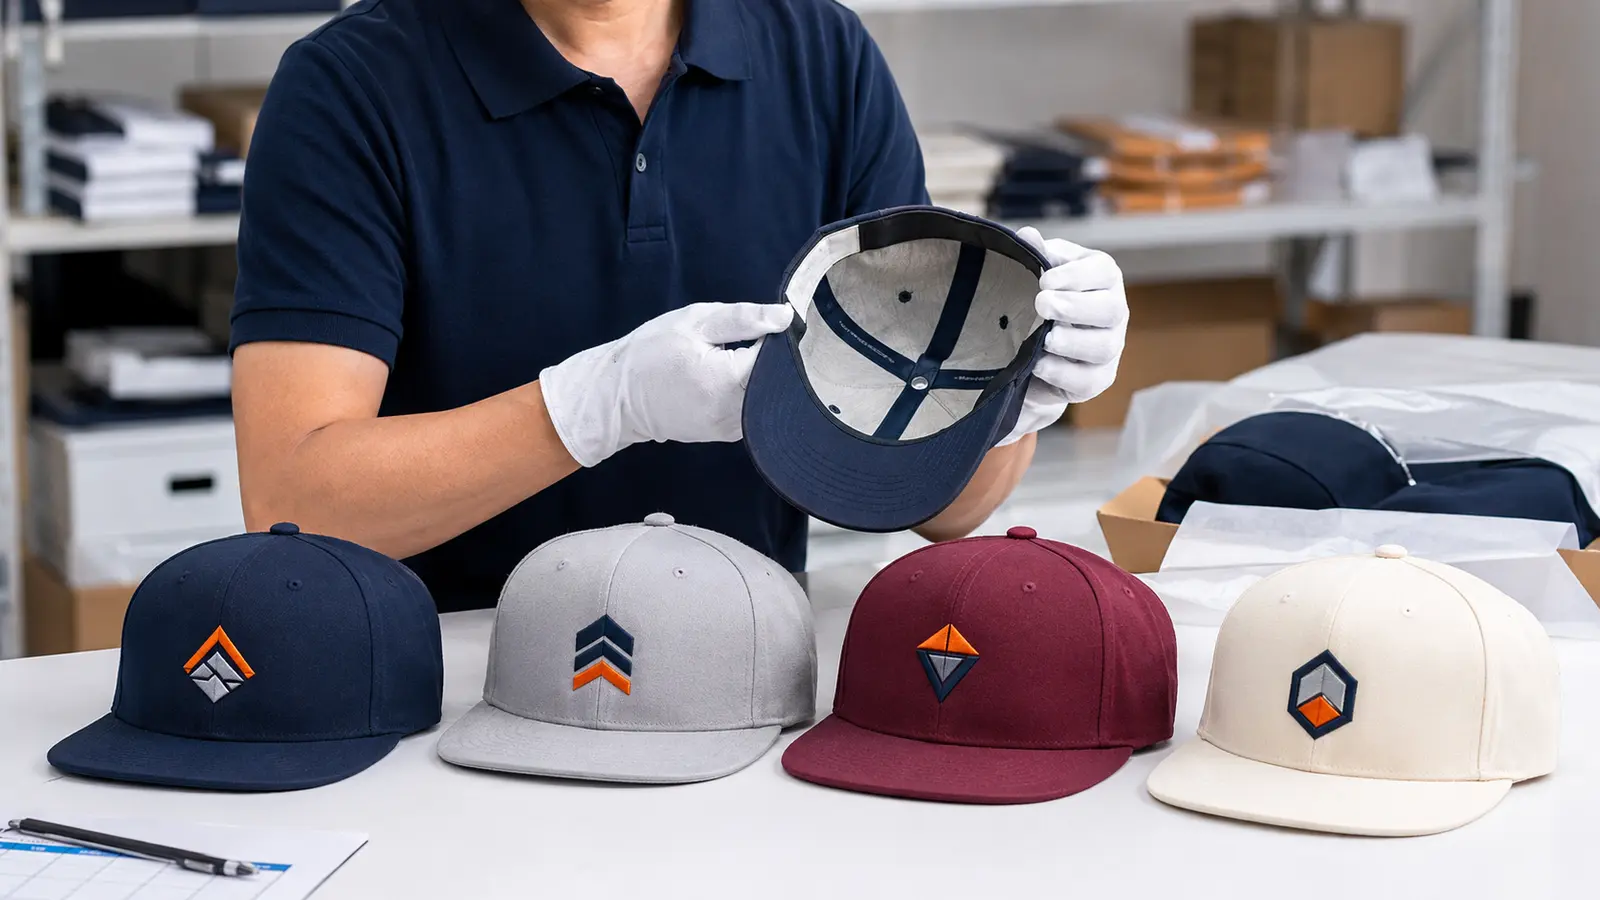
How to Clean and Wash a Snapback Hat Without Damaging the Shape
A snapback hat looks simple, but it combines several components that do not always react to water in the same way. The crown may contain stiffening material. The brim has an internal insert. The sweatband collects skin oils and salt. Embroidery, patches, printed artwork, contrast panels, eyelets, seam tape, and the plastic closure each introduce their own care requirements.
That is why throwing a snapback into a washing machine can turn a routine cleaning job into a misshapen crown, curled brim, faded panel, or damaged logo. The safer approach is to identify the hat’s construction, use the least aggressive cleaning method that will solve the problem, and support the shape while the hat dries.
This guide explains how to clean a snapback hat at home without damaging its structure. It also gives teams, schools, retailers, uniform dealers, and private-label buyers a practical framework for writing care instructions for custom hat programs.
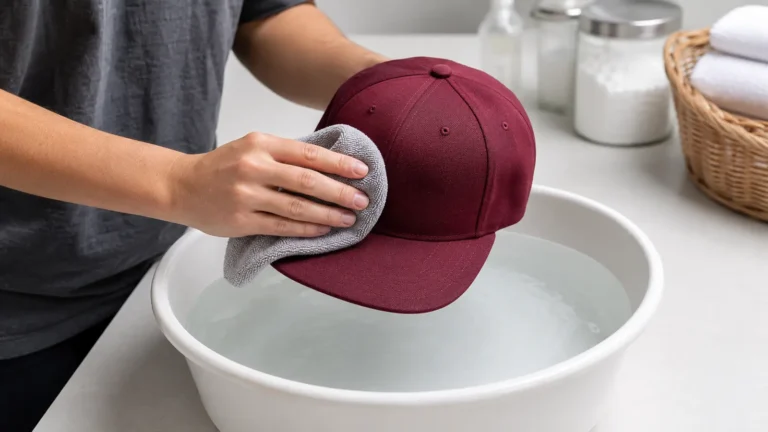
Quick answer: Check the sewn care label first. For most structured snapbacks, begin with spot cleaning: test for color transfer, mix a small amount of mild detergent with cool or lukewarm water, dab or gently brush the dirty area, remove soap with a clean damp cloth, blot excess moisture, reshape the crown, and air-dry the hat away from direct heat. Do not use a washer, dryer, bleach, dishwasher, hot water, or forceful wringing unless the manufacturer’s care instructions specifically permit it. New Era’s published cap-care guidance likewise recommends spot cleaning, avoiding complete soaking for structured caps, and air-drying rather than machine drying (New Era Customer Care; New Era Europe Cap Care Guide).
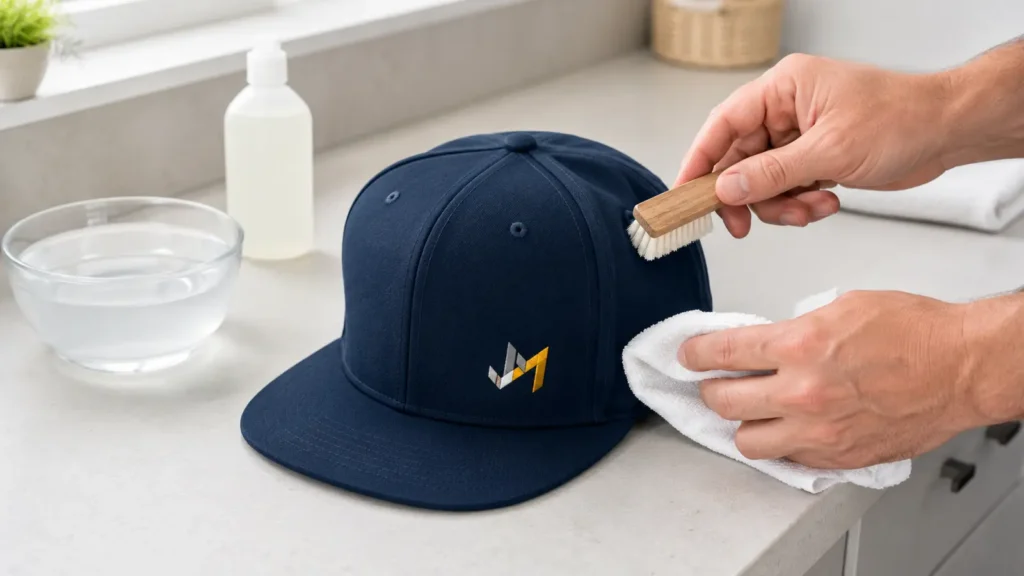
Why Snapback Shape Is Easy to Damage
A snapback’s recognizable profile depends on tension and alignment between several parts:
- Crown panels create the height and silhouette.
- Front-panel reinforcement helps a structured crown stand upright.
- The brim insert holds the visor’s flat or curved form.
- Seams and tapes keep the panels aligned.
- The sweatband stabilizes the lower edge and absorbs moisture.
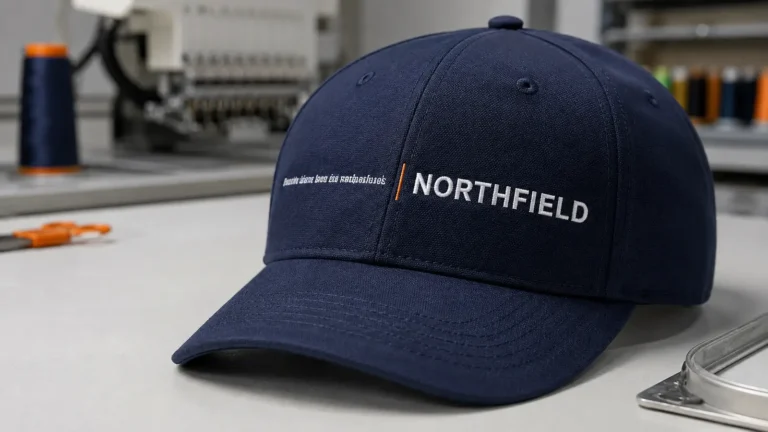
- Embroidery or patches add concentrated weight and stiffness.
- The snap closure sets the opening and fit at the back.
Too much water can soften some components unevenly. Agitation can crease the crown or twist the brim. Hot water and heated drying can contribute to shrinkage, distortion, adhesive failure, or color change. Strong cleaners may affect dye, coatings, prints, patches, or embroidery thread.
The main goal is therefore not simply “make the hat wet and remove dirt.” It is to control four variables: water, chemistry, friction, and drying position.
Inspect the Hat Before Cleaning
Do not begin with a universal cleaning recipe. Begin with the individual hat.
1. Read the care label
The sewn label is the primary instruction for that product. Follow it when it differs from general advice. A supplier may specify spot clean only, hand wash, do not bleach, or another limitation based on the actual fabric, trim, and internal construction.
2. Identify the brim construction
Do not assume that every snapback brim contains the same material. Some older or specialty hats may contain moisture-sensitive paperboard. Many modern caps use a plastic or composite insert, but exterior fabric, adhesives, stitching, prints, and edge construction can still be damaged.
If the brim material is unknown, avoid soaking it. Clean the surface with a controlled amount of moisture.
3. Check the crown
A structured front normally contains reinforcement that creates a firm profile. An unstructured crown is softer and may tolerate handling differently, but it can still dry with wrinkles. In both cases, avoid crushing the panels and support the crown during cleaning and drying.
4. Review colors and decoration
Look for:
- light and dark contrast panels;
- embroidery with several thread colors;
- screen print or heat-transfer graphics;
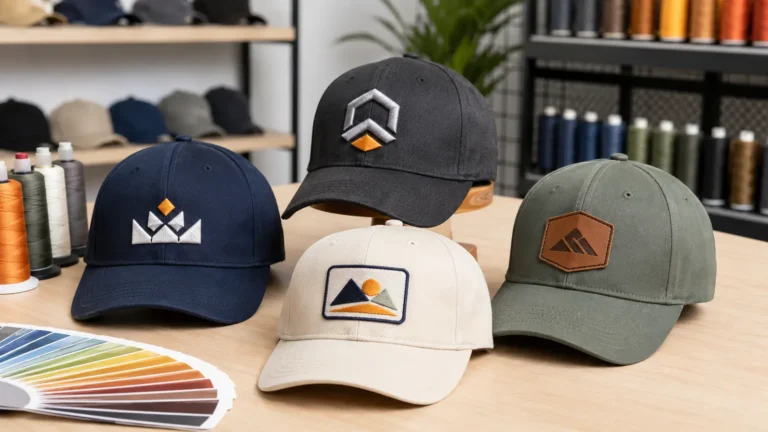
- woven, rubber/PVC, or leather-style patches;
- printed underbrims;
- metallic thread or special finishes;
- vintage washing, distressing, or pigment dye.
These details determine where you should test the cleaning solution and how much rubbing is safe.
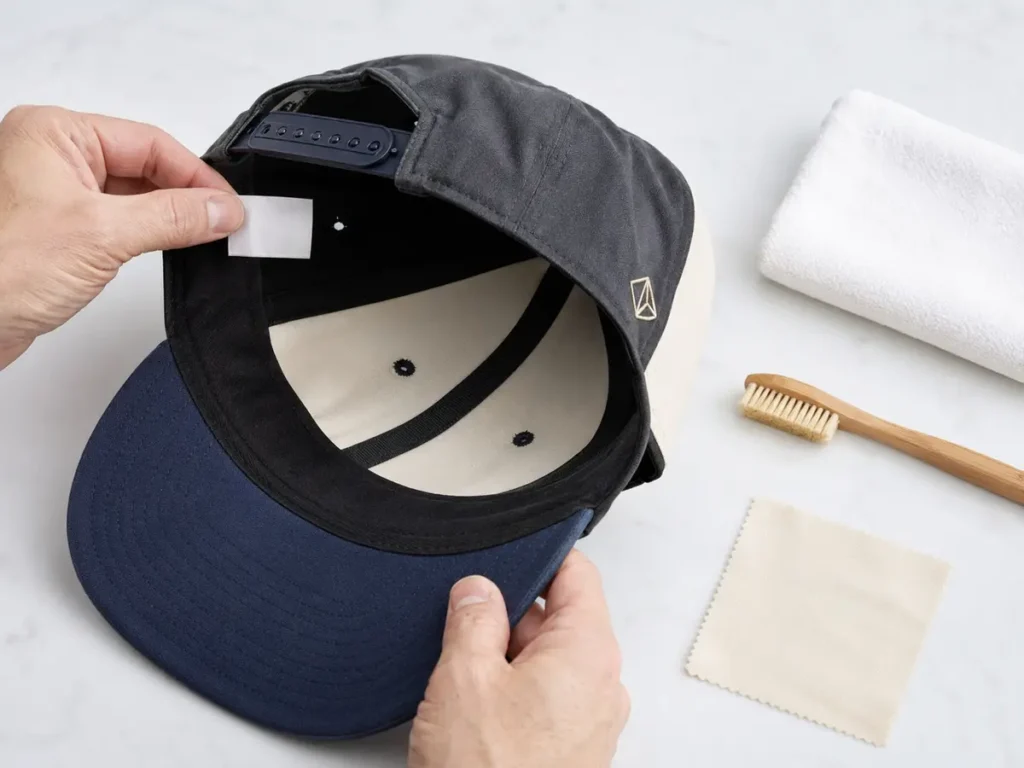
Pre-cleaning decision table
| Observation | Safer first method | Main risk to avoid |
|---|---|---|
| Light surface dust | Dry soft brush or lint roller used gently | Polishing dirt into the fabric |
| Small isolated mark | Spot clean only | Creating a visible water ring |
| Sweatband soil | Clean the sweatband in sections | Saturating the crown and brim |
| Structured crown | Minimal-water hand cleaning | Crushing or softening the profile |
| Unknown brim insert | Keep brim exposure controlled | Warping, delamination, or loss of shape |
| High-contrast panels | Test each color separately | Dye transfer and bleeding |
| Embroidery | Dab and brush with the stitch direction | Snagging or lifting thread |
| Patch or printed graphic | Clean around it with low friction | Heat, solvent, edge lifting, or abrasion |
| Mold, strong chemical contamination, or unknown staining | Seek specialist advice or replace the hat | Spreading contamination or damaging materials |
Choose Spot Cleaning or Controlled Hand Washing
For most structured snapbacks, spot cleaning is the default because it limits exposure. Controlled hand washing may be appropriate when the care label allows it and the whole crown needs attention, but “hand wash” does not have to mean soaking the entire hat.
| Method | Best for | Water exposure | Shape risk | Recommendation |
|---|---|---|---|---|
| Dry brushing | Dust, lint, loose soil | None | Very low | Start here |
| Spot cleaning | Small stains, sweatband sections, logo-area soil | Low | Low | Preferred for structured hats |
| Controlled hand cleaning | Broader crown soil when label permits | Medium | Moderate | Support the crown and work quickly |
| Full soaking | Only when explicitly allowed | High | High | Usually unnecessary |
| Washing machine | General laundry | High plus agitation | Very high | Avoid unless the care label expressly allows it |
| Dishwasher | Not a textile-care method | Heat, spray, detergent | Very high | Do not use |
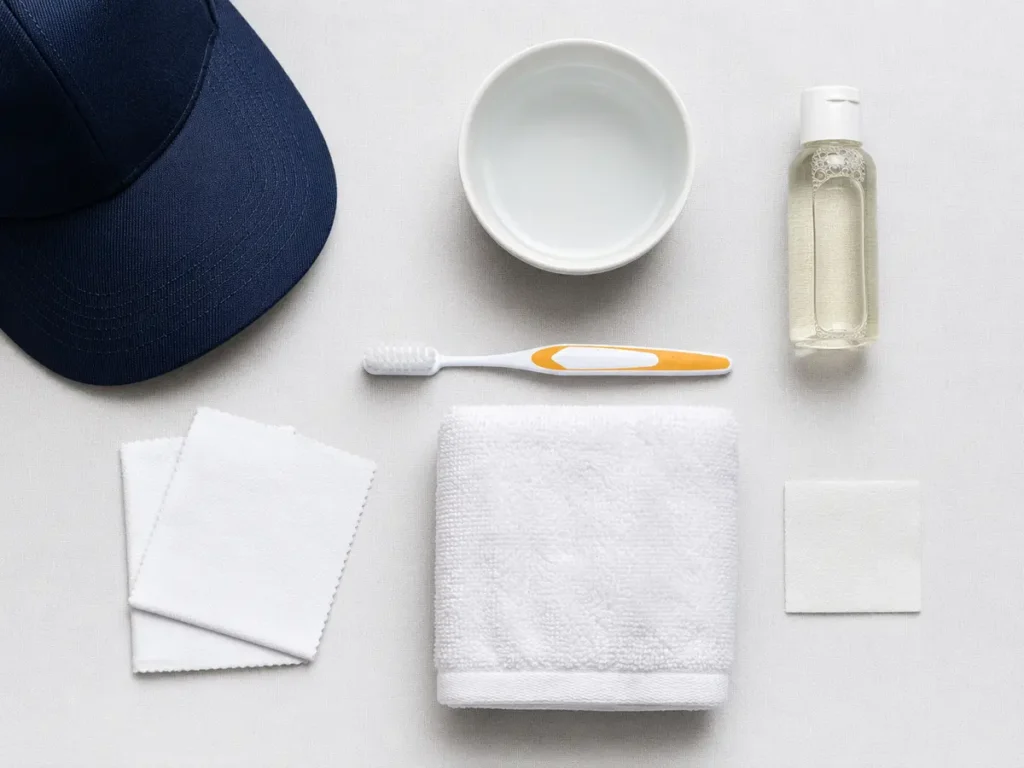
What You Need
Prepare everything before applying water:
- two or three clean white microfiber cloths;
- a soft-bristle toothbrush or dedicated hat brush;
- a small bowl of cool or lukewarm water;
- a small amount of mild, bleach-free liquid detergent;
- a clean white towel;
- an absorbent towel for drying;
- a rolled towel or clean rounded form to support the crown;
- optional cotton swabs for narrow seams.
White cloths make color transfer easier to see. Avoid strongly colored towels that could release dye. Do not use chlorine bleach, aggressive stain remover, fabric softener, solvent, or abrasive paste unless the hat manufacturer explicitly approves it.
How to Clean a Snapback Hat Step by Step
Step 1: Remove dry dirt
Hold the hat by the lower crown rather than pinching the front panel. Use a dry soft brush to lift dust from the crown, seams, eyelets, top button, brim, and snap closure.
Brush with the fabric grain and follow the direction of embroidery stitches. Do not pull at loose thread. If a stitch is already damaged, stop and repair it before cleaning.
Step 2: Make a weak cleaning solution
Add a very small amount of mild liquid detergent to cool or lukewarm water. The solution should not create a bowl full of dense foam. More detergent does not mean better cleaning; it means more residue to remove.
Hot water is unnecessary and can increase the risk of shrinkage, color change, or adhesive damage. New Era’s current product guidance advises cool-water hand washing for some cap styles and warns against hot water, harsh detergents, bleach, and heated drying on relevant products (example snapback care instructions).
Step 3: Test for colorfastness
Dip a corner of a white cloth into the solution and squeeze it until damp. Dab an inconspicuous area inside the hat, such as a small section near the back opening. Wait several minutes, then press with a second clean white cloth.
If visible dye transfers, stop. Use only a dry method or ask the product supplier for instructions. On a two-tone cap, test each color separately. Do not drag moisture from a dark panel across a light panel.
Step 4: Support the crown
Place a folded clean towel inside the front of the crown. It should restore the intended shape without stretching the panels. This support gives you a stable surface and reduces the chance of creating a dent while brushing.
Keep the brim naturally aligned. Do not fold it backward or press the crown flat against a countertop.
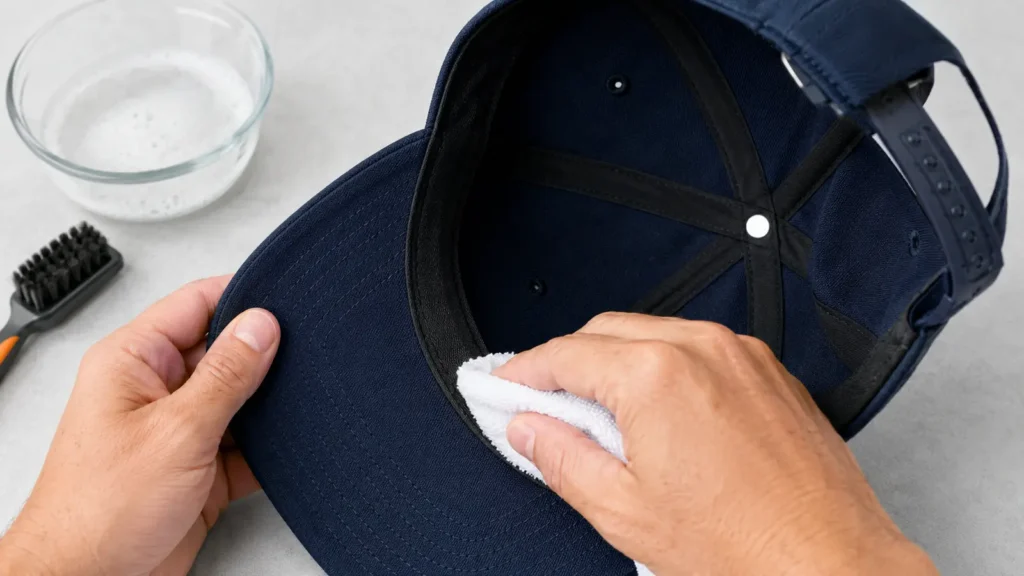
Step 5: Clean the sweatband first
The sweatband often holds the most oil and salt. Turn the hat so the inner band is accessible. Use a damp cloth with the cleaning solution to dab one short section at a time.
For stubborn buildup, use a soft brush with light pressure. Work along the band rather than scrubbing across its edges. Keep excess liquid away from the brim joint and front-panel reinforcement.
Use a second cloth dampened with clean water to lift detergent from the same section. Then blot with a dry towel.
Step 6: Treat visible stains on the crown
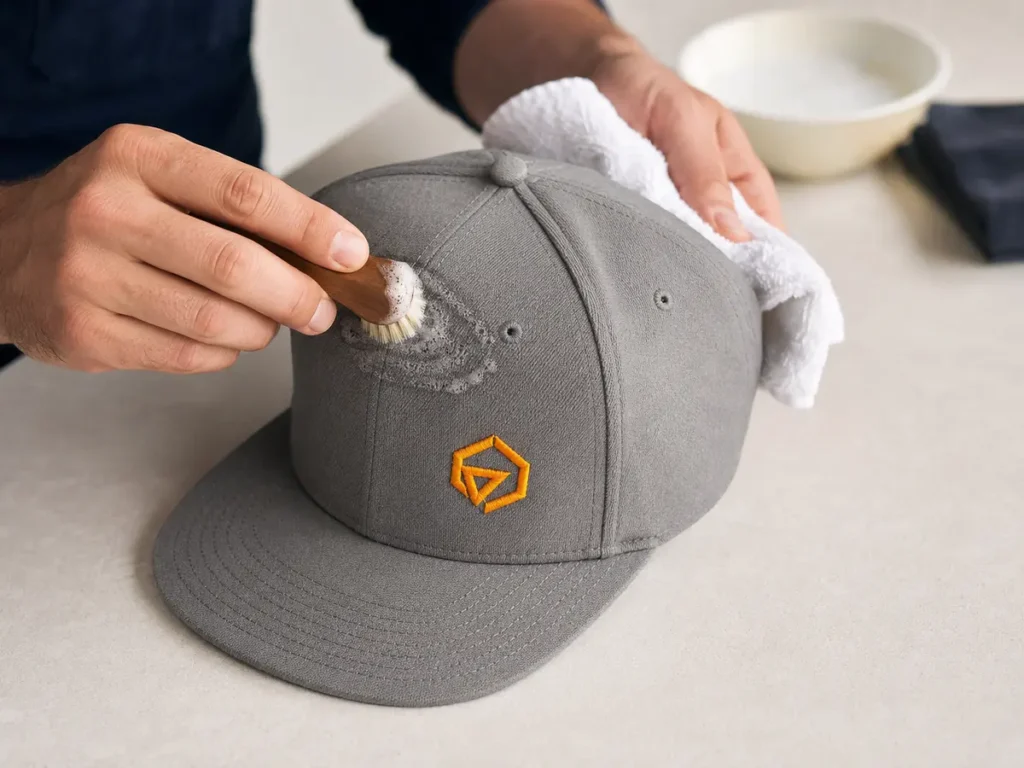
Start at the edge of a stain and work inward. Dabbing is safer than aggressive rubbing because it reduces spreading and surface abrasion.
If brushing is necessary:
- Load only the brush tips with a small amount of solution.
- Support the panel from inside.
- Use short, light strokes.
- Pause and blot.
- Repeat instead of increasing force.
Avoid flooding a single point. A sharply defined wet patch can leave a ring on some fabrics. Feather the dampness slightly beyond the mark, then blot evenly.
Step 7: Clean around embroidery and patches
For flat or 3D embroidery, brush in the direction of the stitches. Use a cotton swab or the corner of a cloth around raised edges. Do not scrub across loose ends.
For woven or rubber/PVC patches, use a damp cloth and low pressure. For leather or leather-style patches, follow the patch supplier’s care instructions; uncontrolled wetting can change color, surface finish, or edge behavior.
For heat transfers and printed logos, do not use heat, solvent, or stiff brushes. Clean the surrounding fabric first and touch the decoration only as needed.
Step 8: Clean the brim with controlled moisture
Support the brim from below with one hand. Wipe the top, underside, and edge binding with a barely damp cloth. If the insert is unknown, do not soak it.
Do not flex the brim repeatedly while wet. A flat-brim snapback should be dried with the brim lying in its intended plane. A pre-curved brim should be supported in its existing curve, not forced into a new one during cleaning.
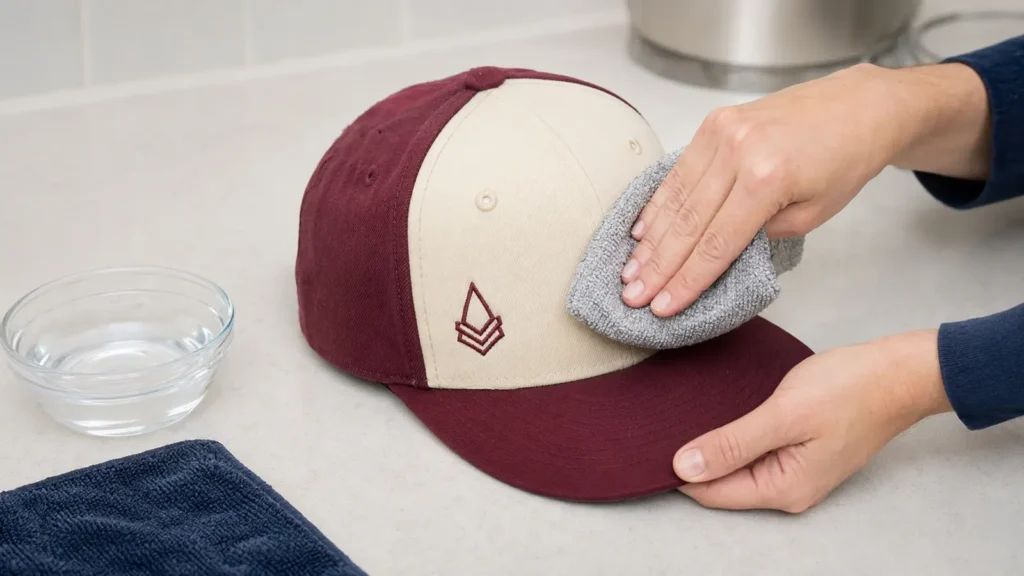
Step 9: Remove detergent residue
Use a separate cloth dampened with clean water. Press and lift rather than rubbing. Continue until the cloth no longer picks up visible soil or foam.
On contrast-color hats, rinse the cloth between colors or use different cloths. This is especially important when a burgundy, black, navy, or other saturated panel meets cream or white fabric.
Step 10: Blot, reshape, and air-dry
Press a dry towel against the cleaned areas to absorb moisture. Do not wring, twist, or roll the hat.
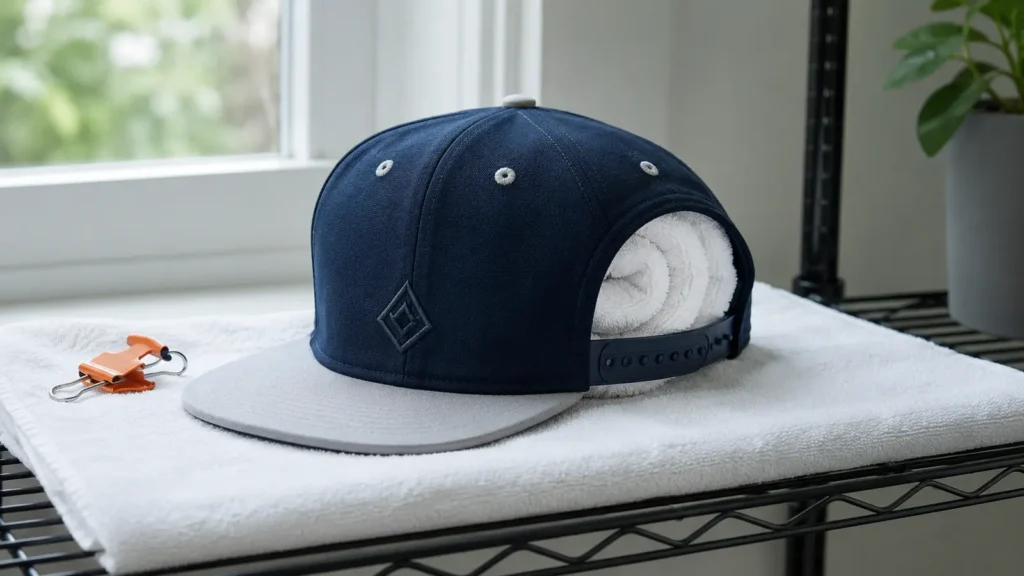
Restore the crown with a clean rolled towel or another smooth, colorfast form. Align the seams. Check that the front panels remain symmetrical and the back opening is not stretched. Leave the snap closure open or at a relaxed setting.
Place the hat upright on a dry towel in a shaded, ventilated area. Keep it away from a dryer, radiator, hair dryer, heated vent, and intense direct sunlight. Allow it to dry completely before wearing, stacking, or packing.
How to Handle Common Snapback Problems
Sweat stains and salt marks
Clean the sweatband before the visible outer panel. This reduces the source of the stain. Work in several light passes and remove detergent after each pass. A heavy one-time application can spread the mark farther into the crown.
Persistent yellowing may be permanent oxidation or dye change rather than removable dirt. Stop before strong chemistry damages the surrounding fabric.
Oil and makeup
Blot fresh oil with a clean dry cloth. Do not smear it across the fabric. Use a weak detergent solution in repeated short treatments. Makeup pigments may contain oil, wax, and strong color, so color testing is essential.
Odor without visible soil
Air the hat in a dry, shaded place. Clean the sweatband lightly and let it dry fully. Do not use fragrance to cover trapped moisture. If odor returns immediately, the inner materials may still contain residue and require another careful rinse.
Mud
Let wet mud dry first. Brush off loose particles, then spot clean the remaining mark. Rubbing wet mud usually pushes soil deeper into the weave.
Dust on dark hats
Use a clean dry hat brush or a lint roller with moderate tack. Test the roller on decoration and distressed finishes before applying it broadly.
Material and Decoration Care Matrix
| Hat feature | Cleaning approach | What to avoid |
|---|---|---|
| Cotton twill | Spot clean with mild solution; blot evenly | Hot water, hard rubbing, uncontrolled soaking |
| Polyester | Follow label; use mild detergent and low friction | Heat, strong chemicals, assuming every coating is washable |
| Wool blend | Minimal moisture and gentle blotting | Soaking, hot water, aggressive brushing |
| Corduroy | Brush along the wale after soil is dry | Scrubbing across the ribs |
| Denim | Test for dye transfer; clean colors separately | Moving dark dye onto light panels |
| Flat embroidery | Dab; brush with stitch direction | Snagging thread or applying heat |
| 3D puff embroidery | Clean around raised thread with minimal pressure | Compressing the foam structure |
| Woven patch | Wipe gently; inspect edges | Fraying or excessive edge friction |
| Rubber/PVC patch | Damp cloth; dry the edge area | Solvents and high heat |
| Leather-style patch | Follow material-specific instructions | Assuming it behaves like cap fabric |
| Printed underbrim | Spot clean and blot | Abrasion, soaking, folding |
| Plastic snap closure | Wipe with damp cloth and dry | Heat, bending, chemical exposure |
What Not to Do
Do not use a washing machine by default
Agitation, spin force, and contact with other garments can crease the crown and distort the brim. New Era’s general customer-care guidance states that its caps are not washer friendly and advises against machine washing or full submersion (New Era Customer Care).
Do not use a dishwasher
A dishwasher is designed for rigid kitchenware, not a multi-material textile product. Spray pressure, rack contact, dishwasher detergent, and heated drying introduce avoidable risks.
Do not use a dryer
Heat and tumbling can change the hat’s size, structure, surface, and decoration. Air-dry while the shape is supported.
Do not use bleach or harsh stain remover
Strong chemistry can fade fabric, weaken thread, alter patches, or create a bright spot that is more visible than the original stain.
Do not wring or twist
Wringing transfers force directly into the seams, brim joint, and crown reinforcement. Blot with towels instead.
Do not dry a wet hat in the wrong shape
Cleaning may be successful while drying still ruins the result. A collapsed crown can retain dents. An unsupported brim can develop a wave. Shape the hat before leaving it to dry.
Care Guidance for Teams, Retailers, and Private-Label Programs
For a business ordering custom snapbacks, care should be considered before bulk production—not written after the hats arrive.
Build care into the specification
Confirm:
- crown structure and reinforcement;
- shell fabric and color treatment;
- brim insert and brim shape;
- sweatband composition;
- embroidery thread and stitch density;
- patch material and attachment method;
- print or heat-transfer limitations;
- closure material;
- sewn care-label language;
- packaging method that protects the crown.
The correct care statement should reflect the finished combination, not only the shell fabric.
Approve a physical sample
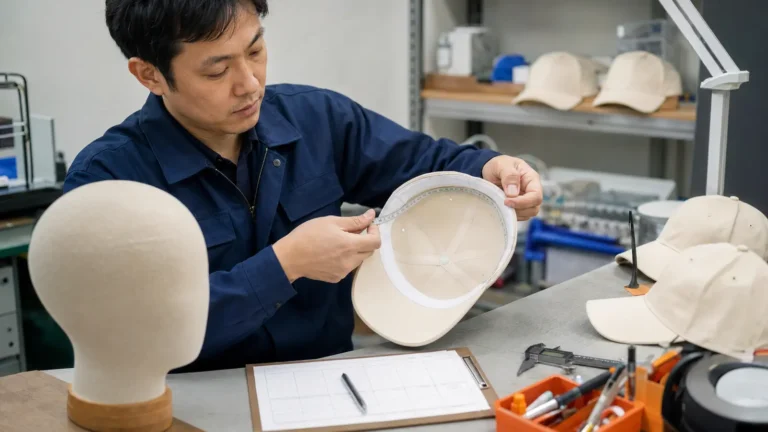
A digital mockup confirms placement and color direction, but it cannot show how the complete hat responds to moisture and handling. Before bulk approval, inspect a physical sample for crown symmetry, brim alignment, color transfer, decoration stability, sweatband construction, closure function, and recovery after light spot cleaning.
For a repeat program, retain an approved sample and written specification. It gives the buyer and supplier a common reference when reviewing later batches.
Prepare user-facing instructions
Care information can appear on:
- a sewn label;
- a hangtag;
- a retail product page;
- team equipment instructions;
- an order insert;
- customer-service documentation.
Keep the wording short and specific. For example:
Check care label. Spot clean with cool water and mild detergent. Test colors first. Do not bleach, machine wash, tumble dry, wring, or apply direct heat. Reshape and air-dry in shade.
Use that statement only after confirming it matches the actual product.
Establish a bulk-care routine
Teams and uniform managers can reduce emergency cleaning by assigning hats, storing them with the crowns supported, airing them after use, and spot cleaning the sweatband before heavy buildup develops.
Do not stack damp hats in a closed equipment bag. Moisture, pressure, and transferred soil can create problems that are harder to correct later.
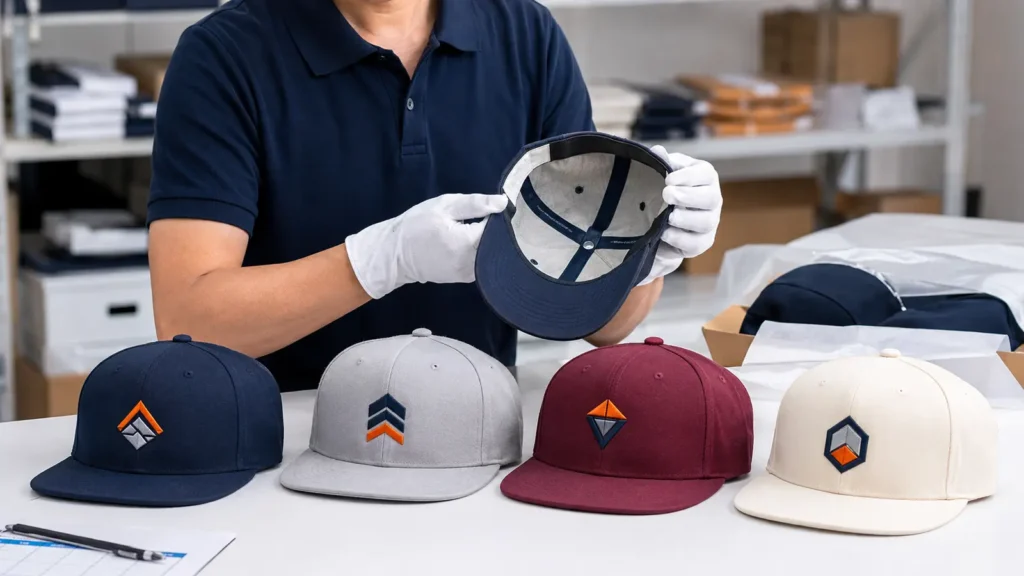
Custom Snapback Design Choices That Affect Care
Care performance is partly a design decision.
- Dark-on-dark colorways may hide minor wear but can still show salt.
- High-contrast panels create stronger visual impact but require careful colorfastness review.
- Dense 3D embroidery creates a bold logo but needs low-pressure cleaning around raised stitches.
- Large patches introduce an additional material and attachment system.
- Printed underbrims need abrasion-aware care.
- Vintage or washed finishes should not be treated as a uniform solid dye.
- Light sweatbands show soil sooner; dark sweatbands can conceal residue but still need cleaning.
For B2B buyers, the best choice depends on use. A fashion drop, school team, construction crew, promotional event, and retail program may need different balances of appearance, cleaning simplicity, durability, cost, and packaging.
Quality-Control Checklist After Cleaning
Do not judge the result until the hat is completely dry.
- Crown stands at the intended height.
- Front panels are symmetrical.
- Seams and eyelets remain aligned.
- Brim is flat or curved as specified.
- No new water rings are visible.
- Dark dye has not transferred to light panels.
- Embroidery is not fuzzy, compressed, or pulled.
- Patch edges remain secure.
- Printed areas show no cracking or abrasion.
- Sweatband feels free of detergent residue.
- Snap closure opens and fastens normally.
- Hat is dry before storage or packing.
If the shape is slightly uneven while still damp, adjust it gently on the support form. Do not use intense steam or direct heat on patches or embroidery; New Era specifically cautions against intense heat on those areas in its customer-care guidance.
Information to Send When Requesting a Custom Snapback Quote
To receive a useful quotation and sampling recommendation, send:
- Reference image, sketch, or tech pack.
- Structured or unstructured crown preference.
- Panel count and profile.
- Flat, semi-curved, or curved brim.
- Fabric and target colors or Pantone references.
- Logo artwork and decoration method.
- Front, side, back, and underbrim artwork positions.
- Closure color and type.
- Label, hangtag, and packaging requirements.
- Estimated quantity.
- Destination country and target delivery date.
- Any required care wording or test protocol.
This information helps align material selection, artwork, sample approval, production, packaging, and aftercare.
Why B2B Buyers Work With JIUMU
Established in 2010 in Guangdong, China, JIUMU supplies custom hats, teamwear, logo apparel, bags, and branded merchandise for professional buyers in North America and Europe.
For custom snapback projects, buyers can coordinate OEM/ODM development, fabric sourcing, Pantone color matching, embroidery, woven or rubber/PVC patches, leather-style patches, private labels, hangtags, packaging, digital mockups, physical samples, bulk quality control, and export support through one supplier relationship. The typical MOQ is 50 pieces, subject to the hat structure and customization.
Explore custom snapback hats and custom baseball caps, or review JIUMU’s broader custom hats collection.
Planning a custom snapback order? Send JIUMU your logo file, reference image, target quantity, fabric or color direction, decoration method, packaging needs, destination country, and required delivery date. The team can use those details to prepare a practical customization and sampling discussion. Request a custom quotation.
Frequently Asked Questions
Final Recommendation
The safest answer to “how to clean a snapback hat” is to use the least aggressive method that works. Read the label, inspect the materials, dry-brush first, spot clean with a mild solution, control moisture around the brim and reinforced crown, remove detergent, and dry the hat in its intended shape.
For teams and brands, apply the same logic at the sourcing stage. Specify the materials, decoration, care label, and packaging together; test a physical sample; and give users care instructions that match the finished product.
Ready to develop a custom snapback program? Contact JIUMU by WhatsApp or phone at +86 18507502899, email zhengdong@jiumugear.com, or use the JIUMU contact page. Include your artwork, quantity, colors, material preference, logo method, packaging, destination, and target date.
ate.
Editorial Sources
General guidance cannot replace the sewn care label or material-specific instructions for an individual hat.
About JIUMU
Established in 2010 in Guangdong, China, JIUMU supplies custom hats, teamwear, logo apparel, bags and branded merchandise for B2B buyers.
About JIUMU · Request a quotation