How Many Logo Locations Can Be Added to a Custom Hat?
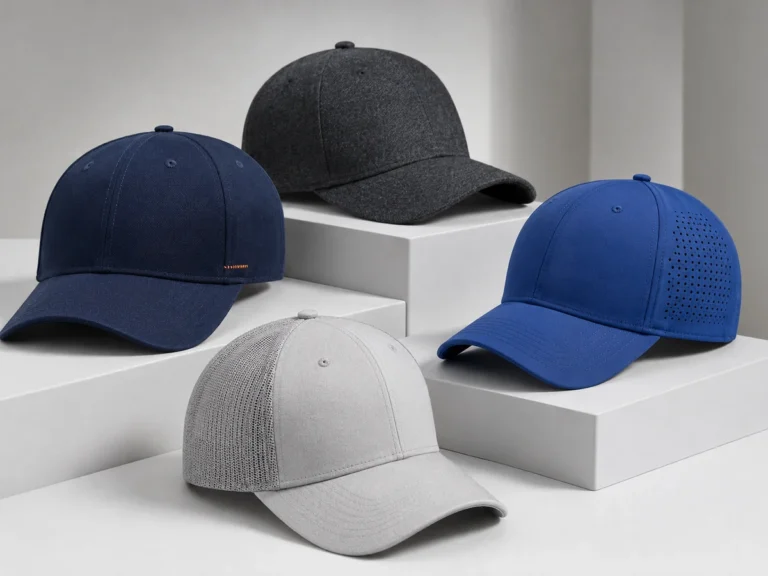
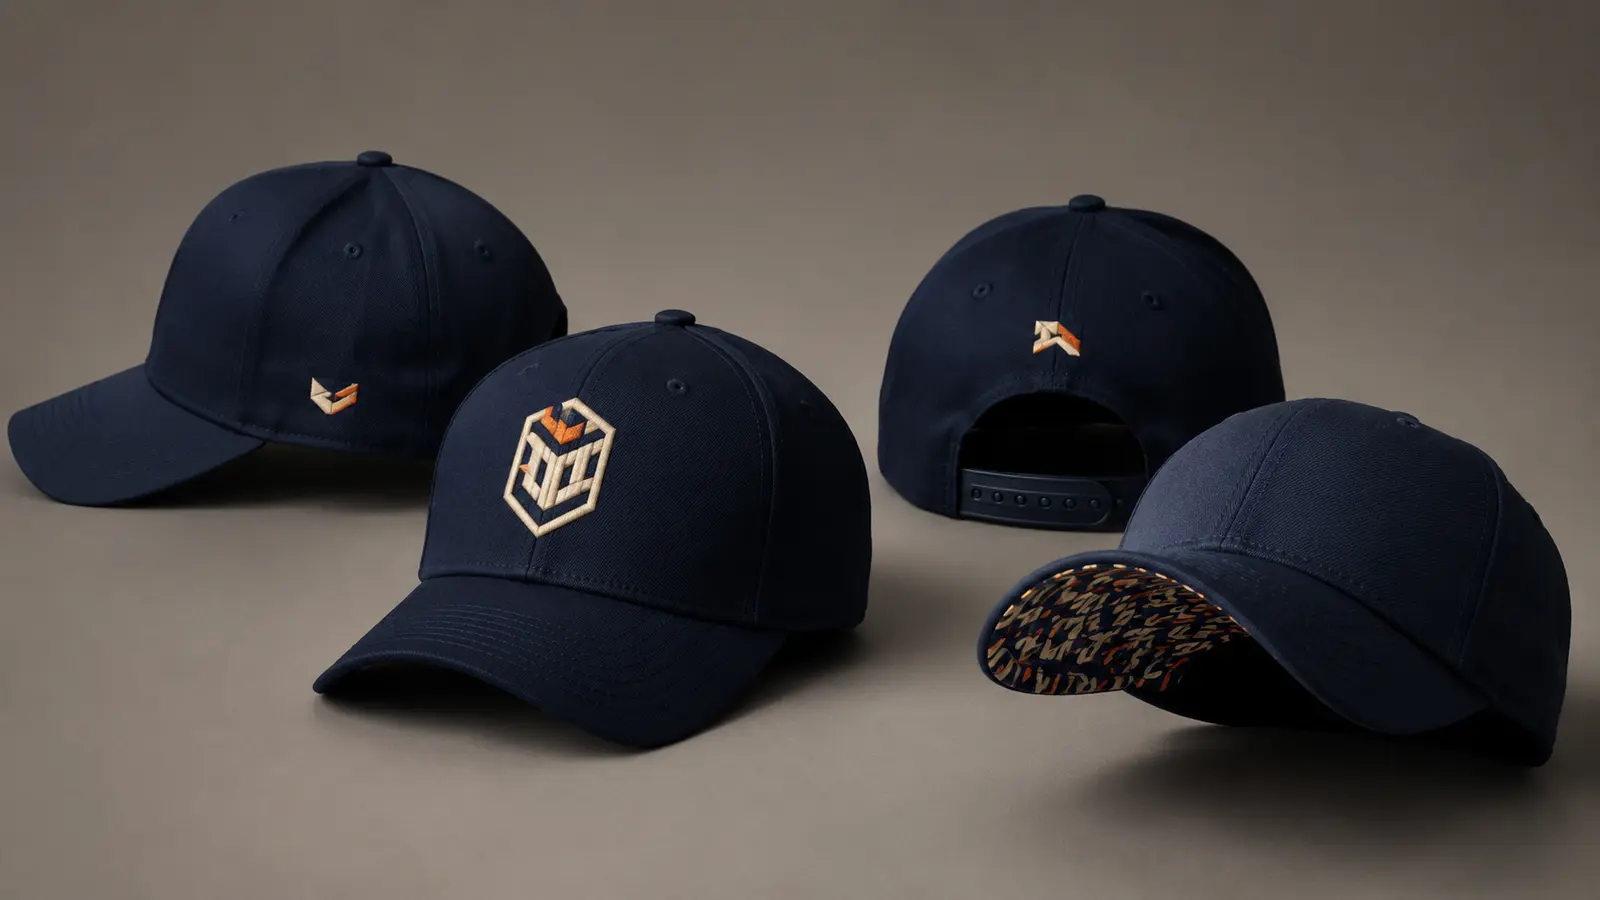
A custom hat can carry more than one logo: a primary front mark, side sponsor, rear identity, visor artwork and private-label details. What is technically possible may not look balanced or run efficiently.
Quick answer: There is no universal maximum number of custom hat logo locations. A cap may offer the front, left side, right side, rear, upper visor, undervisor, sweatband, internal seam tape, labels, and closure details. Most effective programs use one dominant exterior logo, one or two secondary exterior marks, and restrained interior branding. Every location must be approved for the exact cap, decoration method, frame access, and artwork size.
Custom hat logo placement guide at a glance
| Location | Typical role | Suitable methods | Main constraints |
|---|---|---|---|
| Front panels | Primary brand, team crest, large monogram | Flat embroidery, 3D puff, woven or embroidered patch, leather-style or rubber/PVC patch, transfer on suitable fabric | Crown curve, center seam, structure, height, visor clearance, hoop field |
| Wearer’s left side | Secondary brand, supplier mark, sponsor, flag-style emblem | Small flat embroidery, woven patch, transfer, applique | Panel seams, eyelets, curvature, mesh or perforations |
| Wearer’s right side | Sponsor, event, anniversary, product-line mark | Small embroidery, patch, transfer or print | Same as left; must remain subordinate to front if used as secondary branding |
| Rear above opening | League mark, company initials, short wordmark | Flat embroidery, small patch, transfer | Closure opening, rear seams, crown curve and limited height |
| Rear beside or over closure | Short text, number, small symbol | Flat embroidery or compact transfer | Snap, buckle, strap, hook-and-loop, hair opening and wearer comfort |
| Upper visor | Small icon, printed stripe, wordmark, edge detail | Print, transfer, applique; embroidery only after technical review | Visor stiffness, stitch rows, internal board, curve and abrasion |
| Undervisor | Pattern, campaign graphic, hidden message or color feature | Screen print, sublimated or printed panel, transfer; occasional embroidery if construction permits | Best process depends on whether decoration occurs before assembly; curve and visibility |
| Sweatband | Private label, printed message, size/care identification | Printed or woven label, approved direct print, custom woven band | Moisture function, skin contact, wash/care, bulk and seam comfort |
| Internal seam tape | Repeating brand, campaign line, color story | Custom woven or printed tape | Tape width, seam placement, readability and assembly stage |
| Internal label | Brand, size, fiber content, care, origin information | Woven, printed or heat-transfer label | Required legal information, available space, comfort and attachment |
| Closure system | Branded buckle, strap label, custom snap color, small tab | Engraving, embossing, woven clip label, molded or color components | Mechanical function, minimum component quantities and durability |
Treat these areas as a menu. Confirm which options suit the selected stock cap or full custom construction.
How many logo locations are practical?
Use these exterior planning scenarios:
- One location: a strong front logo with no competing exterior marks.
- Two locations: front plus one side or rear mark.
- Three locations: front plus side sponsor plus rear league or company mark.
- Four locations: front, both sides, and rear for a team, event, motorsport, or sponsor-led program.
More locations raise the risk of crowding, difficult framing and inconsistent placement. Interior and undervisor details can add brand depth without making every exterior panel compete.
The practical maximum depends on five questions:
- Does the exact cap provide a stable, accessible decoration area?
- Can the selected machine, frame, clamp, or press reach it safely?
- Is the artwork appropriate for the available size and surface?
- Can the supplier maintain position across sizes and bulk production?
- Does the complete hat still have a clear primary message?
Request a placement map for the actual cap style, panels, structure, fabric, visor, closure and size range.
Front logo placement
The front normally carries the primary identity because it has the largest continuous visual field and faces the viewer directly. A team crest, company logo, monogram, wordmark, or patch can occupy the front center, front-left, or front-right depending on the brand style.
Structured front panels provide a stable presentation for large flat embroidery, broad satin columns, 3D puff, and substantial patches. Unstructured crowns can also carry front decoration, but dense stitching or a rigid patch may change their soft drape. A five-panel cap often offers a single front panel, while a six-panel cap places a vertical seam through the front center.
Can a logo cross the center seam?
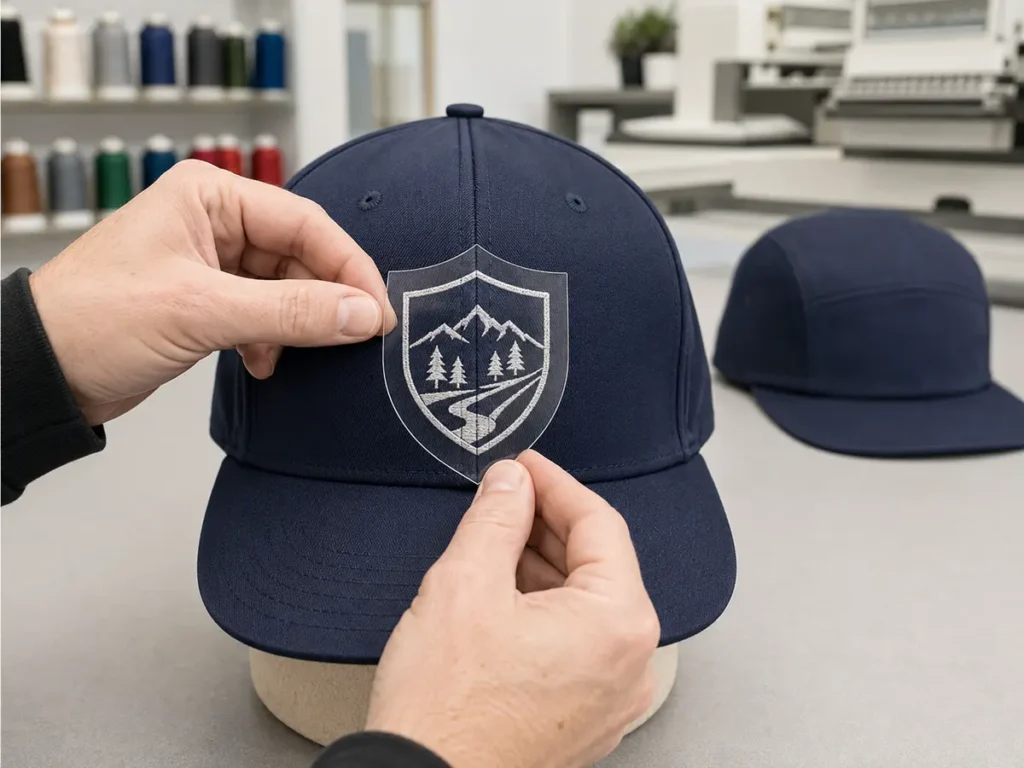
Yes, many cap logos cross a center seam, but the file must be digitized and sampled for that construction. The seam adds thickness and changes how the needle, presser foot, thread tension, and cap surface behave. Very fine lines, small letters, circles, and features that must align precisely can show distortion at the seam.
Madeira’s cap-backing guidance recommends digitizing specifically for caps, sewing from the center outward and bottom upward, and keeping the design inside the cap-and-frame sewing area. Those controls help manage movement, but they do not remove the physical seam.
Use these options when the center seam creates unacceptable risk:
- simplify the central artwork;
- increase the critical stroke width;
- move registration-sensitive detail away from the seam;
- offset the logo to one front panel;
- use a suitable patch that bridges the area;
- choose a five-panel or uninterrupted-front construction;
- reduce the logo height or change the cap profile.
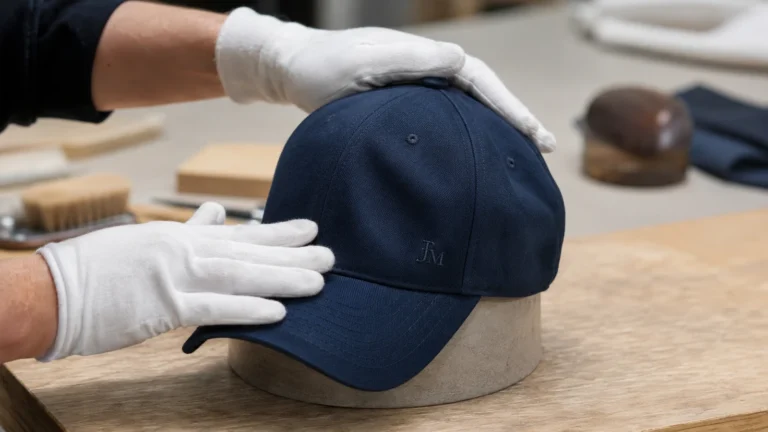
Approve a real sewn sample. A digital mockup cannot demonstrate needle deflection, thread coverage, puckering, or seam-induced misregistration.
Left- and right-side logo placement
Side panels are useful for sponsor logos, flags, anniversary marks, product lines, player numbers, or a subtle brand signature. They are smaller and more curved than the front. Eyelets, laser perforations, mesh, panel seams, and the slope toward the rear reduce the safe field.
Flat embroidery is often the first method to test for a small side logo. Thin woven patches and compatible transfers can preserve detail when direct embroidery would become crowded. A thick PVC or leather-style patch may feel heavy on a soft side panel and should be sampled for curvature and edge contact.
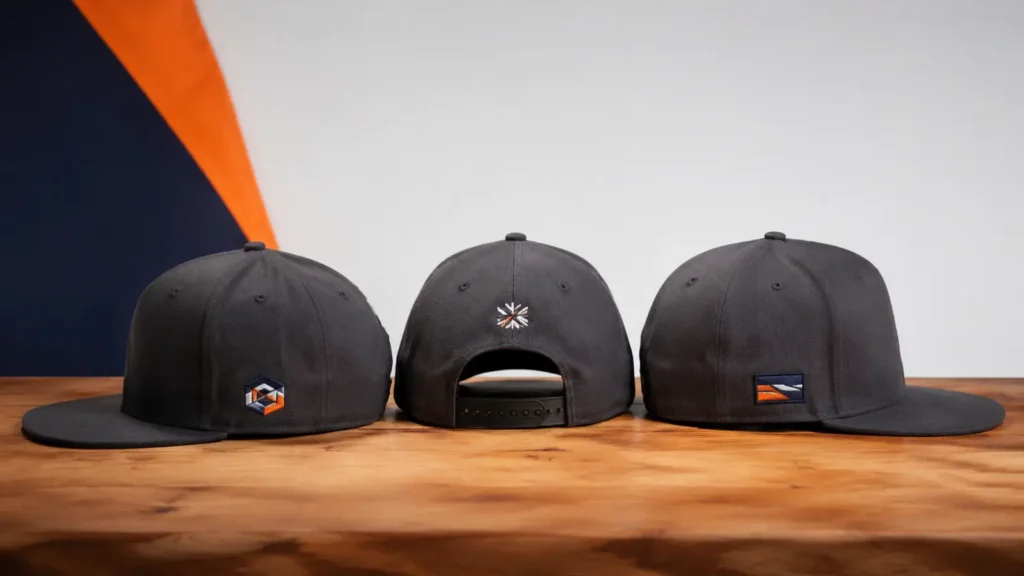
Specify left and right from the wearer’s perspective, not the viewer’s. A purchase order should say “wearer’s left” or “wearer’s right,” then include an annotated cap view. This prevents mirrored placement errors.
Should both sides carry logos?
Both sides can be decorated. A team may place a sponsor at wearer’s right and an event mark at wearer’s left. Align both deliberately with the front crest.
Check how both sides appear in three-quarter photographs. Two side marks can visually merge with a broad front logo, making the cap look like one continuous band of artwork. Increasing empty space often improves recognition more than adding another mark.
Rear logo placement and the closure system
The rear can carry a league logo, short wordmark, initials, date, player number, retailer mark, or country/collection identifier. The usable space changes dramatically by closure:
- Fitted cap: offers a closed rear crown but still includes panel seams and strong curvature.
- Snapback: has a wide opening and plastic snap, leaving a small area above or beside the closure.
- Buckle or strap: introduces a fabric strap, slider, D-ring, or metal buckle that can become a branding component.
- Hook-and-loop: requires access and overlap; decoration must not interfere with adjustment.
- Stretch-fit closure: may place stretch material or mesh where dense embroidery changes elasticity.
A small rear mark commonly sits above the opening. Short arched text can follow the opening, but long copy becomes hard to read and harder to position consistently. Marks beside the closure must be assigned to the wearer’s left or right.
Do not stitch through moving closure parts or place a thick label where it rubs the head. If the strap itself is branded, confirm the available length in both tight and loose positions. A centered mark can shift visually when the wearer adjusts the strap.
New Era product descriptions show combinations of front embroidery, rear marks, side print, undervisors and interior messages. They demonstrate possibilities, not limits for another cap.
Can the upper visor or brim edge be branded?
Yes, depending on the cap construction and process. The upper visor can use a printed detail, applique, transfer, decorative seam, sandwich color, woven tab, or other engineered feature. Direct embroidery through a finished visor requires technical review because the internal board, thickness, stitch rows, and curve affect needle access and finished stiffness.
Test adhesion, abrasion, bending and care. Specify any edge distance and whether the method must be applied before visor assembly.
Can the brim underside be printed?
Yes. The underside—also called the undervisor—can use a solid contrast color, screen-printed mark, repeating graphic, sublimated or digitally printed panel, or an approved transfer. Some caps also use embroidery under the visor, but that is construction-dependent and not a default capability.
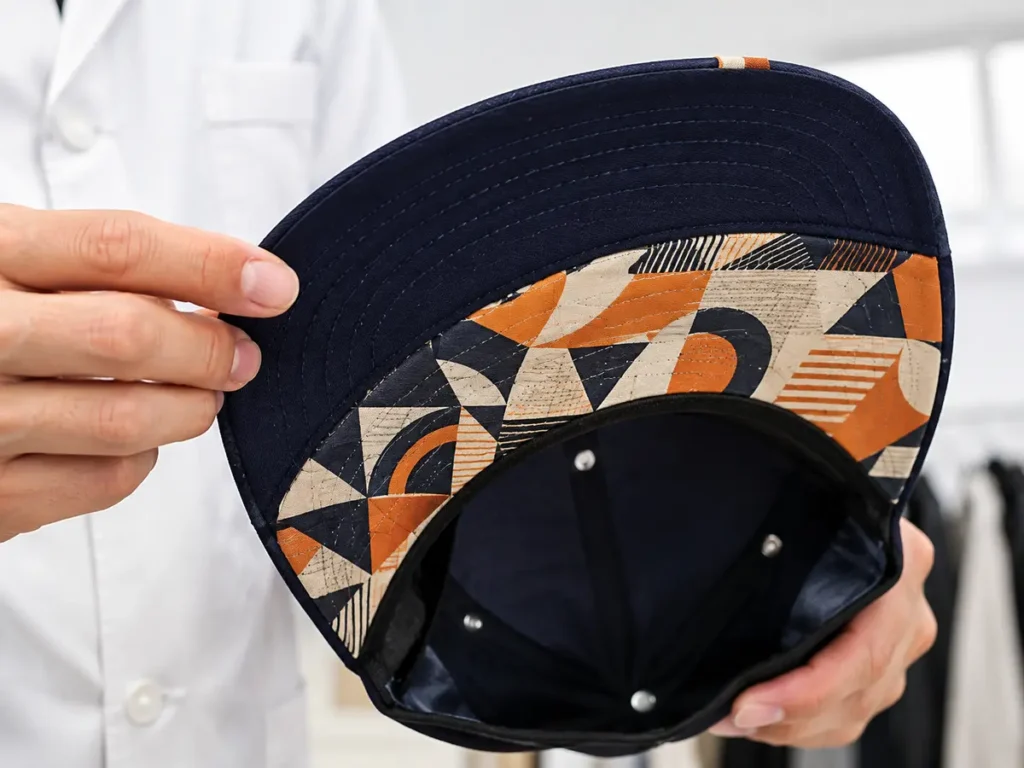
For a full-coverage or edge-to-edge print, the cleanest route is often to decorate the undervisor fabric before it is laminated, cut, stitched, and assembled. Applying a print to a finished curved visor may limit coverage and create alignment challenges near the crown seam and edge binding.
Confirm:
- whether the artwork is applied before or after assembly;
- the printable area and bleed requirement;
- color behavior on the selected fabric;
- how the print interacts with visor stitch rows;
- whether heat affects the visor insert or shape;
- durability against skin oil, sweat, handling, and abrasion;
- whether the underside remains visible at the intended visor angle.
An undervisor graphic can carry campaign detail without competing with the front logo in normal use.
Internal branding: sweatband, seam tape and labels
Internal branding can make a cap feel like a private-label product rather than a decorated blank. It also keeps required or descriptive information away from the exterior.
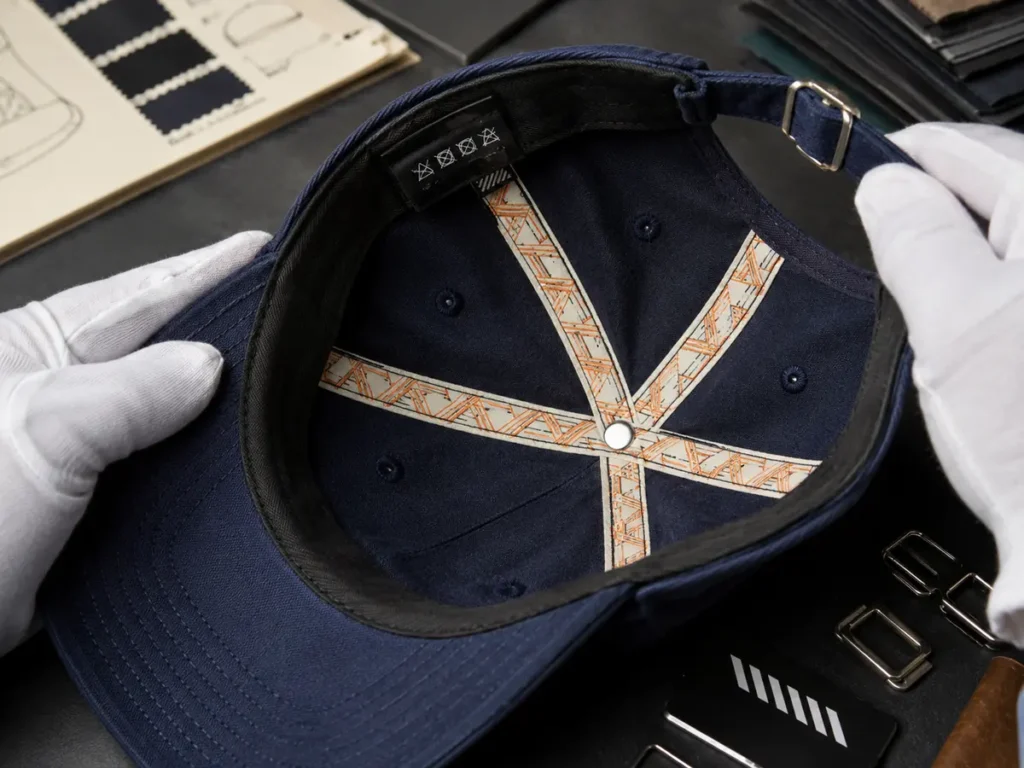
Can the sweatband be customized?
Yes, in many custom-manufacturing programs. Options may include a custom woven sweatband, printed message, repeated pattern, attached woven or printed label, or selected sweatband color and material. New Era has publicly described caps with printed sweatbands, demonstrating that the area can function as a communication surface.
Branding must not block moisture handling, create a hard edge, bleed, irritate skin or interfere with sizing. Confirm the process, materials, seam placement, care and sample.
Custom internal seam tape
Panel seam tape can use a repeated woven or printed pattern. Use short names, icons or color motifs and align the repeat cleanly across seams.
Interior tape is an assembly-stage decision. It is normally easier to specify in a fully custom cap than to retrofit into a finished stock cap. New Era product descriptions also show examples of screen-printed wordmarks at interior tape.
Woven, printed and heat-transfer labels
An internal label can identify brand, size, fiber content, care, origin or style code. Content must meet destination-market requirements. Woven, printed or heat-transfer labels should suit the sweatband and wear conditions without creating bulky stacks.
Closure branding
A buckle may be engraved, a strap may use a woven tab, and snaps may use custom colors. Every change must preserve adjustment and durability.
Richardson’s published customization options include combinations such as standard embroidery plus a clip label, illustrating how a small label can complement the main decoration rather than compete with it.
Which decoration method fits each location?
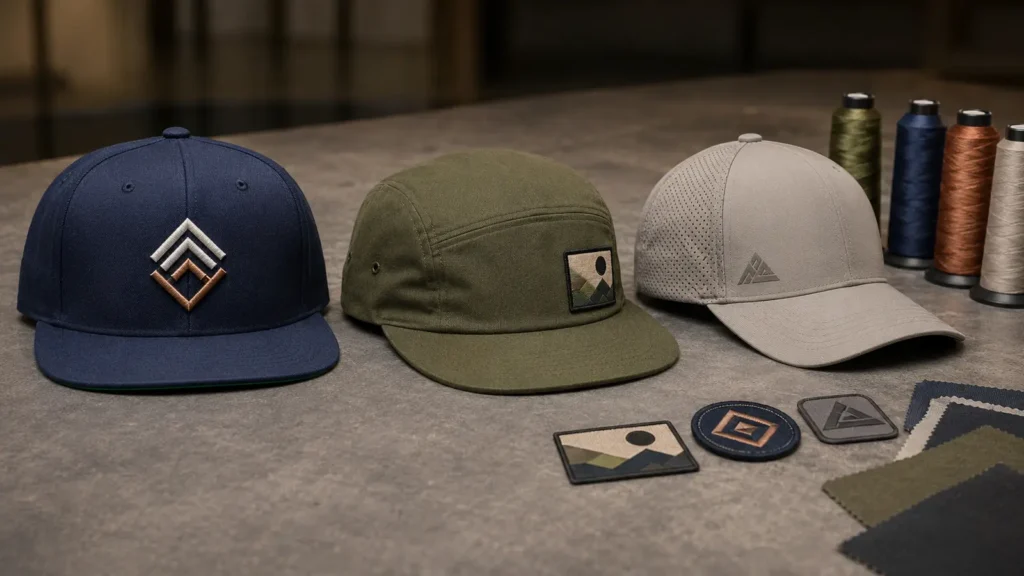
| Method | Strong locations | Advantages | Limits to confirm |
|---|---|---|---|
| Flat embroidery | Front, side, rear | Direct stitched identity; flexible size and color planning | Small text, dense fills, seams, backing, frame field |
| 3D puff embroidery | Structured front; selected bold areas | Raised athletic or streetwear effect | Broad satin shapes; unsuitable for fine detail; sample foam coverage |
| Woven patch | Front, side, selected rear areas | Fine detail and small lettering; flexible flat finish | Border, attachment, curvature, minimum size |
| Embroidered patch | Front and stable side panels | Strong thread texture, reusable emblem system | Bulk and stiffness at small or curved locations |
| Rubber/PVC patch | Front or selected side areas | Dimensional color and weather-resistant visual character when specified | Weight, flexibility, edge lift, attachment and temperature behavior |
| Leather-style patch | Front and stable panels | Heritage or premium visual direction | Curvature, thickness, color variation, care and edge finish |
| Heat transfer | Side, rear, visor or performance fabrics when compatible | Fine lines, full color and relatively low bulk | Adhesion, heat sensitivity, stretch, abrasion and fabric coatings |
| Screen or digital print | Panels and visor parts suited to printing | Broad graphics, repeats and flat color | Best stage of assembly, ink/fabric compatibility, bleed and registration |
| Sublimation | Polyester components printed before assembly | Full-color pattern integrated into suitable fabric | Polyester requirement, color base, cut alignment and pre-assembly workflow |
| Woven/printed label | Interior, closure, sweatband, side clip | Private-label information and subtle branding | Legal content, comfort, attachment and minimum component quantity |
Create responsive artwork versions—primary, secondary, micro and tonal—rather than simply shrinking a detailed front crest.
Cap frames and workable decoration areas
Commercial cap embroidery uses a cap driver and frame to control the curved crown. Some machines advertise a 270-degree sew field that supports front and side work, but that does not mean every point around every finished cap is automatically accessible. The visor, sweatband, closure, thick seam intersections, panel structure, and frame geometry still restrict movement.
Melco describes wide cap fields and software hoop limits, while Madeira instructs embroiderers to stay inside the allotted cap-and-frame sewing area. Those are important production controls. The exact field must come from the supplier’s machine, frame, and selected cap combination.
Common access constraints include:
- the needle cannot sew too close to the visor attachment;
- the top convergence and button limit upper travel;
- side eyelets, mesh or perforations reduce usable space;
- rear closures and openings interrupt the surface;
- very low-profile crowns may not frame as deeply as taller crowns;
- thick seam stacks can deflect the needle;
- an already attached patch or decoration can obstruct later operations;
- a transfer press needs flat enough contact and controlled heat.
Decoration order matters. Labels, seam tape, printed panels and undervisors may precede assembly; embroidery may occur on panels or finished caps. Confirm the proposed sequence.
Sponsor logos and brand hierarchy
A multi-logo cap needs one primary message. For teams and sponsor programs, a practical hierarchy is:
- Primary: team, company or collection identity on the front.
- Secondary: sponsor or event mark on one side.
- Tertiary: league, year, player number or manufacturer/private-label mark at the rear or other side.
- Discovery layer: undervisor, interior tape, sweatband or label content.
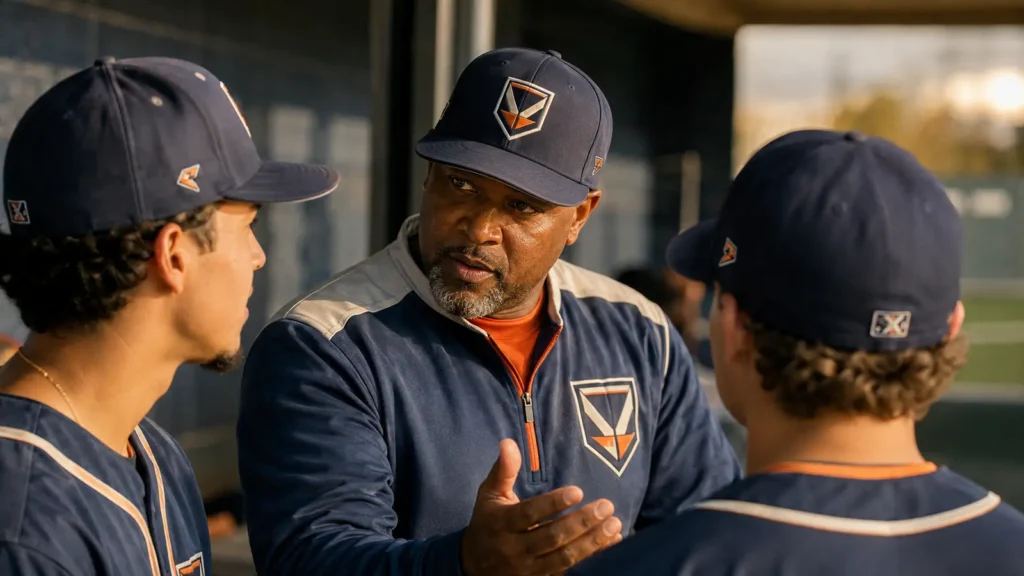
Create hierarchy through size, contrast and texture: a bold front, smaller tonal sponsor, restrained rear mark and longer interior message.
Confirm sponsor brand standards, licensing rights, minimum clear space, permitted colors, minimum reproduction size, and contract requirements before sampling. A supplier can reproduce approved art but should not decide ownership or usage rights for the buyer.
How to avoid an overcrowded hat
Use a “one hero surface” rule: select one exterior area that dominates. Then review the cap in rotation, not as separate artwork boxes.
- Keep clear space around every mark.
- Avoid placing logos on every adjacent panel at equal visual weight.
- Reduce colors or use tonal thread for secondary marks.
- Move descriptive copy inside the cap.
- Use the undervisor for campaign artwork that appears only when revealed.
- Remove redundant marks that repeat the same identity.
- Test recognition at arm’s length and several feet away.
- Photograph front, both sides, rear, top and underside before approval.
Send one file package containing the cap style, wearer-side placement map, final dimensions for every mark, decoration method, colors, quantity and target delivery date. Ask the supplier to return one numbered five-view mockup and a location-by-location quotation before physical sampling.
How multiple locations affect price
Each location can add cost, but not every supplier uses the same fee structure. Request a line-item quotation rather than assuming one flat “extra logo” price.
Potential cost drivers include:
- artwork cleanup and a production file for each size or method;
- embroidery digitizing for unique designs;
- stitch count and machine run time at every location;
- separate hooping, framing, loading or positioning operations;
- thread changes, trims and backing;
- screens, films or color stations for printing;
- patch tooling, sample development and attachment;
- custom tape, labels, buckles, snaps or sweatband components;
- additional inspection and packaging protection;
- higher defect exposure when many operations are combined;
- separate approval samples or revised sample rounds.
If the same micro mark appears on both sides, the production file may be reusable, but each physical location still requires an operation. If two locations use different sizes, orientations, colors or fabrics, the supplier may need separate setup. Ask which fees are one-time development costs and which repeat on every unit or reorder.
Does each location add a setup fee?
Not always. A supplier may charge per unique digitized embroidery file, print screen, transfer, patch mold, or custom component rather than per physical location. Another may bundle standard setup into the unit price. Reusing exactly the same approved file may reduce development cost, but positioning and production time remain.
Request these quotation columns:
| Quote field | What to confirm |
|---|---|
| Location | Front, wearer’s left/right, rear, visor, interior or closure |
| Artwork version | File name and revision for that location |
| Finished size | Width and height in mm or inches |
| Method | Flat embroidery, puff, patch, transfer, print, label or component |
| Setup | Digitizing, screen, mold, sampling or component development |
| Unit decoration cost | Incremental cost per cap for that operation |
| MOQ | Order-level, cap-style or component-specific minimum |
| Sample | Sample type, cost and approval scope |
| Reorder treatment | Which setup is retained and what triggers reapproval |
JIUMU’s typical starting MOQ is 50 pieces, subject to product structure and customization. A custom seam tape, molded closure component, special patch, or printed undervisor can have a different practical minimum from standard embroidery. Confirm each component in the final quotation. See MOQ & Lead Time for order-planning context.
How multiple locations affect samples and lead time
More locations do not multiply lead time directly, but they add artwork, component, process and approval dependencies.
A cap combining puff, side sponsors, rear embroidery, printed undervisor, seam tape and branded hardware needs a coordinated sample; late changes can trigger rework.
Separate the schedule into:
- artwork and placement approval;
- digitizing, print or patch development;
- material and custom-component confirmation;
- physical sample production;
- sample review and revision;
- bulk production;
- final inspection and packing.
Identify the critical-path component; it may be custom hardware or woven tape rather than embroidery.
Multi-location sample approval method
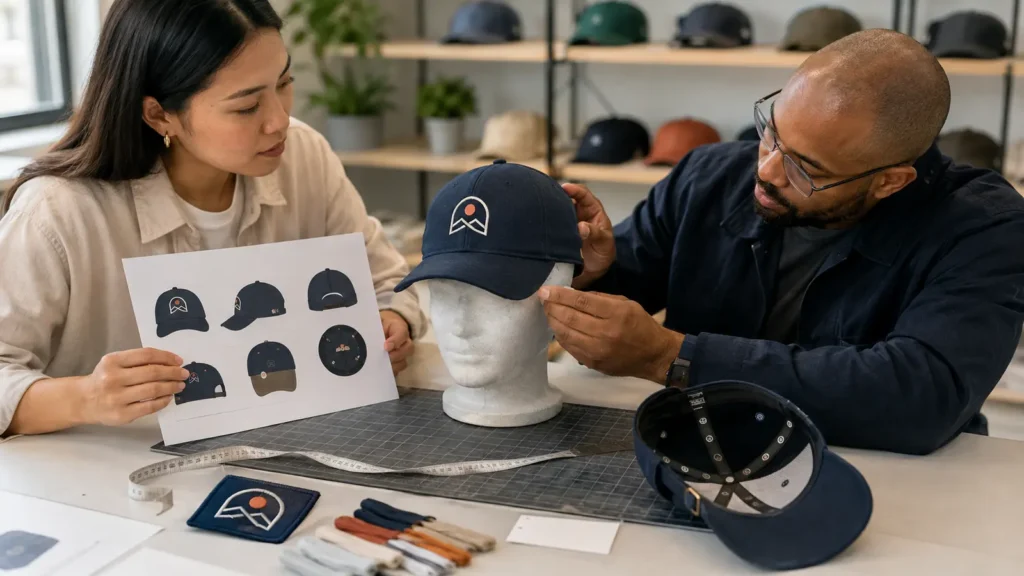
Use one numbered placement schedule:
- Front main crest
- Wearer’s left sponsor
- Wearer’s right event mark
- Rear league logo
- Undervisor graphic
- Internal seam tape
- Sweatband or brand label
- Closure detail
For every item, record file version, method, dimensions, colors and distance from a fixed seam, edge, opening or closure.
Digital mockup review
Require front, both sides, rear, underside and interior views on one consistent model, with dimensions and scale status.
Physical sample review
Inspect:
- logo size, position, rotation and clear space;
- stitch coverage, registration, backing and puckering;
- patch edge contact and attachment;
- transfer or print adhesion and color;
- center-seam and eyelet interaction;
- rear adjustment at several closure positions;
- sweatband and label comfort;
- seam-tape alignment and repeat;
- visor shape and print registration;
- overall hierarchy at normal viewing distance;
- appearance after packing and recovery.
Photograph the sample on a wearer and approve a sealed reference or documented record for bulk comparison.
Common mistakes in multi-logo hat orders
Treating every panel as an advertising slot
More marks do not necessarily create more brand impact. Equal-weight logos around the crown reduce the front mark’s authority.
Using the same artwork file everywhere
Side and rear locations need responsive micro versions. Scaling a complex front crest down can close small text and gaps.
Mixing wearer and viewer directions
Always specify wearer’s left and wearer’s right, supported by annotated views.
Ignoring the closure position
Rear artwork can shift visually or become obstructed as a strap or snap is adjusted. Review several settings.
Approving only a flat digital layout
Artwork wraps around a curved crown. Approve the physical cap in rotation and on a wearer.
Adding interior branding too late
Seam tape, printed panels and certain sweatband options are assembly-stage components. Include them in the first technical brief.
Assuming every extra location uses the same price logic
Embroidery, print, patches and hardware have different setup and unit-cost structures. Obtain a location-level quotation.
What to send for an accurate quotation
- exact cap reference or complete construction specification;
- panel count, structure, profile, fabric, visor and closure;
- vector artwork for every logo;
- numbered wearer-side placement map;
- finished dimensions for each location;
- decoration method or desired visual effect;
- Pantone or approved color references;
- sponsor and licensing approval requirements;
- exterior and interior branding requirements;
- quantity by color and size;
- labels, hangtags, unit packaging and carton needs;
- destination and target delivery date;
- mockup, physical sample and approval requirements.
JIUMU, established in 2010 in Guangdong, supports B2B custom headwear programs with OEM/ODM development, embroidery, woven and other patch options, Pantone color matching, labels, packaging, digital mockups, physical samples, quality control and export support. Review Manufacturing Capabilities and Custom Hats Manufacturer when planning a multi-process cap.
For visual directions before building the placement map, explore Custom Hat Logo Ideas.
Frequently Asked Questions
Final recommendation
A hat can support front, side, rear, visor, interior and closure branding, but no universal maximum. Construction defines what is possible; hierarchy defines what is effective.
Begin with one primary message. Add only the sponsor, league, campaign or private-label details that have a clear role. Then convert the idea into a numbered placement schedule, location-level quotation, five-view mockup and physical sample. This gives the buyer a cap that is intentional from every angle rather than simply full.
To plan a multi-location cap, send JIUMU the cap reference, vector artwork, wearer-side placement map, logo dimensions, quantity, destination and required date through the contact page, email zhengdong@jiumugear.com, or contact +86 18507502899.
Technical references
- Madeira E-Zee cap backing for front, side and rear embroidery
- Melco commercial cap embroidery and extended sew field
- Richardson decoration options including embroidery, patches, transfers and clip labels
- New Era example: front, side and rear decoration
- New Era example: printed sweatband and undervisor treatment
- New Era example: interior tape print and rear embroidery
- New Era example: side patch, rear mark, printed undervisor and interior graphic
JIUMU is a B2B supplier of custom hats, teamwear, bags and branded merchandise. Established in 2010, the team supports artwork review, sampling, customization, quality control, packaging and export coordination.