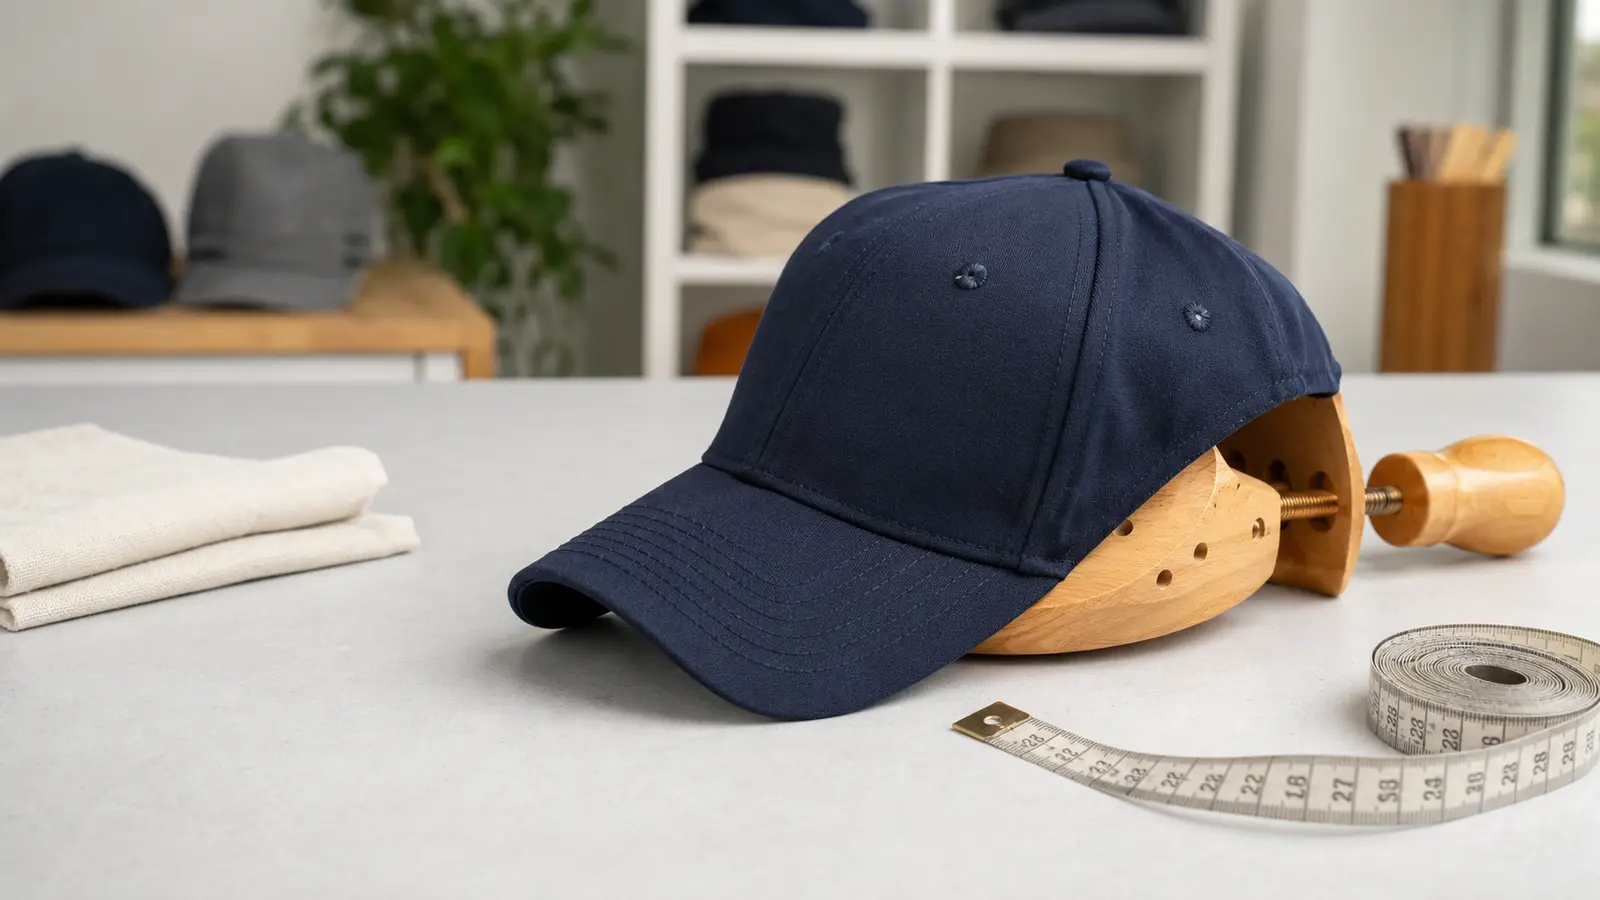
How to Shrink or Stretch a Fitted Hat Safely
A fitted hat should feel secure without creating pressure points, leaving a deep line across your forehead, or moving when you turn your head. When the fit is only slightly wrong, you may be able to make a small, controlled adjustment. The safest approach is gradual: identify the material, measure the difference, protect the brim and decoration, and change only the sweatband area.
This guide explains how to shrink or stretch a fitted hat with the lowest practical risk. It also shows teams, schools, distributors, and private-label buyers how to prevent fit problems before placing a bulk custom hat order.
Quick Answer
To stretch a fitted hat safely, wear it for short periods or use a hat stretcher to expand the sweatband in very small increments. Leave the stretcher in place for several hours, check the fit, and repeat only if needed. Do not force the crown or pull on the brim.
To shrink a fitted hat, first check the care label and fabric content. Lightly dampen only the sweatband with cool or lukewarm water, then let the hat air-dry on a form slightly smaller than your head. Shrinkage is less predictable than stretching, especially with polyester caps. Never use boiling water, a clothes dryer, a hot hair dryer, or direct steam on embroidery and patches.
If the hat is more than one size wrong, exchanging it, adding removable sizing tape, or ordering the correct size is usually safer than trying to reshape it.
First Decide Whether the Hat Is Actually the Wrong Size
Many fit problems are not caused by the labeled size alone. A folded care label, a thick seam, hair length, sweatband construction, crown profile, or natural production tolerance can change how a hat feels. New Era’s customer-care guidance notes that a bunched care label can affect fit and that caps may loosen through wear over time. The same guidance recommends measuring around the head above the ears and eyebrows before choosing a size (New Era Customer Care).
Before using water, humidity, or mechanical pressure, wear the hat indoors for 10 to 15 minutes. Pay attention to where it feels wrong.
| What you notice | Likely issue | Lowest-risk first step |
|---|---|---|
| Even pressure all the way around | Hat is slightly too small | Short wear sessions or a hat stretcher |
| Pressure only at the temples | Head shape and hat opening differ | Use an oval stretcher or consult a hat specialist |
| Deep forehead mark or headache | Hat is too tight | Stop wearing; exchange or stretch gradually |
| Hat rotates or slips in calm conditions | Hat is slightly too large | Removable hat-sizing tape |
| Crown looks loose but sweatband fits | Crown profile is too high or full | Do not shrink the whole hat; choose another profile |
| Only one seam or label feels uncomfortable | Local construction issue | Flatten the label or inspect the seam |
| Brim sits incorrectly | Brim shape issue, not necessarily size | Reshape the brim separately and gently |
Measure Before You Modify
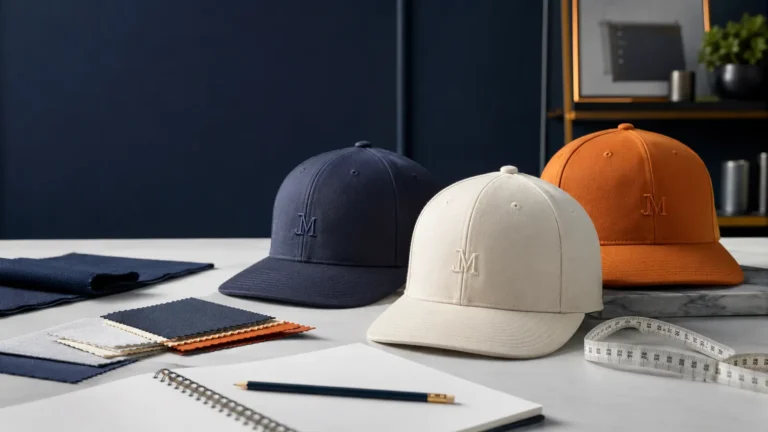
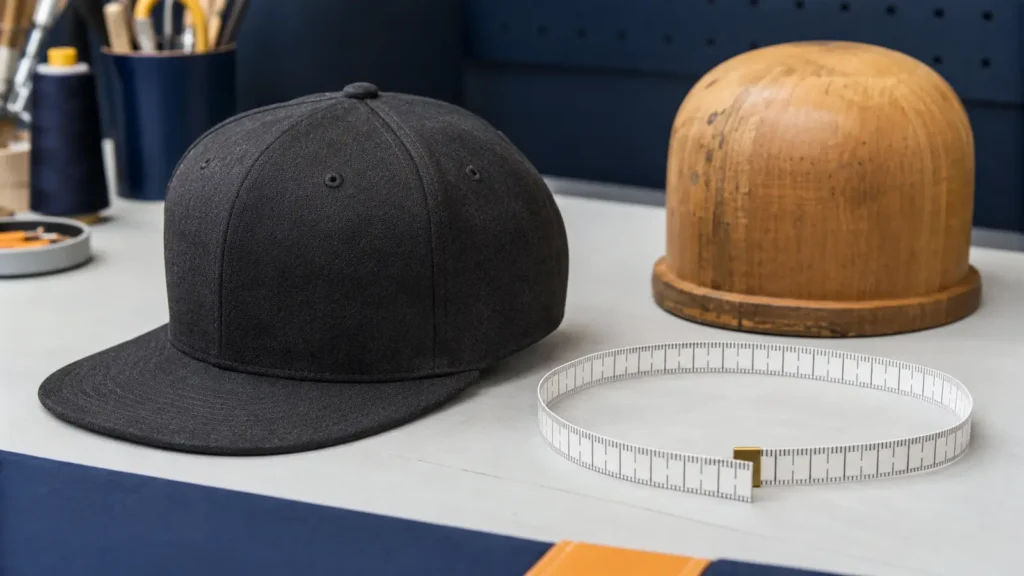
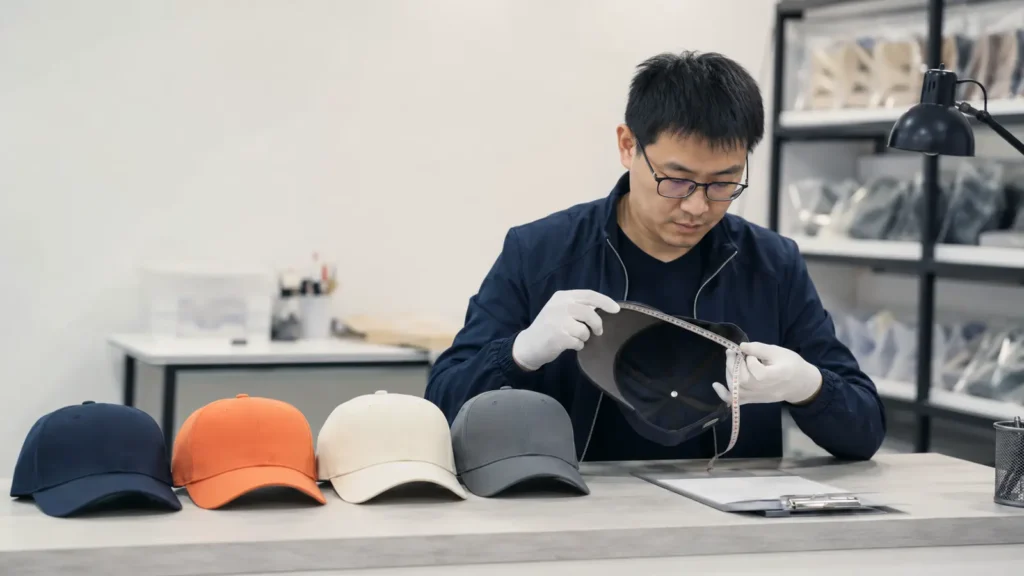
Use a flexible cloth tape measure. Place it where the hat’s sweatband naturally sits—typically just above the eyebrows and ears—and keep the tape level. It should touch the head without compressing the skin. Measure two or three times and record the result in both centimeters and inches.
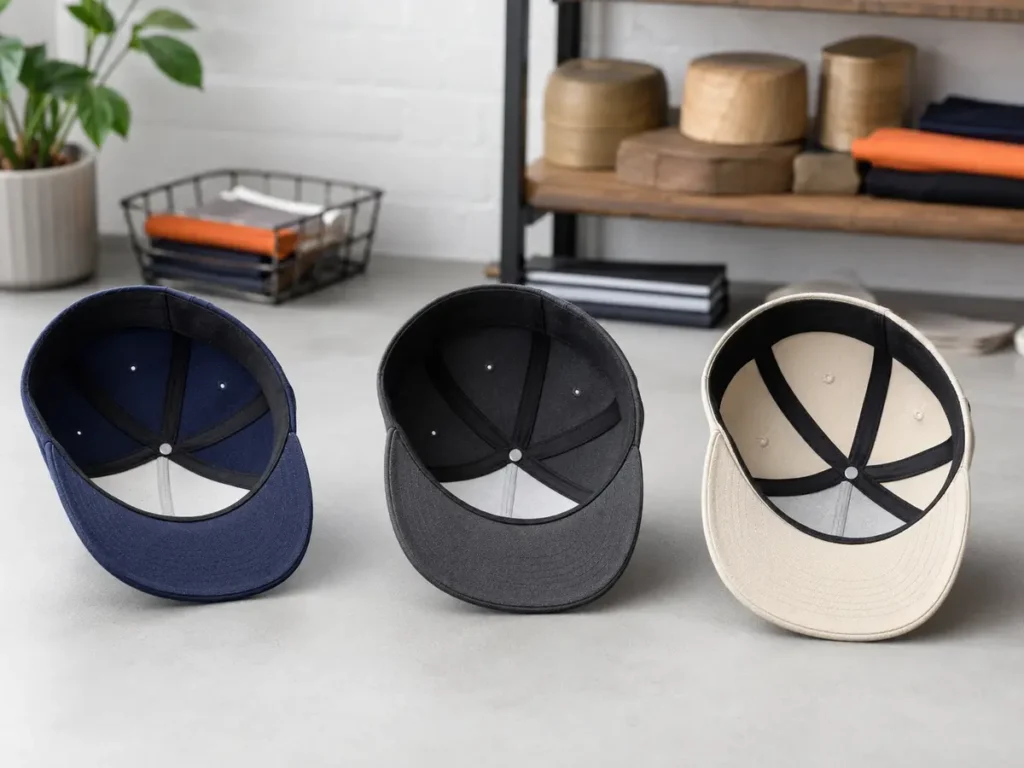
Then measure the hat’s internal sweatband circumference as consistently as possible. A soft tape can follow the inside edge, although this measurement is less repeatable than measuring the head. For a bulk program, a fitted-cap measuring fixture or approved size template provides more consistent results.
The important question is not “Can this hat be stretched?” but “How much change is needed?” Home adjustment is most appropriate for a small difference. If the hat needs a major change, forcing it can distort the panels, split the sweatband seam, pull embroidery, or alter the brim angle.
Check the Material, Structure, and Decoration
There is no single resizing method for every fitted cap. New Era specifically states that different fabrics require different care and advises air-drying caps in their natural shape. It also warns against machine washing, full submersion, machine drying, and applying intense heat such as a steamer to patches or embroidery (New Era Customer Care).
Read the sewn-in care label first. If the label says “do not wash,” “dry clean only,” or gives a specific temperature limit, follow it. When the label is missing, treat the cap conservatively.
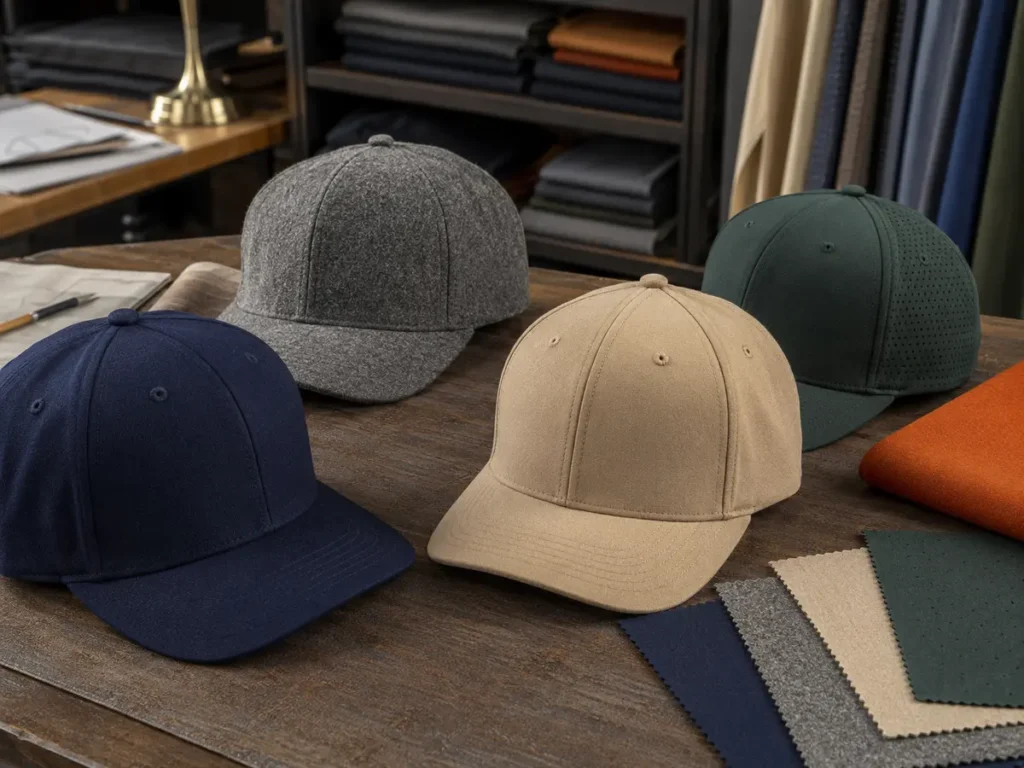
| Cap material or component | Typical response to resizing attempts | Main risk | Recommended approach |
|---|---|---|---|
| Wool or wool blend | May relax with controlled humidity; may also felt and shrink | Irreversible felting, color change | Stretch slowly; avoid heat plus agitation |
| Cotton twill | Can relax and may shrink with moisture | Uneven shrinkage, fading, puckering | Use minimal moisture; air-dry in shape |
| Polyester | Usually dimensionally stable | Heat damage, shine, warped structure | Prefer stretcher or sizing tape; avoid heat |
| Stretch-performance blend | Designed to recover after wear | Overstretching elastic fibers | Use normal wear first; avoid prolonged force |
| Buckram-supported crown | Holds the front shape | Buckling or adhesive damage | Keep crown dry and supported |
| Embroidery | Dense stitches restrict local movement | Puckering, thread distortion | Do not heat or pull the embroidered area |
| Woven, leather-style, or PVC patch | Material reacts differently from cap fabric | Delamination, curling, surface damage | Keep direct heat and soaking away |
| Cardboard or unknown brim insert | Can absorb water and deform | Permanent warping | Do not soak the brim |
Why Wool Needs Extra Caution
Wool has microscopic surface scales. Woolmark explains that when wool is exposed to heat and moisture, mechanical agitation can cause those scales to interlock, producing felting and shrinkage that is irreversible (Woolmark). A fitted cap combines fabric with seams, stabilizers, a sweatband, decoration, and a brim, so its behavior can be less predictable than a simple piece of fabric.
That is why “soak it in hot water” is poor general advice. It may reduce circumference, but it may also produce a smaller, distorted cap with a wavy sweatband or damaged front structure.
Why Polyester Usually Does Not Shrink Reliably
Polyester is commonly used because it holds shape and dries quickly. Those same properties make intentional home shrinkage difficult. High heat may affect adhesives, foam, synthetic sweatbands, plastic brim components, or decoration before it creates a useful and even size change.
For a polyester fitted hat that is slightly loose, removable sizing tape is normally the most reversible solution. For a hat that is too tight, a stretcher can sometimes create a small improvement by relaxing the construction and sweatband, but the change may not be permanent.
How to Stretch a Fitted Hat Safely
Stretching is generally easier to control than shrinking. The goal is to expand the sweatband evenly, not to enlarge the brim or pull the crown out of shape.
Method 1: Break It In Through Short Wear Sessions
This is the lowest-risk method when the cap is only slightly snug and does not cause pain.
- Wear the hat indoors for 10 to 15 minutes.
- Remove it if you feel a headache, numbness, sharp pressure, or a pronounced forehead mark.
- Let the cap rest in its natural shape.
- Repeat once or twice a day for several days.
- Check the fit after each session rather than assuming more wear is always better.
Body warmth and normal movement can help the sweatband settle. This method works best for a very small adjustment. Do not wear a painful cap for hours in the hope that it will eventually loosen.
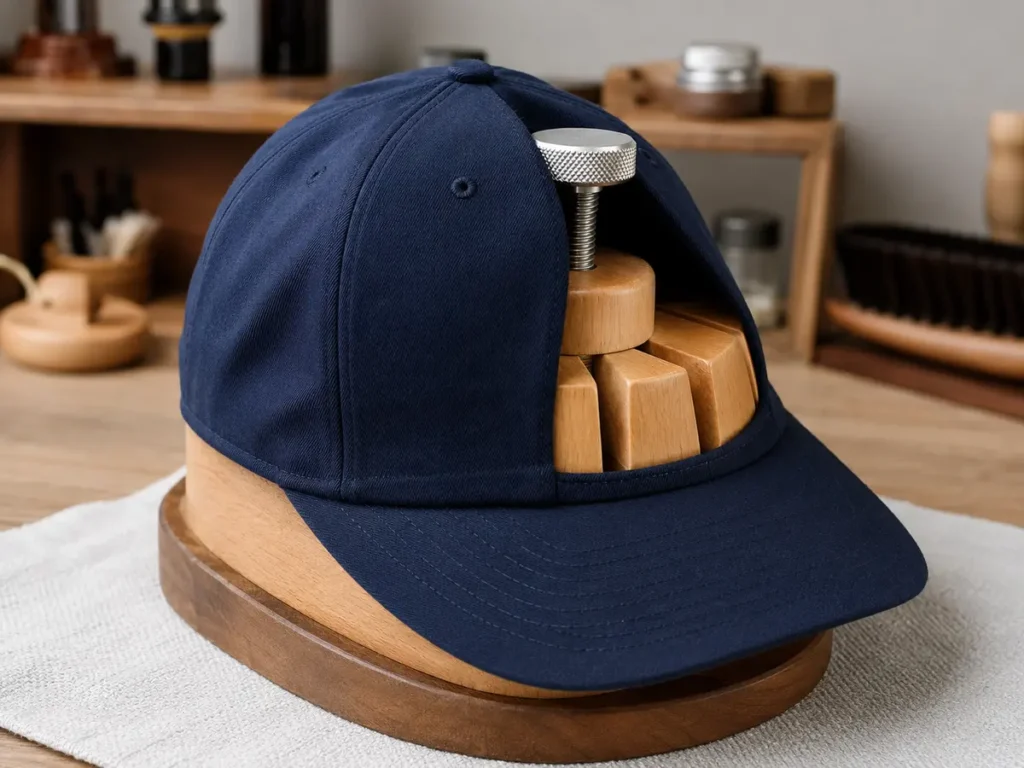
Method 2: Use a Hat Stretcher
A hat stretcher gives more even and measurable pressure than pulling the cap by hand. Choose a tool designed for baseball caps and fitted hats. A model that supports the full sweatband is preferable to a narrow object that creates two pressure points.
- Inspect the hat for loose seams, cracked patches, damaged embroidery, or a weakened sweatband.
- Place the stretcher inside the sweatband, not against the brim.
- Expand it until it is snug. Do not immediately turn it to the maximum.
- Add only a small increment—often a partial turn, depending on the tool.
- Leave it for several hours or overnight at room temperature.
- Remove the stretcher and let the cap rest for 15 minutes.
- Try the cap on. Repeat only if the first adjustment was insufficient.
If the cap has a wool or cotton sweatband and the care label permits moisture, a very light mist on the inside of the sweatband may help it relax. The band should feel barely damp, not wet. Keep the crown, brim, embroidery, and patches dry.
Method 3: Use Controlled Ambient Humidity
Some owners place a cap in a humid bathroom after a shower, away from direct water, then put it on briefly or place it on a stretcher. This is gentler than pointing a garment steamer at the cap, but it still requires caution.
Use only mild ambient humidity. Do not place the hat over a kettle, boiling pot, or direct steam jet. Never direct steam at embroidery, patches, printed graphics, adhesives, or an unknown brim insert. If colors begin to transfer or the structure softens unexpectedly, stop.
What Not to Use as a Hat Stretcher
Avoid forcing the cap over a ball, pot, jar, or oversized bowl. These objects may stretch the lower edge unevenly, push the crown outward, or flatten the back panels. Do not pull opposite sides with your hands; that concentrates force at seams.
For an expensive, collectible, heavily decorated, vintage, or irreplaceable cap, consult a professional hat cleaner or repair specialist instead of experimenting.
How to Shrink a Fitted Hat Safely
Intentional shrinking is less predictable. The safest method changes as little of the cap as possible. Start with reversible options.
Option 1: Add Removable Hat-Sizing Tape
If a fitted hat is slightly large, adhesive-backed foam sizing tape can be placed behind the sweatband. Apply short sections at the back or sides, try the cap on, and adjust until pressure is even.
Sizing tape has several advantages:
- It does not expose the hat to water or heat.
- It can correct localized looseness.
- It can be removed or replaced.
- It protects crown shape and decoration.
- It works well when the cap will be shared temporarily or used for display.
Choose tape made for hats, not thick household weather stripping. Excess thickness can create visible bumps or pressure points.
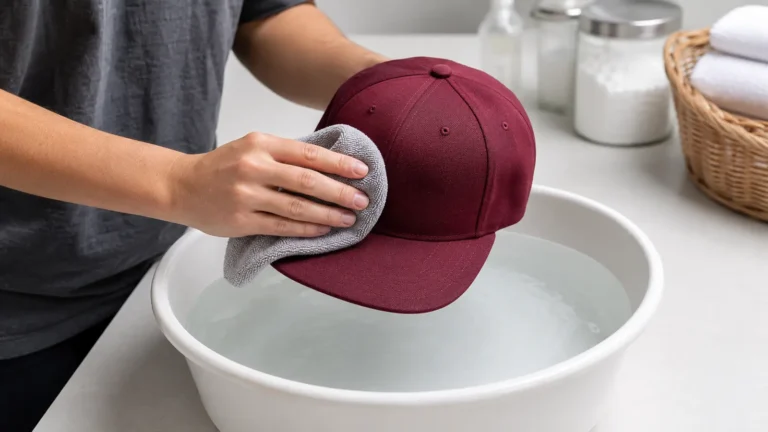
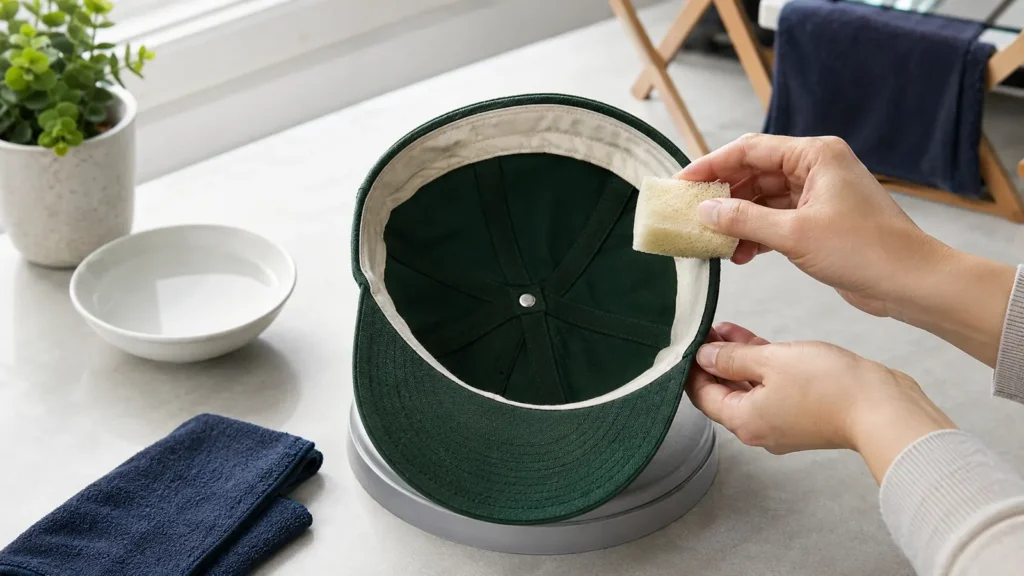
Option 2: Lightly Dampen the Sweatband Only
Use this only if the care label allows spot cleaning or gentle moisture.
- Test a hidden section with a white damp cloth to check for color transfer.
- Fold the sweatband outward if the construction allows it without strain.
- Use a clean sponge or cloth with cool or lukewarm water to dampen the band evenly.
- Do not saturate the crown or brim.
- Place the cap on a clean round form slightly smaller than the desired final fit, or let it rest in its natural shape.
- Air-dry at room temperature, away from direct sunlight, radiators, hair dryers, and clothes dryers.
- Check the fit only after the hat is fully dry.
Richardson’s official FAQ recommends hand washing or spot treatment with water and a light detergent if a cap is washed, which supports a localized, low-agitation approach rather than aggressive machine treatment (Richardson Sports). New Era likewise recommends spot cleaning, cool water for the sweatband, and natural air-drying.
Option 3: Ask a Professional
Professional help is the better choice when:
- the hat is vintage or collectible;
- the brim material is unknown;
- the front crown contains stiff buckram;
- the design uses leather-style, suede, foam, metallic, or layered decoration;
- the fabric is wool and the cap has already changed shape;
- the required adjustment is more than minor;
- the item cannot be replaced.
A professional may recommend blocking, internal padding, repair, or no treatment. “No treatment” is sometimes the correct answer when the risk is greater than the likely improvement.
Resizing Methods Ranked by Risk
| Method | Best use | Control level | Risk level | Reversible? |
|---|---|---|---|---|
| Short wear sessions | Very slightly tight cap | Medium | Low | Mostly |
| Removable sizing tape | Slightly loose cap | High | Low | Yes |
| Hat stretcher, small increments | Slightly tight cap | High | Low to medium | Partly |
| Barely damp sweatband plus air-dry | Slightly loose cotton/wool-blend cap | Medium | Medium | Not fully |
| Ambient humidity plus stretcher | Slightly tight compatible cap | Medium | Medium | Partly |
| Direct steamer | Not recommended for general home use | Low | High | No |
| Hot-water soak | Not recommended | Low | High | No |
| Clothes dryer or hot hair dryer | Not recommended | Very low | Very high | No |
Common Mistakes That Ruin Fitted Hats
Using a Clothes Dryer
A dryer combines heat, tumbling, and repeated impact. Even if the circumference becomes smaller, the brim, sweatband, panels, adhesives, and decoration may change at different rates. Machine drying is specifically discouraged in New Era’s cap-care guidance.
Soaking the Entire Hat
Full submersion can expose an unknown brim insert, crown stabilizer, thread, patch adhesive, and sweatband to water at the same time. The result may be color bleeding, rippling, delamination, or a warped visor.
Applying Direct Steam to Decoration
Dense embroidery and patches do not react like the surrounding fabric. Direct heat can create puckering or surface damage. If mild humidity is used, keep it indirect and away from decorated areas.
Stretching Too Far in One Session
An aggressive adjustment can break stitches or permanently distort the opening. Small increments are easier to evaluate and correct.
Treating a Crown-Shape Problem as a Size Problem
A high-profile crown can look “too big” even when the sweatband fits. Shrinking the cap will not reliably convert a high-profile pattern into a low-profile shape. Choose a different crown pattern instead.
Ignoring the Care Label
The exact fiber blend and internal construction matter more than a generic internet method. A technique that worked on an all-cotton cap may damage a polyester cap with a laminated patch.
How to Keep the New Fit
After adjusting a cap, store it in a cool, dry, shaded place with enough support to preserve the crown. Do not compress it under clothing or leave it in a hot vehicle. Heat inside a closed car can affect synthetic components and adhesives.
Clean sweat and surface dirt promptly with a method allowed by the care label. New Era recommends spot cleaning with a damp cloth and mild, color-safe detergent for common cotton, polyester, and wool fabrics or blends, then air-drying in a natural position. A clean sweatband is less likely to become stiff and uncomfortable.
If the hat was stretched, it may gradually recover toward its original size, especially when elastic fibers are present. Keep a stretcher at the final setting for occasional maintenance rather than over-expanding the hat during one session.
What Fit Problems Teach B2B Custom-Hat Buyers
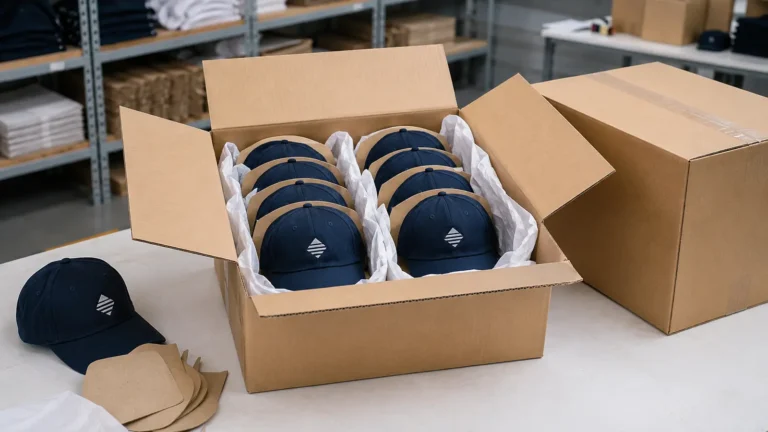
For a single retail cap, a small fit error is inconvenient. For a school, baseball club, merchandise brand, or distributor ordering hundreds of fitted hats, it can create returns, complaints, replacement freight, and inconsistent team presentation.
The best solution is not a post-delivery shrinking method. It is a better pre-production sizing and approval process.
1. Build a Real Size Distribution
Do not order equal quantities in every size unless actual wearer data supports that split. Ask participants to measure their heads using one method and one unit. Record measurements, chosen sizes, age group, and any preference for a snug or relaxed fit.
For resale programs, use historical sales data when available. If this is a first order, consider a smaller launch quantity or a complete pre-production size set before committing to the final distribution.
2. Define the Exact Crown and Fit
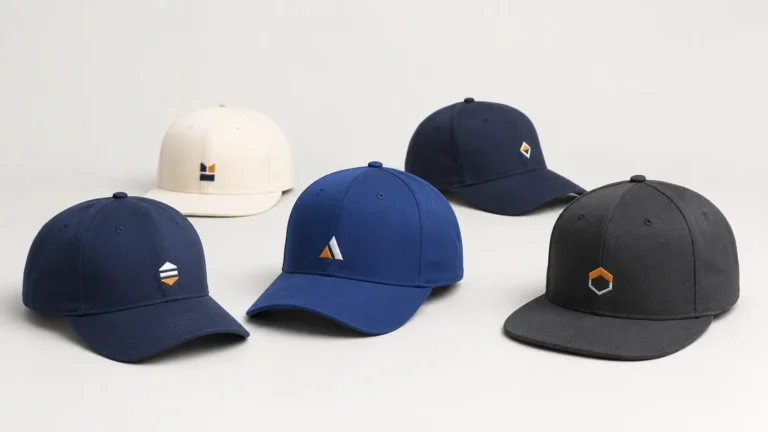
“Fitted baseball cap” is not a complete specification. A sourcing brief should identify:
- panel count;
- structured or unstructured crown;
- low, mid, or high profile;
- crown height and shape;
- flat or curved brim;
- sweatband material and width;
- fitted size range and size intervals;
- shell fabric and fiber composition;
- closure requirement—none for a true fitted cap;
- embroidery, patch, and private-label details.
Two caps with the same labeled circumference may feel different because their crown profile, seam placement, sweatband thickness, and head-opening shape differ.
3. Approve Physical Samples by Size
A digital mockup confirms artwork placement and color direction, but it cannot confirm physical fit. For fitted-cap programs, approve at least the critical sizes in the range. Larger programs may justify a full size set.
During sample review, check:
- internal circumference using the agreed method;
- opening shape and front-to-back dimension;
- crown height and symmetry;
- sweatband comfort and seam placement;
- brim angle and consistency;
- embroidery density and puckering;
- patch edge adhesion;
- label position;
- fit after a short wear test.
4. Agree on Measurement Tolerances
Textile products cannot be produced with zero variation. The buyer and supplier should agree on the measurement method and acceptable tolerance before bulk production. A tolerance without a defined measurement method is difficult to enforce.
For example, “measure the inside circumference along the lower edge of the sweatband using the approved fixture” is more useful than “hat must fit size 7 1/4.” The exact tolerance should be set for the product, fabric, size system, and buyer requirement rather than copied from an unrelated hat.
5. Check Bulk Production Against the Approved Sample
Pre-shipment inspection should compare randomly selected units with the approved sample and specification sheet. Fit-related checks should include size labels, circumference, sweatband construction, panel symmetry, seam integrity, and crown shape.
What to Send JIUMU for a Custom Fitted-Hat Quotation
To receive a more accurate quotation and development plan, send:
- intended market and buyer type;
- total quantity and quantity by size;
- reference image or preferred cap profile;
- shell fabric and color requirements;
- logo artwork in vector format when available;
- decoration method and placement;
- desired brim shape and under-brim color;
- sweatband and internal label requirements;
- packaging needs;
- target delivery date and destination country;
- any required testing, labeling, or compliance documentation.
JIUMU has supported B2B custom teamwear, logo apparel, hats, uniforms, bags, and branded merchandise since 2010. Custom fitted hat development can include OEM/ODM support, embroidery, woven or rubber/PVC patches, leather-style patches, fabric sourcing, Pantone color matching, private labels, packaging, digital mockups, physical samples, bulk quality control, and export support. Typical MOQ begins around 50 pieces, subject to cap structure and customization.
Planning a fitted-cap order for a team, school, distributor, or private-label brand? Share your size distribution, cap reference, logo, colors, quantity, packaging, destination, and target delivery date. JIUMU can review the specification and recommend a sample plan before bulk production. Request a custom quotation.
Questions to Ask a Custom Fitted-Hat Supplier
- What measurements define each fitted size?
- How is internal circumference measured during sampling and inspection?
- What tolerance is realistic for the selected fabric and construction?
- Can you provide a size set or multiple-size samples?
- Is the crown structured, and what stabilizer is used?
- What is the shell and sweatband fiber composition?
- How will dense embroidery affect the front-panel shape?
- Are patches sewn, heat-applied, or both?
- How are size labels separated and packed?
- Can player names, numbers, or team roles be organized by roster?
- What information is needed to repeat the same fit and color later?
- What quality-control records will be used for bulk approval?
Clear answers reduce the chance that buyers will need to shrink or stretch finished caps after delivery.
Frequently Asked Questions
Final Recommendation
The safest way to shrink or stretch a fitted hat is to make the smallest possible change. For a tight cap, start with short wear sessions or a properly fitted stretcher. For a loose cap, begin with removable sizing tape; if the material and care label allow it, lightly dampen the sweatband and air-dry without heat. Stop if the crown, brim, seams, or decoration begin to change.
When a hat is more than slightly wrong, replacement is usually better than aggressive resizing. For bulk custom fitted hats, accurate wearer measurements, a documented size system, physical sample approval, and agreed inspection tolerances are far more reliable than trying to correct finished units after delivery.

Develop a more consistent custom fitted-cap program with JIUMU. Send your cap style, size distribution, logo files, colors, quantity, decoration, packaging, destination country, and target delivery date. Email zhengdong@jiumugear.com, contact WhatsApp/Phone +86 18507502899, or submit your project details.
Reviewed by: JIUMU Product Development Team
Last updated: July 24, 2026
Editorial note: Care labels and original manufacturer instructions take priority over general resizing advice. Results vary by fiber, sweatband, brim insert, stabilizer, decoration, and prior wear.