How to Apply Patches to Backpacks: Embroidered, Woven, PVC and Heat-Transfer Options
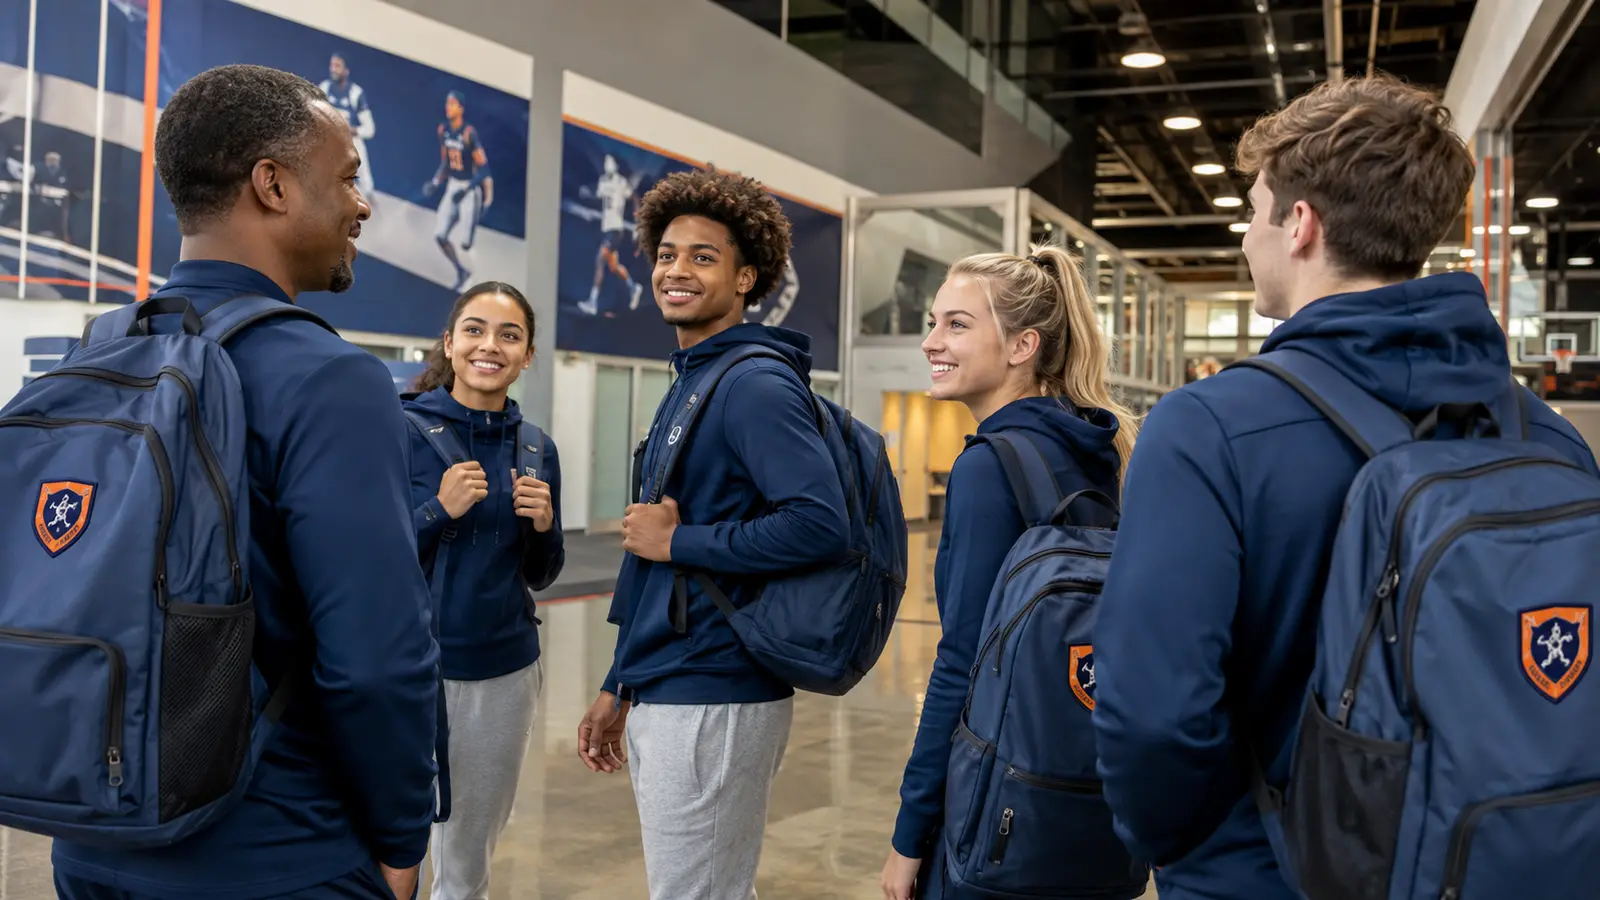
Backpack patches turn a standard bag into identifiable team equipment, school merchandise, staff gear or a private-label product. The visible patch is only half the decision, however. Buyers must also match the patch construction and attachment method to the backpack fabric, coating, panel shape, intended use and production stage.
This guide explains how to apply patches to backpacks by sewing, heat pressing or combining both methods. It compares embroidered, woven, PVC and heat-transfer options and shows B2B buyers what to specify, sample and inspect before approving a bulk order.
Quick Answer: Sew-on attachment is the most broadly compatible choice for embroidered, woven and stitch-channel PVC patches, especially when the backpack fabric or coating has not been validated for heat. Heat-applied patches can produce a clean result and efficient production, but the supplier’s exact time, temperature and pressure must be tested on the actual backpack panel. Avoid pressing over seams, zippers, foam or hardware. For demanding programs, a heat-seal layer plus perimeter stitching may provide useful assembly control and edge security, subject to sample testing.
Why Patch Application Is a Product-Engineering Decision
A patch affects more than appearance. A needle penetrates the shell and possibly a coating; a heat press exposes the shell, adhesive, foam and lining to heat and compression. Poor placement can interfere with a zipper or pocket. An unsuitable adhesive can lift at the edge. Excessive heat can create gloss, dye migration, coating damage or panel deformation.
For a one-off personal bag, a repair may be acceptable. For 50, 500 or 5,000 coordinated backpacks, repeatability matters. The approved sample should define the artwork, dimensions, colors, border, backing, placement reference, attachment method and acceptable workmanship.
Backpack Patch Options Compared
| Patch type | Visual character | Best for | Detail level | Typical attachment choices | Main watchout |
|---|---|---|---|---|---|
| Embroidered | Raised thread, classic team look | Crests, initials, bold logos | Medium | Sew-on; heat seal; heat seal plus sewing | Small text and fine lines may fill in |
| Woven | Flatter, fine yarn detail | Detailed logos, small lettering, retail branding | High | Sew-on; heat seal; combined | Less dimensional than embroidery |
| PVC/rubber | Raised molded surface, modern outdoor look | Equipment bags, clubs, tactical-inspired styles | Medium to high, design-dependent | Sew through a channel; compatible adhesive system; combined | Weight, stiffness and heat compatibility |
| Heat-transfer emblem | Thin, smooth or printed surface | Multicolor art, names, campaign graphics | High | Heat press according to product data | Fabric coating, dye migration and heat sensitivity |
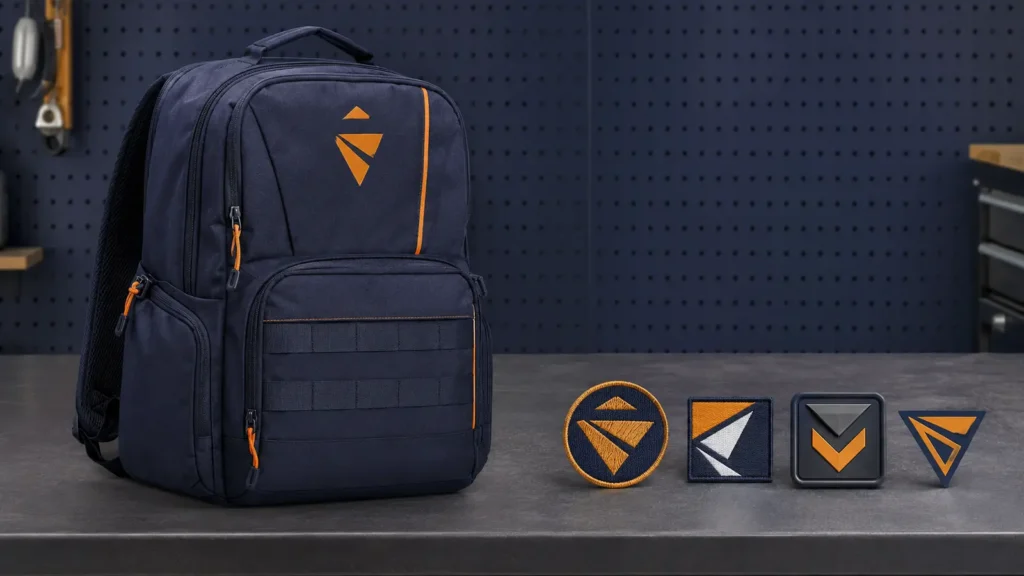
No format is universally “best.” Choose embroidered patches for tactile tradition, woven patches for fine detail, PVC for dimensional molded branding and heat-transfer emblems for thin, graphic-rich decoration.
Step 1: Identify the Backpack Material and Panel Construction
Before selecting an attachment method, record:
- shell fiber and fabric construction;
- coating, laminate or water-resistant finish, if any;
- lining and foam layers behind the target area;
- access to the reverse side for sewing;
- nearby seams, piping, zippers, buckles and webbing;
- panel curvature and usable flat area;
- care instructions and expected service conditions.
“Polyester backpack” is not a complete heat-press specification. Two polyester fabrics may use different coatings, dyes, weights and laminated structures. Treat the assembled panel—not only the named fiber—as the substrate.
Choose a flat, visible area that does not fold sharply during use. Keep the patch away from zipper paths and high-friction edges. If the front pocket contains padding, a fitted platen or pressing pillow may be needed for a heat-applied option.
Step 2: Prepare Artwork, Size and Border
Simplify artwork for the selected process. Embroidery uses thread and needs sufficient stroke width and negative space. Woven construction can reproduce finer detail because the design is formed within a woven surface. PVC uses molded color areas and relief levels; very thin elements may need adjustment. Printed heat-transfer formats can accommodate gradients and many colors, but the artwork still needs a clean cut path.
Specify:
- finished width and height;
- shape and corner radius;
- thread, yarn, PVC or print colors;
- Pantone references when brand matching is required;
- border type: merrowed, satin stitched, laser cut or molded;
- backing: plain, heat seal, hook-and-loop or other approved system;
- orientation and placement tolerance;
- packaging and spare-patch requirements.
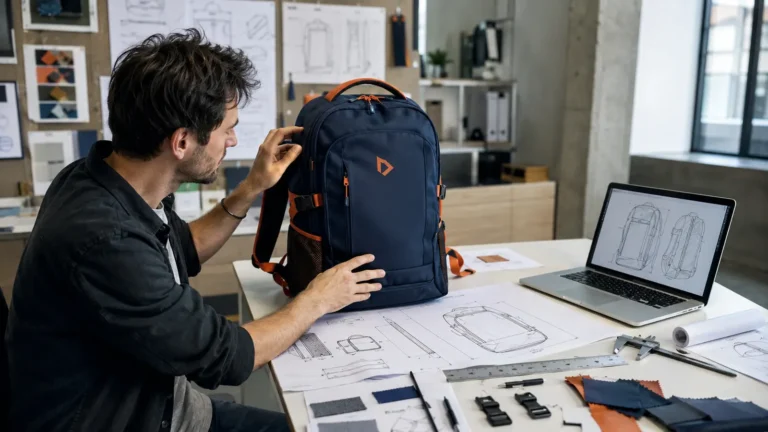
A paper print at actual size is a useful first placement check. It reveals when a patch crowds a zipper, looks undersized on a large panel or bends around a pocket curve.
How to Sew an Embroidered or Woven Patch onto a Backpack
Sewing is usually the safest default when the backpack’s heat tolerance is unknown. It also works well for thick or textured fabrics where uniform adhesive contact is difficult.
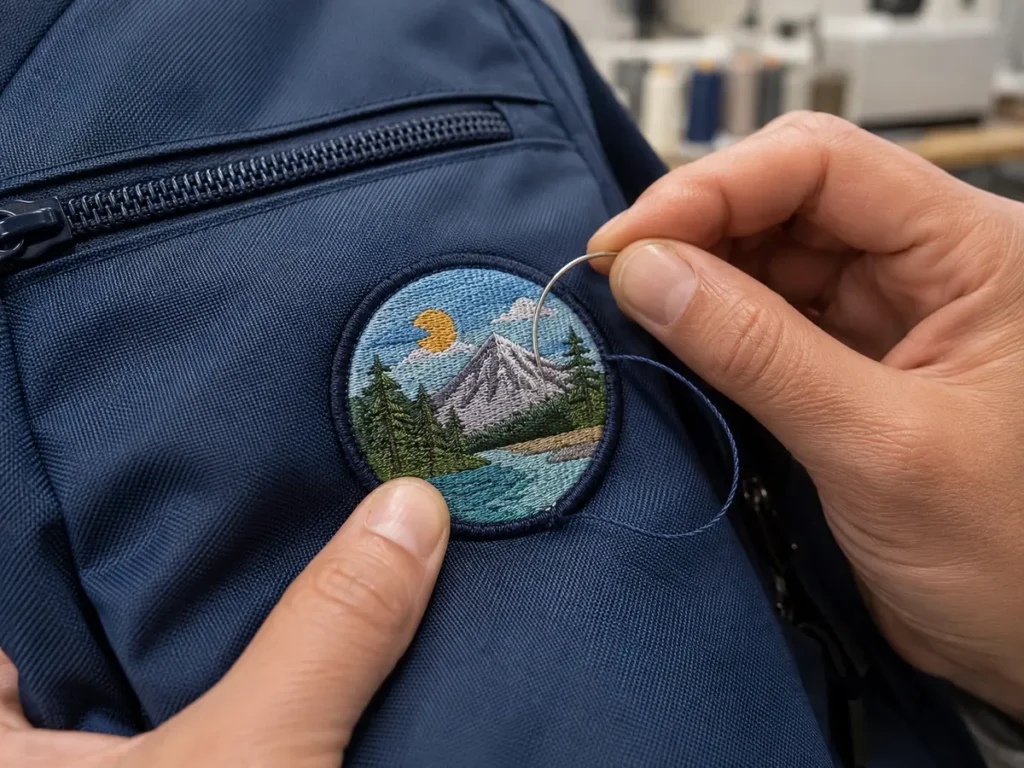
Sewing procedure
- Empty the bag and open the target pocket. Move the lining aside if the construction permits.
- Confirm the patch position with a template and mark temporary reference points using a material-safe method.
- Hold the patch with temporary basting, clips or another approved positioning aid. Do not leave permanent adhesive residue.
- Use a needle and thread suited to the shell thickness. For bulk production, confirm machine type, presser-foot clearance and access before the bag is fully assembled.
- Sew close to the patch edge with consistent spacing. Follow the entire perimeter and lock the thread securely.
- Inspect the reverse side for loose thread, lining catches or exposed ends that could snag contents.
- Check the front for puckering, rotation, skipped stitches and damage to nearby components.
Do not sew blindly through a closed pocket that may contain dividers, foam, cables or waterproof layers. If reverse-side access is poor, consider attaching the patch to a component panel before final backpack assembly.
Embroidered vs Woven Patches
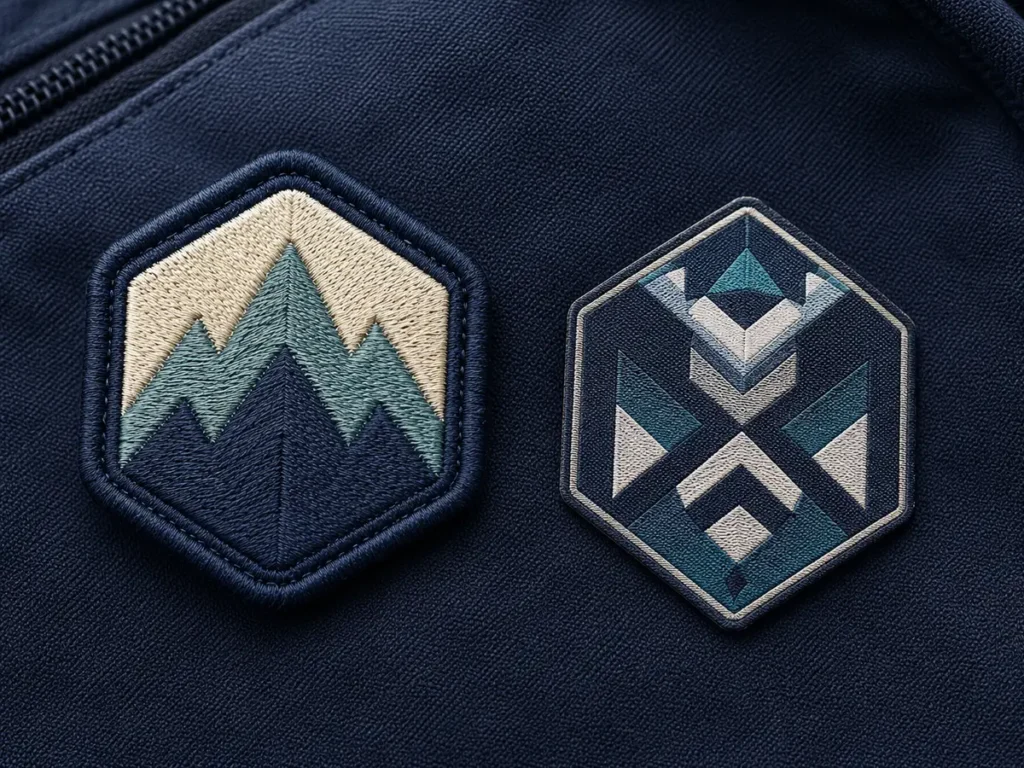
Embroidery produces a dimensional surface that buyers associate with varsity, club and traditional uniform branding. It is effective for bold symbols and larger lettering. Dense embroidery can become stiff, and fine detail may merge when reduced.
Woven patches use thinner yarns in a flatter construction. They are useful for compact logos, fine outlines and smaller text. A woven patch can look precise without the thickness of full embroidery, making it suitable for retail or private-label backpacks.
| Buyer question | Prefer embroidered | Prefer woven |
|---|---|---|
| Is a raised, classic texture important? | Yes | No |
| Does the design contain small details? | Only after simplification | Usually the stronger choice |
| Should the patch remain relatively thin? | Less suitable | More suitable |
| Is a bold team crest the priority? | Strong choice | Also possible, but flatter |
How to Apply a PVC Patch to a Backpack
PVC patches create a flexible, dimensional surface and can use recessed or raised design levels. They are often chosen for sports equipment, outdoor-inspired merchandise and modern club branding.
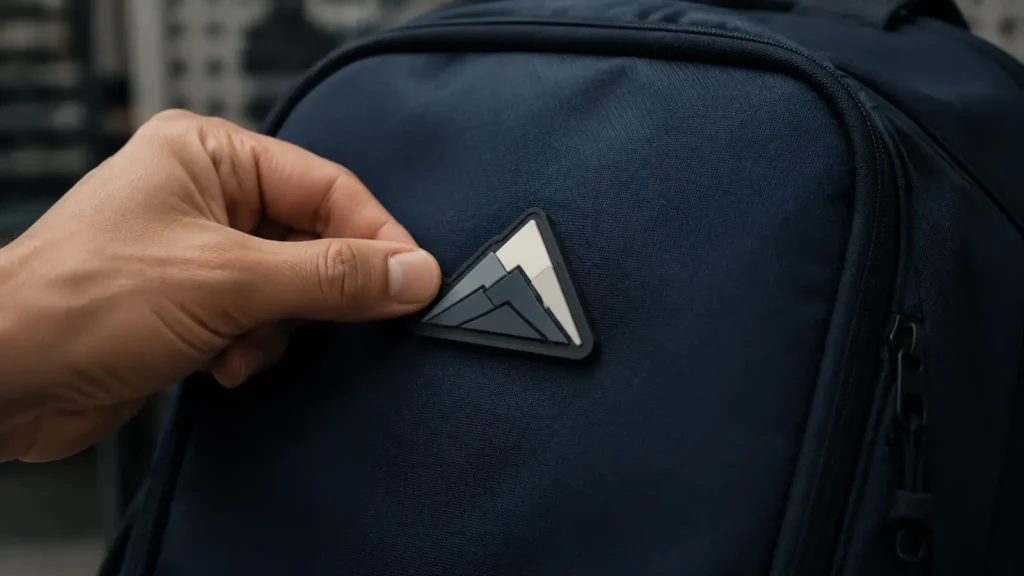
The most dependable construction for many backpack programs is a PVC patch designed with a sew channel or textile border. The operator stitches through that channel rather than through the molded artwork. This avoids relying solely on an adhesive bond and makes the stitch path intentional.
For heat-applied PVC products, use only the patch supplier’s documented system and validate it on the actual bag. A thick patch can prevent heat from reaching adhesive uniformly from the top; some systems benefit from heating from the reverse or using specialized equipment. That is a process-specific decision, not a universal instruction.
Check the PVC sample for color accuracy, surface marks, consistent relief, flexible edges, clean molding and correct sew-channel dimensions. After attachment, flex the panel and inspect for edge lift or stress concentration.
How to Heat-Apply a Patch Without Damaging the Backpack
Heat application can be efficient and produces no visible perimeter stitching. It also creates more variables than sewing. Every heat-applied patch has its own instructions; Stahls’ heat-printing guidance identifies temperature, time and pressure as product-specific variables. Published manufacturer examples also warn against applying transfer products over seams and stitches and recommend validating parameters for each substrate.
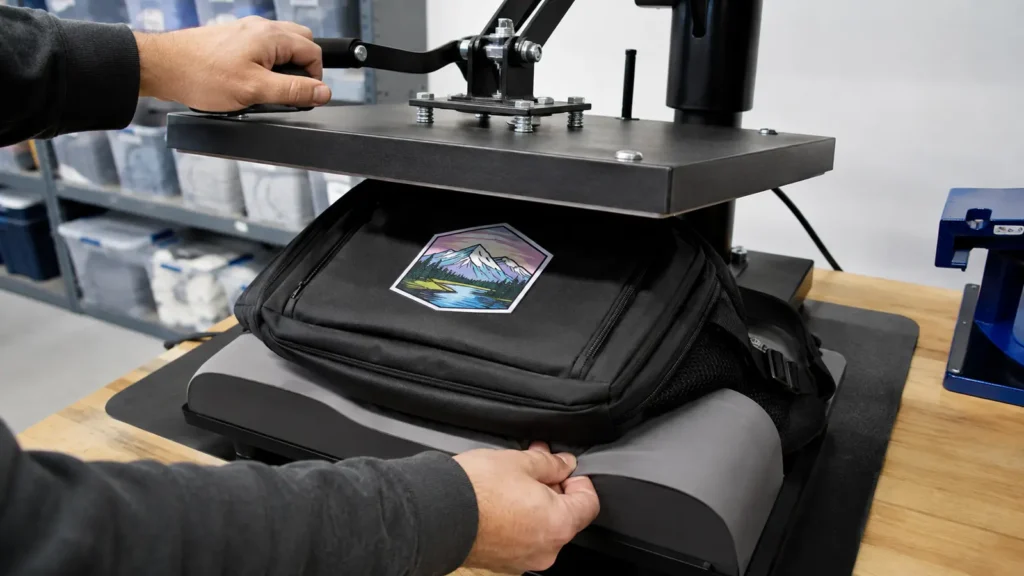
Controlled heat-application workflow
- Obtain the patch manufacturer’s application sheet and the backpack material specification.
- Test on a spare panel made from the same production lot, coating and color.
- Place the target panel on a platen or pressing pillow so seams, zippers and hardware sit outside the pressure zone.
- If the product instructions allow preheating, use the specified procedure to remove surface moisture and flatten the area.
- Position the patch with an alignment template and approved heat-resistant tape if required.
- Use the specified cover sheet, temperature, dwell time and pressure. Do not substitute a generic setting.
- Follow the specified peel method—hot, warm or cold.
- Allow the assembly to cool on a flat surface before flexing or packing it.
- Inspect the face fabric, coating, patch edge and panel shape. Conduct the agreed adhesion and use tests after the stated cure period.
Stop the trial if you see
- glossy or flattened fabric;
- discoloration or dye migration;
- coating bubbles, odor or delamination;
- foam compression that does not recover;
- zipper, piping or buckle deformation;
- incomplete edge bonding;
- adhesive bleed beyond the patch.
Procurement rule: Never copy a time/temperature setting from an unrelated patch or bag. Even authoritative product sheets apply to named products and compatible substrates, not every backpack.
Planning a custom backpack program? Send JIUMU your bag reference, quantity, patch artwork, required dimensions, colors, preferred attachment method, packaging and target delivery date. A mockup and physical sample can then be used to confirm placement and construction before bulk production. Request a quotation.
When to Combine Heat Seal and Perimeter Stitching
A heat-seal backing may hold a patch flat and support positioning, while perimeter stitching provides mechanical edge retention. This combined approach can be useful for frequently handled team or staff bags. It still requires heat compatibility testing, and the stitching plan must avoid damaging protected layers.
The combination is not automatically necessary. It adds labor and may create visible stitches. Compare the sample against sew-only and heat-only alternatives using the project’s actual performance criteria.
Direct Embroidery vs a Separate Patch
Direct embroidery can reduce component count and creates an integrated look. A separate patch offers other advantages: it can be produced independently, applied later, used across multiple bag styles and designed with a distinctive border or molded surface.
Choose direct embroidery when the panel is accessible before assembly, the artwork suits embroidery and the bag structure can be stabilized. Choose a patch when you need cross-product consistency, a woven or PVC effect, replaceability, or late-stage decoration.
Placement Guidelines for Bulk Orders
Do not define placement as “centered on front.” Use measurable references. A production specification might state that the patch centerline aligns with the pocket centerline and its top edge sits a defined distance below a seam. Include a marked image or drawing.
Placement must account for visual center, which may differ from geometric center when zippers or diagonal seams are present. Approve placement on a filled bag as well as a flat bag; packing changes panel shape.
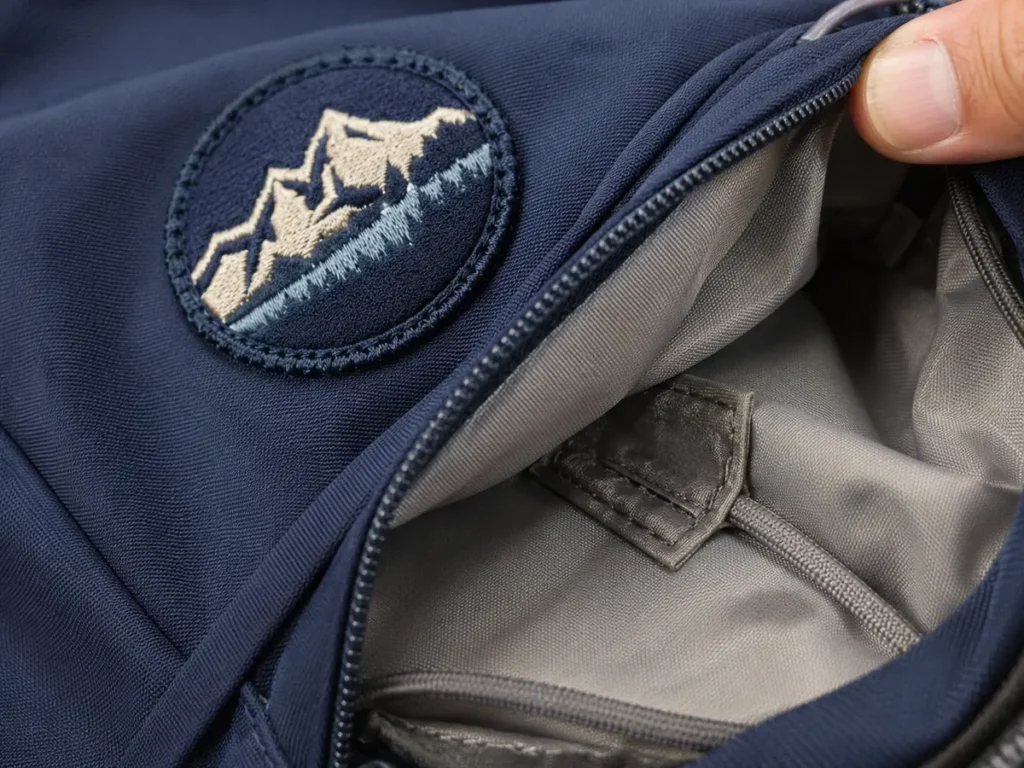
For lined bags, decide whether stitches may pass through the lining. A cleaner solution may require opening and closing the lining, applying the patch before lining assembly, or using an accessible pocket panel. Record the approved interior finish.
Quality-Control Checklist
Before production
- Confirm final artwork version and color references.
- Measure approved patch dimensions and border width.
- Record backpack fabric, coating and color lot.
- Approve a physical preproduction sample.
- Document placement references and tolerance.
- Record attachment equipment and validated settings where applicable.
During production
- Compare color and construction with the approved sample.
- Use a placement jig for repeatability.
- Inspect patch rotation and distance from reference seams.
- Monitor stitches for skips, loose ends and inconsistent spacing.
- Monitor heat-applied pieces for full edge contact and substrate change.
- Keep zippers, hardware and foam outside inappropriate pressure zones.
Final inspection
- View the patch straight on and with the bag filled.
- Check all edges manually according to the agreed method.
- Inspect both the exterior and accessible interior.
- Confirm that pockets and zippers operate normally.
- Check panel shape, surface gloss and color.
- Verify quantities, assortments, packaging and carton marks.
Quality criteria should be observable and agreed. “Good adhesion” is vague; define the inspection or test method, conditioning period and acceptance rule for the specific patch system.
Build a Sample-Test Plan Before Bulk Approval
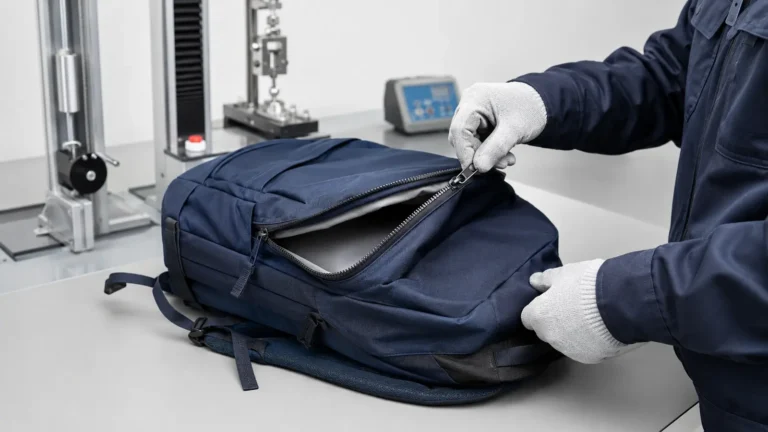
A useful sample plan separates appearance approval from process approval. First confirm that the loose patch matches the approved artwork, dimensions, colors and border. Next attach it to a material panel from the intended backpack production lot. Finally review a complete bag, because seams, foam, lining and pocket geometry can change the result.
The test plan should reflect how the product will actually be used. A school merchandise bag may experience frequent loading, abrasion against floors and repeated flexing of the front pocket. An event giveaway may have a shorter service expectation. A staff travel bag may need stricter appearance consistency. Translate the use case into agreed checks rather than applying an arbitrary test label.
For a sewn patch, inspect stitch security, edge flatness, panel puckering and the reverse-side finish. Gently flex the decorated panel in several directions and operate the pocket repeatedly. For a heat-applied patch, follow the adhesive supplier’s specified conditioning time before judging the bond. Examine the entire edge under good light and repeat the flexing check. If washing or cleaning performance matters, agree on a care procedure that matches the finished backpack; do not borrow a garment-wash claim without evidence.
Record the sample with dated photographs and a signed or otherwise traceable approval. Keep a retained reference sample for production comparison. The approval record should include:
- backpack material code and color lot;
- patch version, size and backing;
- placement measurements;
- machine, platen and support method;
- heat settings or sewing specification;
- test conditioning and acceptance criteria;
- approver and approval date.
If any important input changes—fabric supplier, coating, patch adhesive, dimensions, equipment or attachment sequence—review whether re-testing is needed. This change-control step is especially valuable for repeat orders, where a visually similar component may behave differently in production.
Cost Drivers for Custom Backpack Patches
Price depends on more than patch type. Major drivers include:
- patch dimensions and shape;
- number of colors;
- embroidery coverage or woven complexity;
- PVC mold development and relief levels;
- printed effects and cut path;
- border and backing choice;
- order quantity and size breakdown;
- sewing access and attachment labor;
- whether attachment occurs before or after bag assembly;
- sampling, testing, packaging and inspection requirements.
A cheaper patch can create a higher installed cost if it requires slow positioning or difficult sewing. Ask for both the patch price and the finished, applied-backpack price.
What to Send for an Accurate Quotation
Provide one organized brief:
- vector logo file and a visual reference;
- intended patch type or request for recommendation;
- finished dimensions and shape;
- color references;
- backpack model, material and color;
- target placement with measurements;
- preferred backing and attachment method;
- order quantity and color assortment;
- private-label and packaging requirements;
- destination country and target delivery date.
If the backpack is also being developed, include capacity, compartments, fabric, trims, logo locations and performance expectations. JIUMU’s custom team bags category can support a coordinated bag-and-branding brief rather than treating the patch as an isolated accessory.
Questions to Ask a Supplier
- Which patch construction best preserves this artwork at the requested size?
- Is the backing compatible with the named backpack fabric and coating?
- Will the patch be attached before or after final bag assembly?
- How will the panel be supported during pressing or sewing?
- What sample tests will be performed?
- Can the supplier document placement tolerance and attachment settings?
- How will color be approved: screen reference, thread/yarn chart, PVC chip or physical sample?
- How are repeat-order specifications retained?
- What happens if the backpack material changes between lots?
- Are spare patches or replacement components required?
Common Mistakes
Choosing by appearance alone
A preferred look may be incompatible with small artwork or the attachment area. Evaluate artwork, substrate and production together.
Treating all polyester or nylon as identical
Fiber name does not reveal coating, dye behavior, lamination or foam construction. Test the exact material.
Pressing over seams or hardware
Uneven pressure creates weak bonding and can mark or damage the bag. Isolate a flat panel.
Approving only a digital mockup
A mockup confirms scale and position, but not texture, stiffness, color under real light or attachment performance. Approve a physical sample.
Ignoring the interior
Loose threads, lining catches and exposed stitch paths affect use. Include interior workmanship in the inspection standard.
Changing patch size after testing
A larger patch changes heat flow, pressure distribution, stiffness and visual balance. Revalidate meaningful changes.
Why Work with JIUMU
JIUMU, established in 2010 in Guangdong, supplies custom teamwear, hats, uniforms, bags and branded merchandise for B2B buyers in North America and Europe. Available customization capabilities include embroidery, heat transfer, woven and rubber/PVC patches, Pantone color matching, private labels, packaging, digital mockups, physical samples, bulk quality control and export support.
Typical MOQ is 50 pieces, subject to product construction and customization. For patch backpack programs, the practical advantage is coordination: buyers can align the bag, patch, placement, labels and packaging in one specification and validate them together.
Frequently Asked Questions
Final Recommendation
Start with the backpack panel, not the patch catalog. Identify the material and construction, choose a patch that suits the artwork, then validate the attachment method on the exact substrate. Sewing provides broad compatibility; controlled heat application can improve production efficiency; combined attachment may suit demanding programs. The physical sample is the final authority.
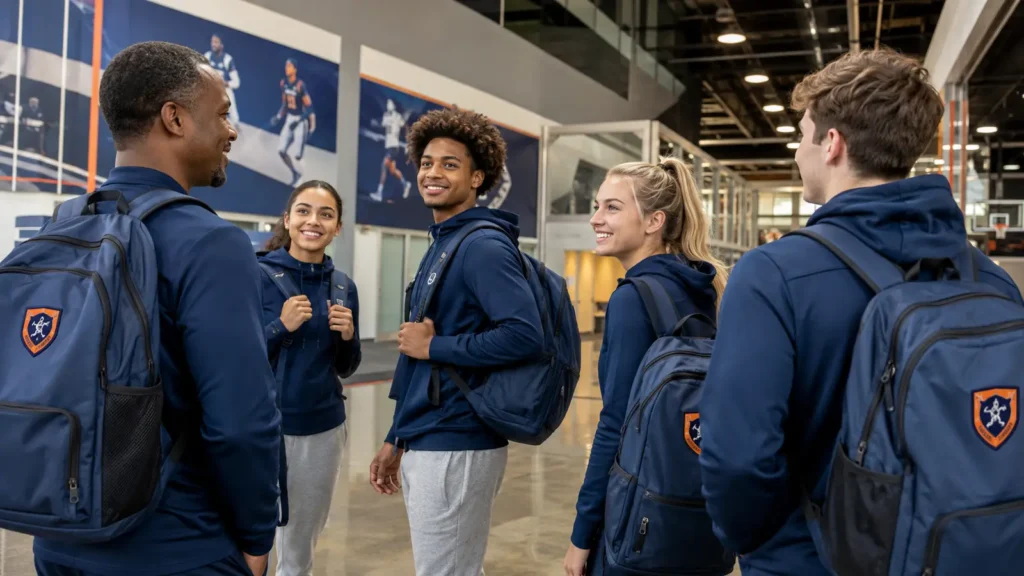
For a coordinated custom backpack and patch program, send JIUMU your artwork, bag reference, quantity, patch size, colors, placement, packaging and delivery target. Explore custom team bags or contact JIUMU for a project-specific quotation.