Why Does Hat Embroidery Pucker? Causes and Prevention
Hat embroidery puckering appears as ripples, wrinkles, cupping, dents, or gathered fabric around a stitched logo. It can make an otherwise well-made cap look uneven and can create a costly approval dispute when a buyer expected the flat appearance shown in a digital mockup.
For a custom-hat order, the right question is not simply, “Is there any movement in the fabric?” A finished cap is curved, seamed, and held under tension while it is embroidered. The useful questions are: How visible is the distortion at normal viewing distance? Does it recover when the cap is worn? Is the logo correctly registered and centered? Is the fabric permanently drawn into the design? And does the production result match the approved physical sample?
This guide explains why embroidery makes a hat pucker, which cap fabrics and constructions carry more risk, how digitizing and machine settings affect the result, what can be fixed, and how professional buyers can prevent the issue before bulk production.
Quick answer: Hat embroidery puckers when the stitches pull more strongly than the cap fabric, backing, hooping, and crown structure can resist. Common causes include an unstable or stretchy fabric, insufficient backing, poor framing, excessive local stitch density, unsuitable underlay, excessive thread tension, a design that crosses a center seam badly, or a flat-garment embroidery file used without cap-specific redigitizing. The most reliable prevention is to test the actual cap, logo, size, placement, thread, backing, and stitch file as one complete system, approve a physical sample, confirm the first production piece, and inspect bulk units against that reference.
What Is Hat Embroidery Puckering?
Puckering is unwanted fabric distortion around or within an embroidered area. The crown may gather toward a dense fill, form shallow waves between stitches and seams, sink around the logo edge, or curl after the cap is removed from the frame. It is different from thread looping, skipped stitches, poor edge registration, or a crooked logo, although several defects can occur together.
The underlying mechanism is pull. Every stitch places thread through the cap material. Satin columns and fill stitches naturally draw the material in the direction of the stitch. A stable cap front, appropriate backing, balanced thread feed, and well-built underlay counteract that pull. If the stabilizing forces are weaker than the accumulated stitch pull, the crown moves and the surface no longer lies as intended.
Madeira USA’s troubleshooting guidance identifies improper hooping, an unsuitable stabilizer, and a damaged needle as common contributors to puckering. Its broader embroidery-supplies guide explains that stabilizer selection should reflect the fabric’s stretch and weight. For finished caps, the curved frame and crown construction add variables that do not exist on a flat fabric panel.
Is Any Wrinkling Acceptable?
There is no universal visual tolerance that makes every ripple acceptable or defective. Buyers and suppliers should agree on a reference and inspection method rather than relying on words such as “perfect” or “minor.” A practical evaluation separates normal shape from objectionable distortion.
| Observation | Usually acceptable only if agreed | Likely requires correction |
|---|---|---|
| Crown retains its designed curve | Yes | Not a defect by itself |
| Very slight surface movement visible only at close range | May be acceptable on soft, unstructured caps | Review against approved sample |
| Ripples disappear when the cap is placed on a head form | May be acceptable for soft crowns | Define before production |
| Deep permanent folds radiating from the logo | No | Investigate density, backing, hooping, or tension |
| Logo edge sinks or crown cups around dense fill | Usually no | Redigitize or change support/design |
| Distortion differs materially between bulk units | No | Indicates process inconsistency |
| Puckering appears after wear or cleaning | No if care instructions were followed | Review fabric, backing, shrinkage, and thread tension |
A good purchase specification can say: “Evaluate on a standard head form under neutral light, from approximately one meter, against the signed physical approval sample.” The exact distance and method should be agreed by both parties; the important point is repeatability.
Why Does Embroidery Make a Hat Pucker?
Puckering rarely has a single cause. It is normally the combined result of the cap, the artwork, the digitized stitch file, the support system, and the machine setup.
1. The Cap Fabric Cannot Support the Design
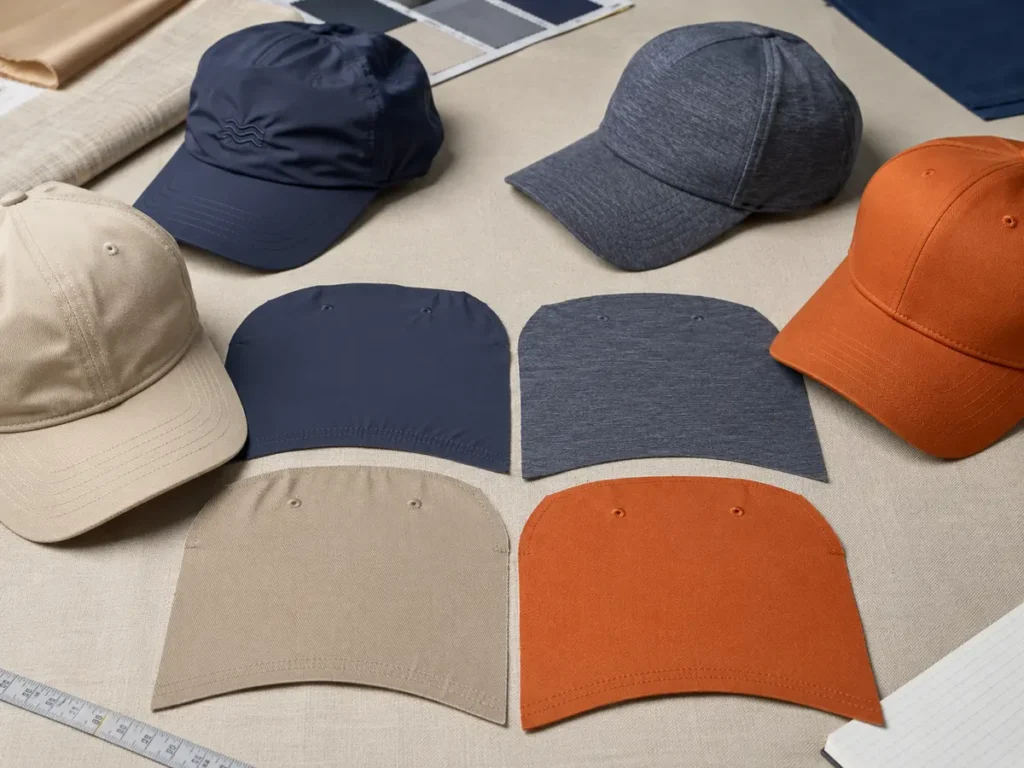
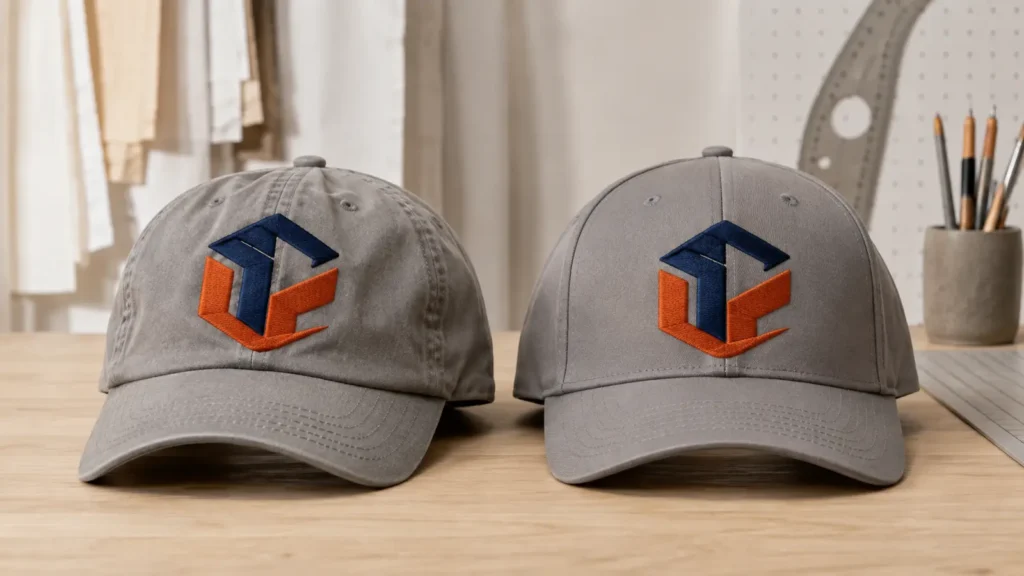
Lightweight nylon, thin polyester, soft washed cotton, loosely woven fabric, and stretchy performance materials can move more easily under stitch pull than firm woven twill. An unstructured cap has little or no stiffening in the front panels, so the embroidery backing must do more work.
This does not mean that soft or lightweight caps cannot be embroidered. It means the logo may need lower local density, smaller solid fill areas, a different stitch type, more suitable backing, or a less aggressive size. A design that performs well on firm structured twill may distort a thin runner’s cap.
2. The Crown Lacks Structural Support
Structured caps normally contain a stiffening material behind the front panels. Unstructured caps do not. Melco’s finished-cap embroidery guidance notes that an unstructured cap without proper backing can gather or pucker, while a structured cap may need less added backing depending on the amount of fill stitching.
For a large, dense logo, a structured six-panel or five-panel cap usually offers a more predictable surface. That is not an absolute rule: panel seams, crown height, fabric, internal buckram, and the specific logo still matter. However, when visual flatness is the buyer’s priority, selecting the cap construction before finalizing the embroidery is more effective than trying to force a dense design onto an unsuitable blank.
3. Backing Is Missing, Too Light, or Poorly Matched
Backing stabilizes the fabric during sewing and can continue supporting it afterward. Cap backing is commonly selected to provide sufficient firmness across the curved sewing field. The choice depends on crown structure, fabric stretch, design size, fill coverage, desired hand, and whether the remaining backing will be visible or felt by the wearer.
More backing is not automatically better. An unnecessarily heavy stack can create stiffness, bulk, needle deflection, or an unattractive interior. Too little support allows the cap to shift. The correct answer comes from sewing the actual design on the actual cap and inspecting both the front and inside.
4. The Cap Is Framed or Hooped Incorrectly
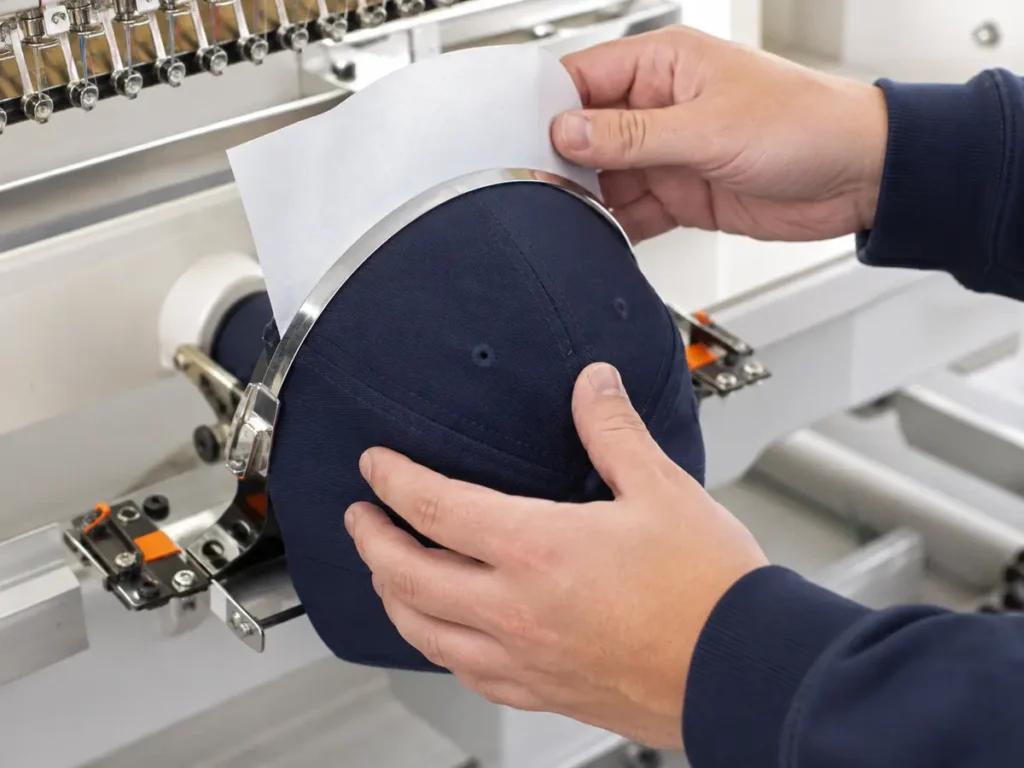
The crown must sit securely against the curved sewing plane. If it is loose, skewed, stretched, or inadequately supported, the material can move with every needle penetration. If an operator pulls the cap unnaturally tight during setup, it may appear smooth while framed and then contract into ripples after release.
Good framing aligns the center seam and planned logo position, seats the sweatband and crown correctly, keeps backing flat, and uses the cap-frame system as designed. The objective is secure, even control—not stretching the fabric like a drum.
5. Local Stitch Density Is Too High
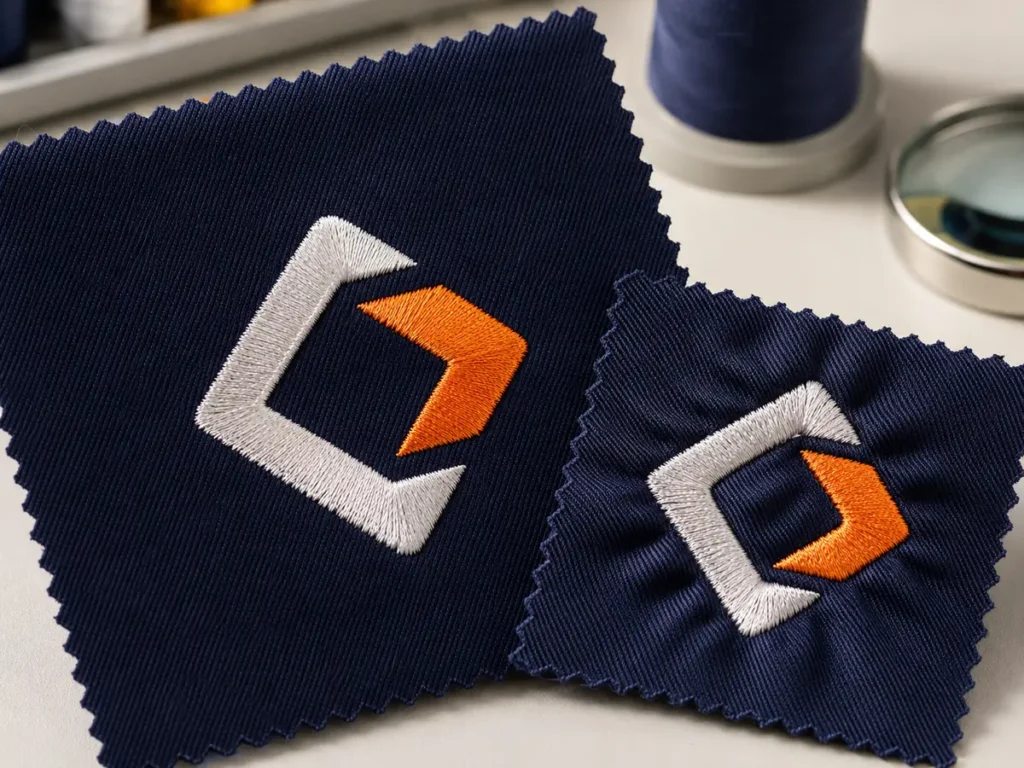
Stitch count and stitch density are related but not identical. Total stitch count describes how many stitches are in the complete design. Density describes how closely stitches are placed in a particular area. A large open design may have a high total stitch count without causing severe puckering. A small area with several overlapping fills, borders, and underlays can have damaging local density even when the total count appears moderate.
OESD’s explanation of embroidery density states that denser designs need sturdier fabric and more stabilization, and that excessive overlapping stitches can add stiffness and create sewing problems. For buyers, the practical lesson is not to impose a universal stitch-count ceiling. Ask the supplier to assess density by object, overlap, stitch type, size, fabric, and backing.
Common density problems include:
- Multiple hidden objects stitched beneath visible elements.
- A fill area, edge run, heavy underlay, and thick satin border all stacked together.
- Small lettering forced below a practical size without changing thread or construction.
- A complex logo reduced while its original density remains unchanged.
- Automatic digitizing that creates redundant travel stitches or fragmented fill sections.
- 3D puff settings applied to areas not designed for foam.
6. Underlay Does Not Match the Cap and Top Stitches
Underlay is the foundation sewn before visible top stitching. It helps hold fabric, lift top stitches, define edges, and distribute pull. Too little underlay can leave the top stitches unsupported. Too much underlay can increase density and stiffness. The type, spacing, angle, inset, and sequence must suit the fabric, logo, and stitch type.
On a center-seam cap, stitch direction matters. Melco advises against running fill stitches parallel to the front seam and describes a light crossed diagonal underlay as one option for supporting top stitches. It also recommends building cap designs from the center outward and managing fill progression to reduce distortion. These are digitizing principles, not settings a buyer should prescribe without a sew-out; the digitizer must adapt them to the artwork and cap.
7. Thread Tension or Feed Is Excessive or Unbalanced
Top and bobbin thread must form a balanced stitch. If the thread feed is too tight, it can pull the fabric inward. If it is too loose, it can create looping and poor formation. Settings that work for flat lightweight fabric may not work for the extra layers, seam resistance, and stitch depth of a finished cap.
Thread type also matters. Madeira cautions that polyester thread can contribute to puckering or breakage if it is tensioned to the point that it stretches. The correct response is controlled testing and incremental adjustment, not a single universal tension value.
8. The Needle Is Damaged or Unsuitable
A dull, bent, damaged, or unsuitable needle can pull, deflect, enlarge holes, cause thread breaks, and disturb the fabric. Needle system, point, and size should match the thread, cap fabric, seam layers, and machine. Finished structured caps and center seams can impose more resistance than a flat garment.
9. The Logo Is Too Large, Too Solid, or Poorly Positioned
Logo size affects more than visual impact. A wide design spans more crown curvature. A tall design may approach the top of the cap frame’s practical sewing field. A dense design over a front seam must negotiate different material thicknesses. Side logos encounter their own frame and panel limitations.
Risk increases when a design combines several of the following:
- Large uninterrupted fill areas.
- Thick satin borders surrounding dense fills.
- Fine negative spaces that require heavy compensation.
- Small text under a large mark.
- Placement directly across a thick center seam.
- Stitching close to the bill, eyelets, panel seams, or crown peak.
- A low-profile crown with insufficient usable height.
The remedy may be to reduce the embroidery, simplify it, open filled areas, move the logo, choose a five-panel cap without a front center seam, or use a patch rather than direct embroidery.
Why a Flat Garment Embroidery File Cannot Simply Be Reused on a Hat
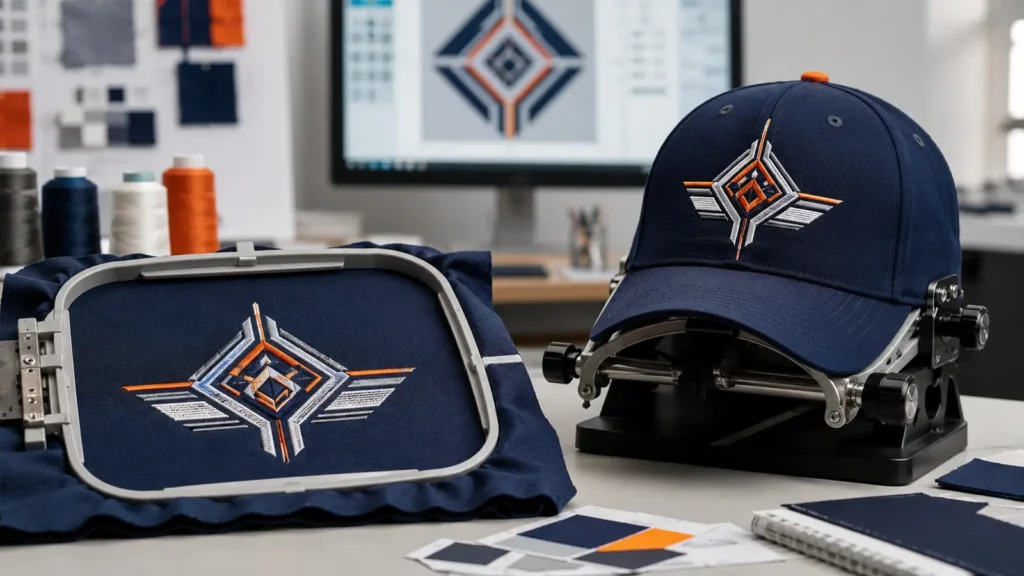
A left-chest design is normally sewn on a flat, consistently supported hoop. A finished cap is suspended on an arched frame, includes curved panels, and may have a thick center seam. The sewing sequence and pull direction that work on a polo shirt can create registration errors or puckering on a crown.
Melco specifically warns that a design digitized for left-chest use may not be suitable for a finished cap. Cap files often require changes to stitch direction, underlay, sequencing, object sectioning, pull compensation, density, and movement across the center seam. A responsible supplier should preserve the original artwork but create or adapt the production file for the exact application.
| Flat garment application | Finished cap application |
|---|---|
| Flat sewing plane | Curved, suspended sewing plane |
| Usually uniform material thickness | Panel seams, buckram, sweatband, and variable layers |
| Design can progress in several directions | Often sequenced to control the crown from center outward |
| Placement mainly limited by hoop and garment features | Placement also limited by crown profile, bill, seams, and cap frame |
| Garment stabilizer selected for knit or woven fabric | Cap backing and crown structure must work together |
| Existing file may be reusable on similar flat fabric | Redigitizing or substantial adjustment is often required |
Can Embroidery Puckering Be Fixed?
Sometimes, but not always. First determine whether the problem is temporary surface movement, a process issue, or permanent distortion.
Before Bulk Production
The best time to fix puckering is at the sample stage. The supplier can change backing, reframe the cap, balance tension, replace the needle, reduce or redistribute density, revise underlay, alter stitch angles, change the sew sequence, resize the logo, or propose a better cap construction. One variable should be changed at a time when diagnosing the cause, with each sew-out labeled and retained.
On an Already Embroidered Cap
Light pressing, steaming, reshaping on a head form, or relaxing the fabric may reduce superficial rippling, but any treatment must suit the cap material, adhesive, buckram, thread, finish, and care instructions. Heat or moisture can stain, shrink, delaminate, flatten 3D embroidery, or deform a bill. It should be tested on a non-sale sample first.
Deep puckering caused by accumulated stitch pull is rarely restored fully by pressing. Removing embroidery is also risky: dense needle penetrations can leave holes, cuts, shade differences, or damaged coating. For commercial orders, reworking a severely distorted cap may cost more and look worse than replacing it.
In Bulk Production
If puckering appears after production has started, stop and quarantine the affected range. Compare machine, head, operator, needle change, bobbin, thread lot, backing, cap lot, and production time. Confirm whether the first approved piece was truly representative. Then agree on rework, replacement, concession, or revised acceptance criteria using physical evidence.
Which Hat Fabrics Are Most Likely to Pucker?
Fabric is only one part of the system, but the following relative risk guide is useful for early planning.
| Cap material or construction | Relative risk | Main concern | Practical response |
|---|---|---|---|
| Firm structured cotton/poly twill | Lower | Center seam and dense fills | Cap-specific digitizing; backing as needed |
| Heavy canvas or denim | Low to medium | Needle resistance and thick seams | Correct needle and speed; test seam crossing |
| Soft washed cotton, unstructured | Medium to high | Minimal crown support | Suitable backing; lighter/open design; physical sample |
| Lightweight nylon | High | Thin surface draws easily and may show needle holes | Reduce density; test backing and needle; consider patch |
| Stretch performance knit | High | Recovery and movement during sewing | Permanent support may be needed; test full system |
| Foam-front trucker cap | Medium | Foam compression and perforation | Adapt density, needle, and design; avoid excessive small detail |
| Corduroy | Medium | Wale direction and uneven surface | Topping/underlay strategy; simplify small details |
| Low-profile cap | Medium to high for tall logos | Limited usable sewing height and stronger curvature | Reduce height or choose a higher crown |
This table is a planning guide, not an acceptance promise. The same fabric name can vary in weight, weave, coating, stretch, and internal structure.
Does a High Stitch Count Cause Puckering?
Not by itself. A high stitch count can signal risk because more stitches add more thread, time, penetrations, and accumulated pull. However, the distribution of those stitches is more important than the total number alone.
A 12,000-stitch design spread across a wide open emblem may run more smoothly than an 8,000-stitch design compressed into a small area with overlapping fills. Ask for the stitch count together with finished dimensions, stitch map, density review, fabric and backing recommendation, and physical sew-out. When comparing revisions, confirm that a lower count did not remove necessary underlay or compromise coverage.
Should You Use a Structured Cap for a Large Logo?
Usually, if the priority is a broad, stable, presentation-ready front logo. The stiffened crown provides a firmer embroidery platform and holds its silhouette. A high-profile structured cap can also offer more usable height.
But structure alone does not guarantee success. A thick center seam, small crown, oversized solid fill, poor digitizing, or incorrect framing can still create distortion. Buyers who want a soft unstructured aesthetic should not automatically switch products; they can instead simplify the artwork, reduce size, use a lighter stitch treatment, choose a five-panel front, or evaluate a woven or embroidered patch.
Can a Digital Mockup Predict Puckering?
No. A digital mockup is useful for approving approximate size, placement, color relationships, and overall appearance. It cannot reliably simulate the actual fabric’s stretch and weave, internal crown support, seam thickness, backing, needle penetration, stitch direction, thread feed, cap-frame behavior, or post-hoop relaxation.
Even a realistic 3D rendering remains a visual proposal. It is not evidence that the design can be embroidered without distortion. For a new cap/logo combination, approve a physical embroidery sample or pre-production sample.
A Prevention Workflow for B2B Custom Hat Orders
The following workflow turns puckering prevention into documented control points.
Step 1: Review the Artwork and Intended Cap Together
Send vector artwork where possible, plus the intended logo width and height, cap style, crown profile, panel structure, fabric, color, placement, quantity, and target delivery date. Do not approve embroidery based only on a low-resolution raster file. See JIUMU’s guide to preparing a logo file for hat embroidery for artwork considerations.
Step 2: Conduct an Embroidery Feasibility Review
The supplier should identify small text, narrow gaps, overlapping objects, very wide fills, thick borders, seam conflicts, and areas that may require a different stitch treatment. Any proposed simplification should be shown to the buyer before sewing.
Step 3: Digitize for the Exact Cap Application
Record the cap code, fabric, panel construction, finished logo size, placement, thread specification, backing, and digitized-file version. Treat a change from structured twill to soft nylon—or from five-panel to six-panel—as a production change requiring review.
Step 4: Make a Physical Sew-Out or Full Cap Sample
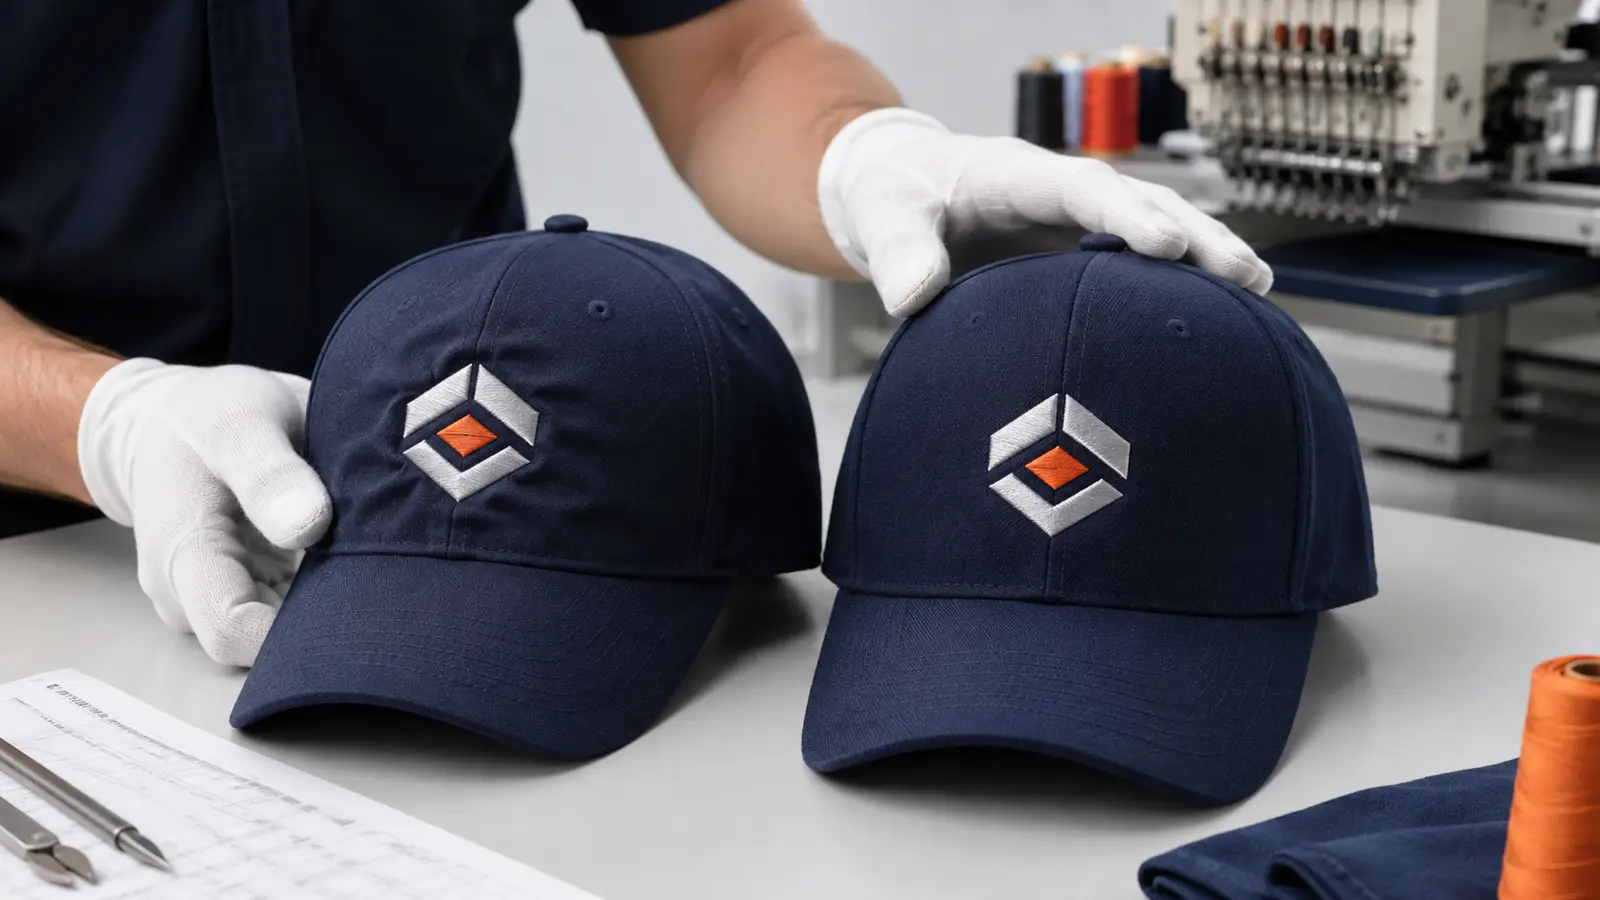
A flat fabric swatch can identify color and basic stitch behavior, but it cannot reproduce finished-cap curvature and seams. For puckering risk, sew the actual cap whenever practical. Inspect the cap on and off a head form, under neutral light, from front and oblique angles.
Step 5: Approve or Revise with Specific Comments
Avoid comments such as “make it better.” Mark the exact area and describe the issue: “two radiating folds below the left border,” “front panel cups inward around the orange fill,” or “logo base is too close to the bill.” Confirm the approved sample with photos and a retained physical reference.
Step 6: Confirm the First Production Piece
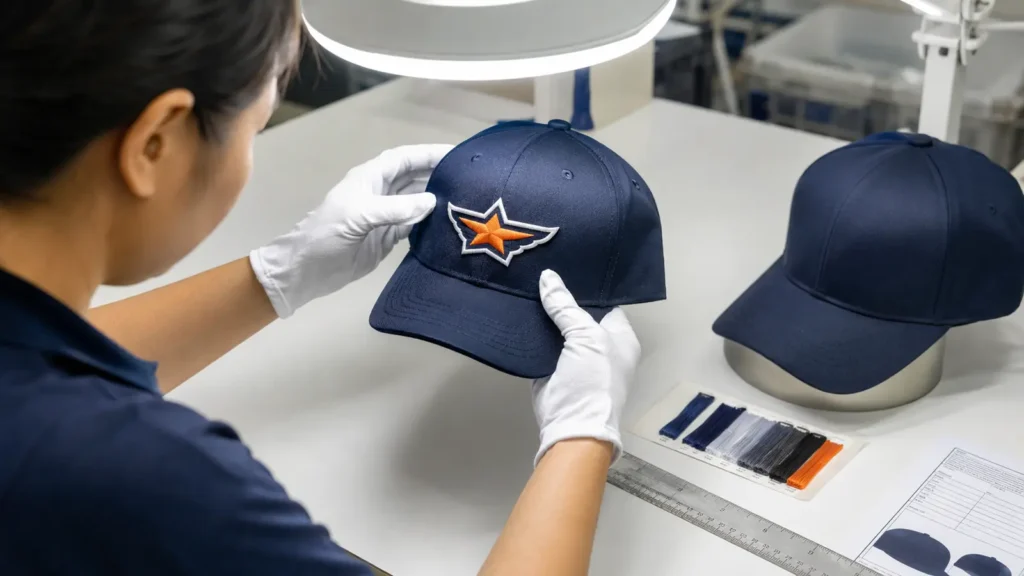
The production team should compare the first piece with the approved sample before the full run. Check logo size and position, visible puckering, center alignment, edge registration, thread color, missing stitches, backing finish, inside cleanliness, and cap shape.
Step 7: Inspect Bulk Production
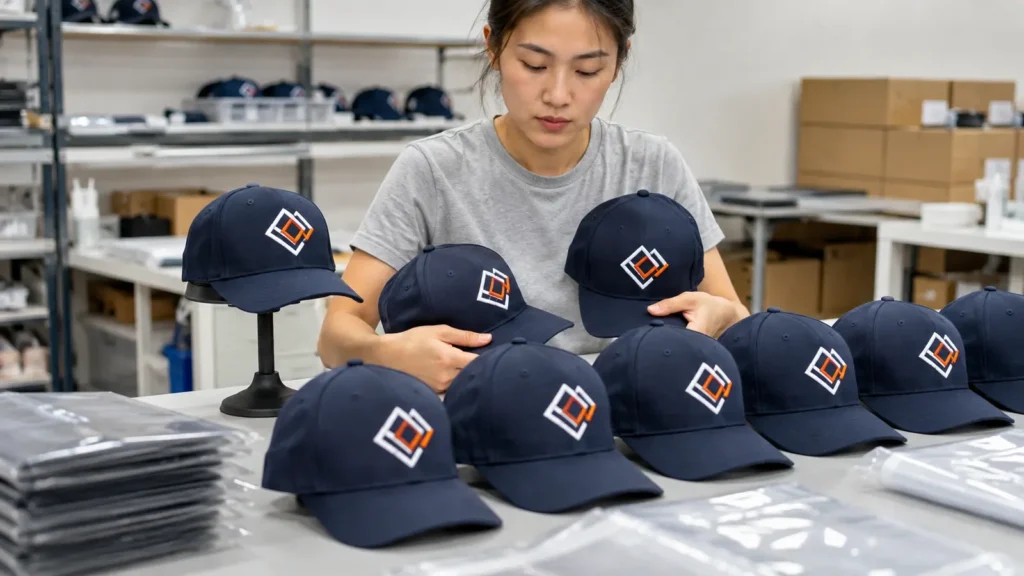
Sampling should cover different cartons, production periods, machines or heads, and cap lots where applicable. The inspection plan should reflect order size, buyer risk, and agreed quality terms. It should not select only the easiest caps from the top of one carton.
JIUMU’s Practical Checkpoints and Modification Advice
JIUMU supports OEM and ODM custom hats for professional buyers, including digital mockups, physical samples, logo embroidery, patches, private labels, packaging customization, bulk production, quality control, and export support. A typical MOQ is 50 pieces, subject to cap structure and customization.
For an embroidery-puckering review, the following checkpoints can be documented without making an unrealistic zero-defect promise:
- Artwork check: confirm usable logo file, intended dimensions, colors, small details, and filled areas.
- Cap check: confirm cap style, crown height, panel seams, fabric, structure, color, and placement surface.
- Digitizing check: create or revise the file for the specific cap rather than assuming a flat-garment file is suitable.
- Sew-out check: review density, underlay, sequence, seam behavior, edges, small text, and surrounding fabric.
- Physical sample check: compare the real cap with the approved artwork and record agreed modifications.
- First-piece check: approve the first production result against the signed sample.
- Bulk inspection: sample units across production and check puckering together with placement, registration, thread, cap shape, backing, and packing.
Depending on the sample result, JIUMU may suggest reducing logo width or height, opening solid fill areas, simplifying fine details, changing a stitch type, revising underlay or sequence, moving the design away from a difficult seam, selecting a higher or more structured crown, choosing a five-panel cap, or converting the logo to a patch.
Explore Custom Hats, review Manufacturing Capabilities, or see the Quality Control approach before planning your order.
Request a sample review: Send JIUMU your logo file, cap reference, quantity, colors, embroidery size and position, packaging needs, and target delivery date. We can review the combination and recommend the next sampling step before bulk production.
Hat Embroidery Quality-Control Checklist
Use this checklist for a sample, first piece, or bulk inspection:
- Confirm cap style, color, fabric, crown height, panel count, and structure.
- Confirm logo file version, physical dimensions, colors, and location.
- View the cap upright and on a head form, not flattened on a table only.
- Check for permanent radial folds, cupping, dents, or gathering.
- Compare left and right logo edges with crown seams and center line.
- Inspect fill coverage without assuming higher density is better.
- Check satin borders, small lettering, negative spaces, and color registration.
- Check stitch direction and behavior where the logo crosses a seam.
- Inspect thread loops, breaks, skipped stitches, needle damage, and loose ends.
- Check the inside backing for coverage, trimming, bulk, and rough edges.
- Compare the result with the approved physical sample under similar lighting.
- Record machine/head, operator or line, cap lot, thread lot, backing, and inspection date when traceability is required.
- Sample across cartons and production periods, then document findings and disposition.
Questions to Ask a Custom Hat Supplier
- Will this artwork be digitized specifically for the selected cap?
- Is the cap structured or unstructured, and what supports the front panel?
- Does the logo cross a center seam or exceed the recommended sewing field?
- Which areas of the logo carry the highest density or registration risk?
- What backing and thread type will be used for the physical sample?
- Will the sample be sewn on the actual cap rather than only on flat fabric?
- What artwork simplifications may be needed, and will we approve them first?
- How will the first production piece be compared with the approved sample?
- How will bulk units be sampled across production?
- How are nonconforming units identified, quarantined, reworked, or replaced?
- Will the approved digitized-file version and cap specification be retained for repeat orders?
- Which variables could change on a repeat order, and how will changes be controlled?
Common Buyer Mistakes
Approving Only a Digital Mockup
The mockup is not a sew-out. Use it for visual direction and use a physical sample for construction approval.
Changing the Cap After Approving Embroidery
The same file can behave differently on another fabric, crown height, panel structure, or internal support. Treat a cap change as a new sample condition.
Requesting Maximum Density for “Better Quality”
Coverage should be sufficient, but unnecessary density can increase stiffness, sewing time, needle breaks, and puckering. Quality comes from balanced construction.
Scaling a Digitized File Without Review
Reducing or enlarging a stitch file can change density, stitch length, underlay behavior, and detail legibility. Return to the original artwork and redigitize or recalculate as needed.
Inspecting a Soft Cap Flat on a Table
Flattening changes the crown shape. Inspect it as worn and compare it with the approved sample.
Using “No Wrinkles” as the Only Specification
This phrase does not define light, distance, head form, fabric behavior, or tolerance. Use a signed reference and measurable placement requirements.
Frequently Asked Questions
Final Recommendation
Hat embroidery puckering is not solved by one “correct” density, backing, or tension value. It is controlled by matching the artwork, digitized file, cap structure, fabric, support, placement, machine setup, and inspection method.
For B2B orders, the safest sequence is simple: review the actual cap and logo together, digitize for the curved finished-cap application, sew a physical sample, document approval, confirm the first production piece, and inspect bulk units against that reference. This workflow prevents subjective disputes and gives both buyer and supplier a concrete basis for corrective action.
Plan your custom hat sample with JIUMU: Email zhengdong@jiumugear.com or WhatsApp +86 18507502899 with your logo, cap reference, quantity, colors, embroidery dimensions, packaging requirements, destination country, and target delivery date. Request a custom quotation at Contact JIUMU.