How to Prepare a Logo File for Custom Hat Embroidery
Preparing a logo for hat embroidery requires more than emailing a PNG. Start with editable vector artwork plus the required size, placement, thread colors, cap style and embroidery method. The supplier then creates stitch instructions and a physical sew-out for approval before bulk production.
Direct answer: Send the cleanest editable vector artwork available. Keep text converted to outlines, remove unnecessary effects, specify finished dimensions and identify every thread color. If only a high-resolution PNG exists, send it, but expect the digitizer to redraw or simplify parts of the logo. Never treat a digital mockup as final proof of embroidery quality; approve a physical sew-out made with representative thread, backing and cap material.
This guide compares file formats, explains digitizing, small-letter risks, line width, stitch count and approval for B2B buyers ordering custom hats in bulk.
Quick Checklist: What to Send Your Hat Manufacturer
For technical review, send the following in one submission:
- The original editable AI, EPS or SVG file, if available.
- A vector PDF for easy viewing and a PNG reference showing the intended appearance.
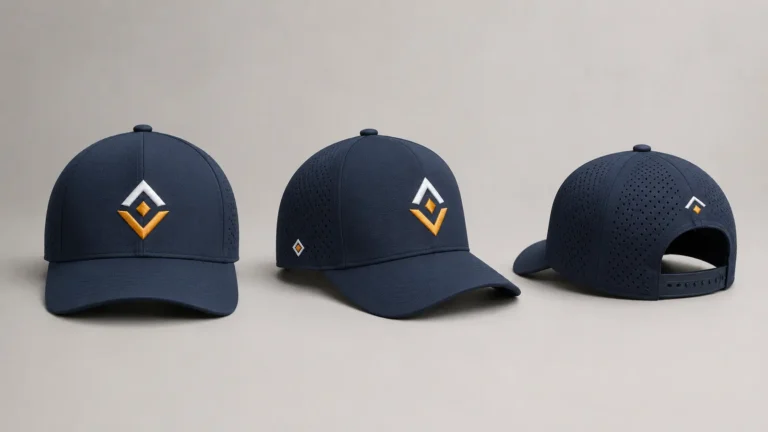
- The cap style, construction and color—for example, structured snapback, unstructured dad hat or mesh-back trucker cap.
- The exact embroidery location: front center, front side, temple, back arch or closure area.
- The intended finished logo width and height, not only a percentage of a mockup.
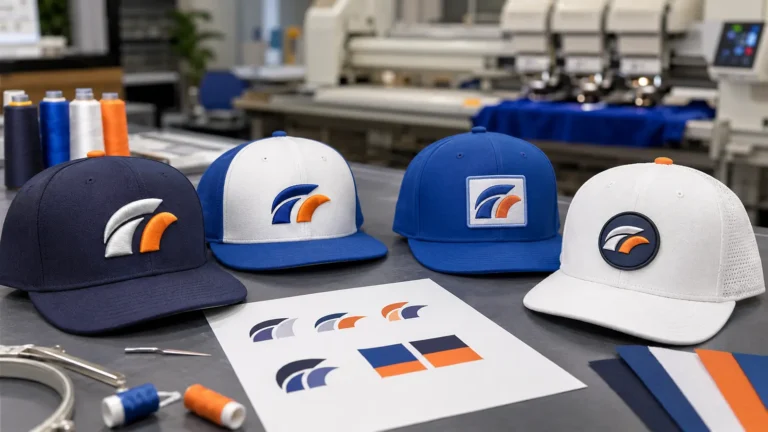
- The decoration method: flat embroidery, 3D puff embroidery or a hybrid of both.
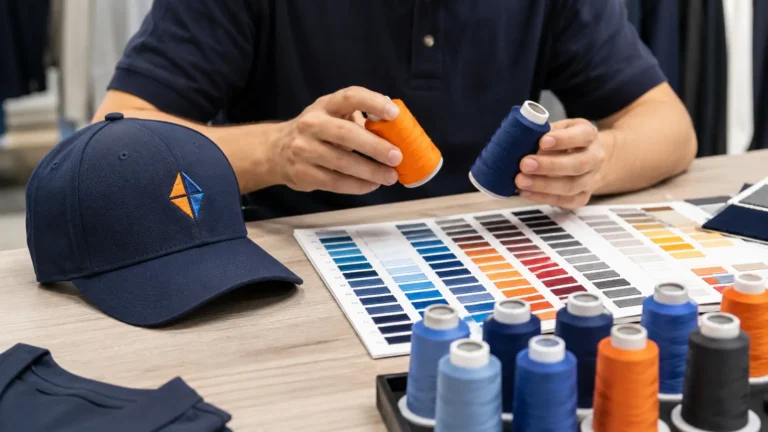
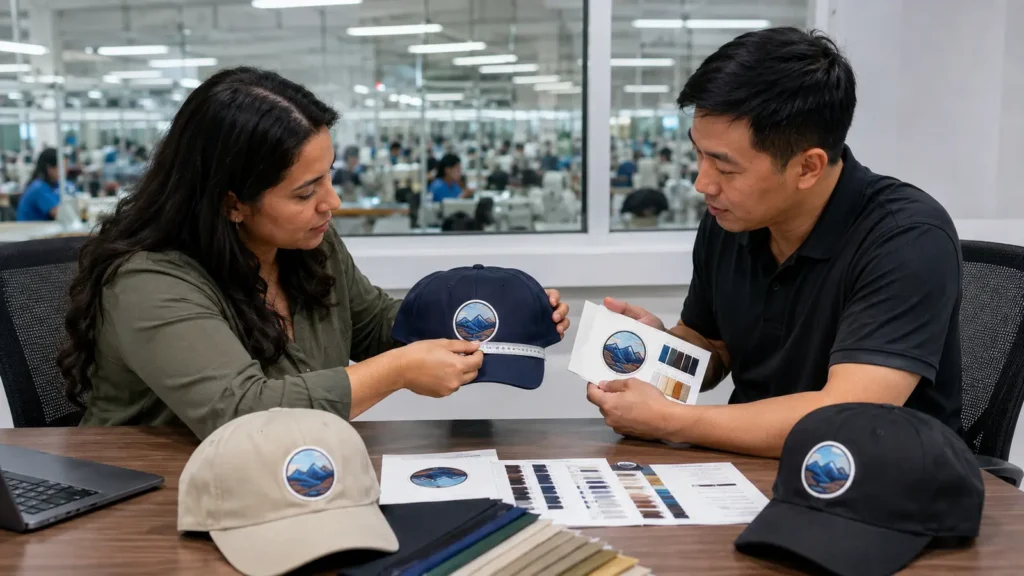
- Thread color references, ideally selected from the supplier’s physical thread chart.
- Any elements that must remain unchanged and any elements the digitizer may simplify.
- Quantity, size/color breakdown, target delivery date and destination.
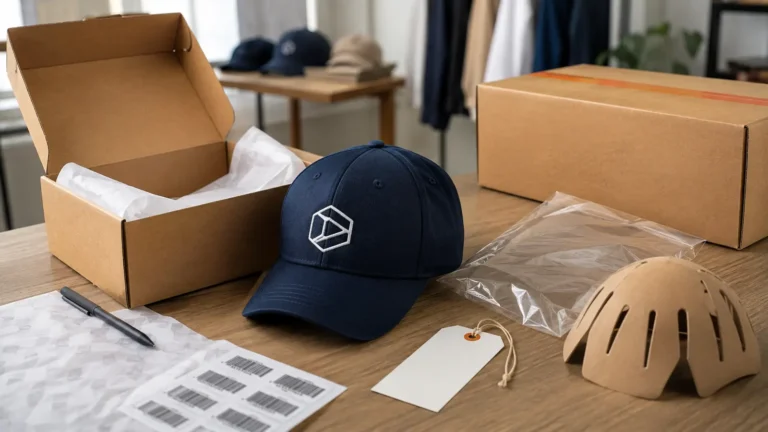
- A request for a digitized proof and a physical sew-out before bulk production.
If dimensions are unknown, ask the manufacturer after reviewing the cap panel and frame area. A logo used on a flat T-shirt may require different spacing on a curved cap crown.
AI, EPS, SVG, PDF and PNG: Which Logo File Is Best?
The file extension alone does not guarantee quality. An AI or PDF file can contain only a low-resolution image, while a carefully exported SVG can contain clean editable paths. The important question is whether the artwork contains true vector shapes that can be scaled and edited without losing edge definition.
| Format | What it is | Best use for embroidery | Common problem |
|---|---|---|---|
| AI | Adobe Illustrator working file | Preferred when it contains editable vector paths, outlined text and organized colors | Fonts may be missing, effects may not expand correctly, or raster images may be embedded |
| EPS | Widely supported vector exchange format | Strong option for clean logos and older production workflows | Transparency and newer Illustrator effects may flatten unpredictably |
| SVG | XML-based scalable vector format | Useful for clean web-originated logos and simple vector artwork | Some exports include masks, filters, CSS or unsupported effects that need cleanup |
| Document container that may hold vector and raster content | Excellent viewing proof and useful production file when the logo is truly vector | A PDF is not automatically vector; it may contain only a placed PNG or JPEG | |
| PNG | Raster image with optional transparent background | Helpful visual reference; usable for redrawing when large and clean | Cannot reveal original paths, fonts or object structure; enlarging does not restore missing detail |
AI Files
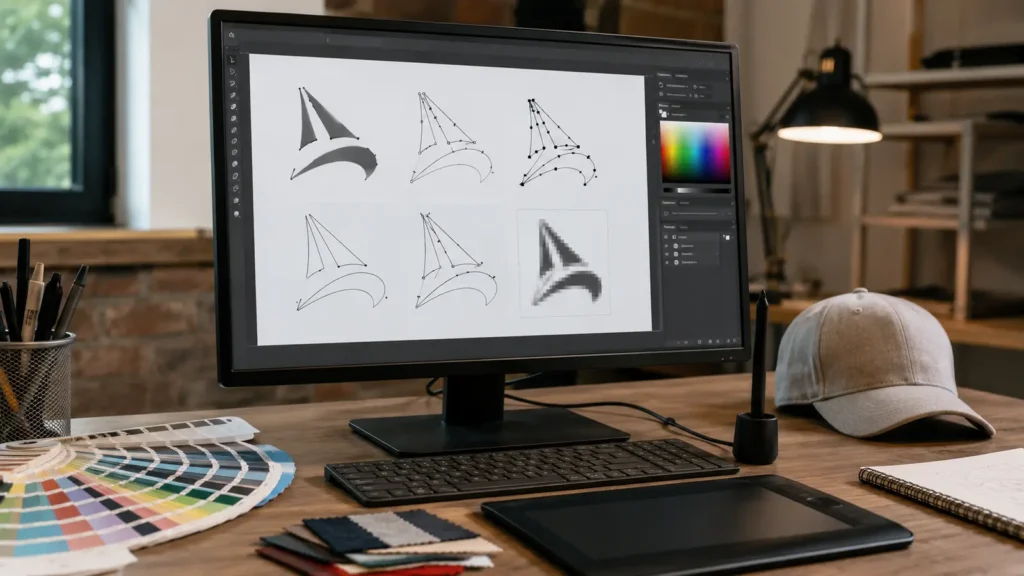
An AI file is usually the most useful master file when the logo was built in Adobe Illustrator. Before sending it, convert fonts to outlines or include the licensed font files if your agreement allows it. Expand strokes if their appearance must be preserved, check that linked images are embedded, and delete hidden objects outside the artboard. Keep a duplicate editable version before outlining text because outlined text can no longer be edited as normal typography.
Do not flatten everything into one raster image. The digitizer needs separate letters, shapes and color areas.
EPS Files
EPS remains common in promotional products and apparel production because many art departments can open it. It is well suited to logos made from solid shapes and limited colors. If your design uses complex transparency, gradients or clipping masks, export a simplified production version and include a PNG showing the intended appearance. Embroidery cannot reproduce every screen effect literally, so a production-friendly version is more useful than an effect-heavy marketing master.
SVG Files
SVG is scalable and often works well for modern logo exchange, especially when the logo originated in a web or interface design system. However, SVG supports filters, masks, live text and other constructs that may open differently in production software. Ask the art team to expand text and strokes and confirm that the file displays correctly in more than one vector application. A simple SVG with clean paths is typically more reliable than a complicated SVG dependent on browser effects.
PDF Files
A vector PDF is valuable because buyers and factories can open it easily and confirm page notes, dimensions and colors. But “PDF” describes a container, not the construction of the artwork. Zooming in is a quick screening method: clean vector edges usually remain sharp, while a placed raster image becomes visibly pixelated. The production team should still inspect the objects in vector software rather than relying on zoom alone.
PNG Files
A PNG is acceptable when no vector master exists, particularly if it is large, sharp, on a transparent background and free from compression artifacts. It is still a reference image, not an embroidery program. The digitizer may need to trace shapes, recreate lettering, close gaps and simplify tiny details. This takes time and introduces interpretation. Send the highest-resolution original rather than a screenshot, social-media download or image copied from a website.
If a logo exists only as a small PNG, do not enlarge it and assume that the problem is solved. Enlargement creates more pixels but no new design information. Request professional vector redrawing before digitizing when accurate geometry, lettering or brand standards matter.
Vector Artwork Is Preferred, but It Is Not an Embroidery File
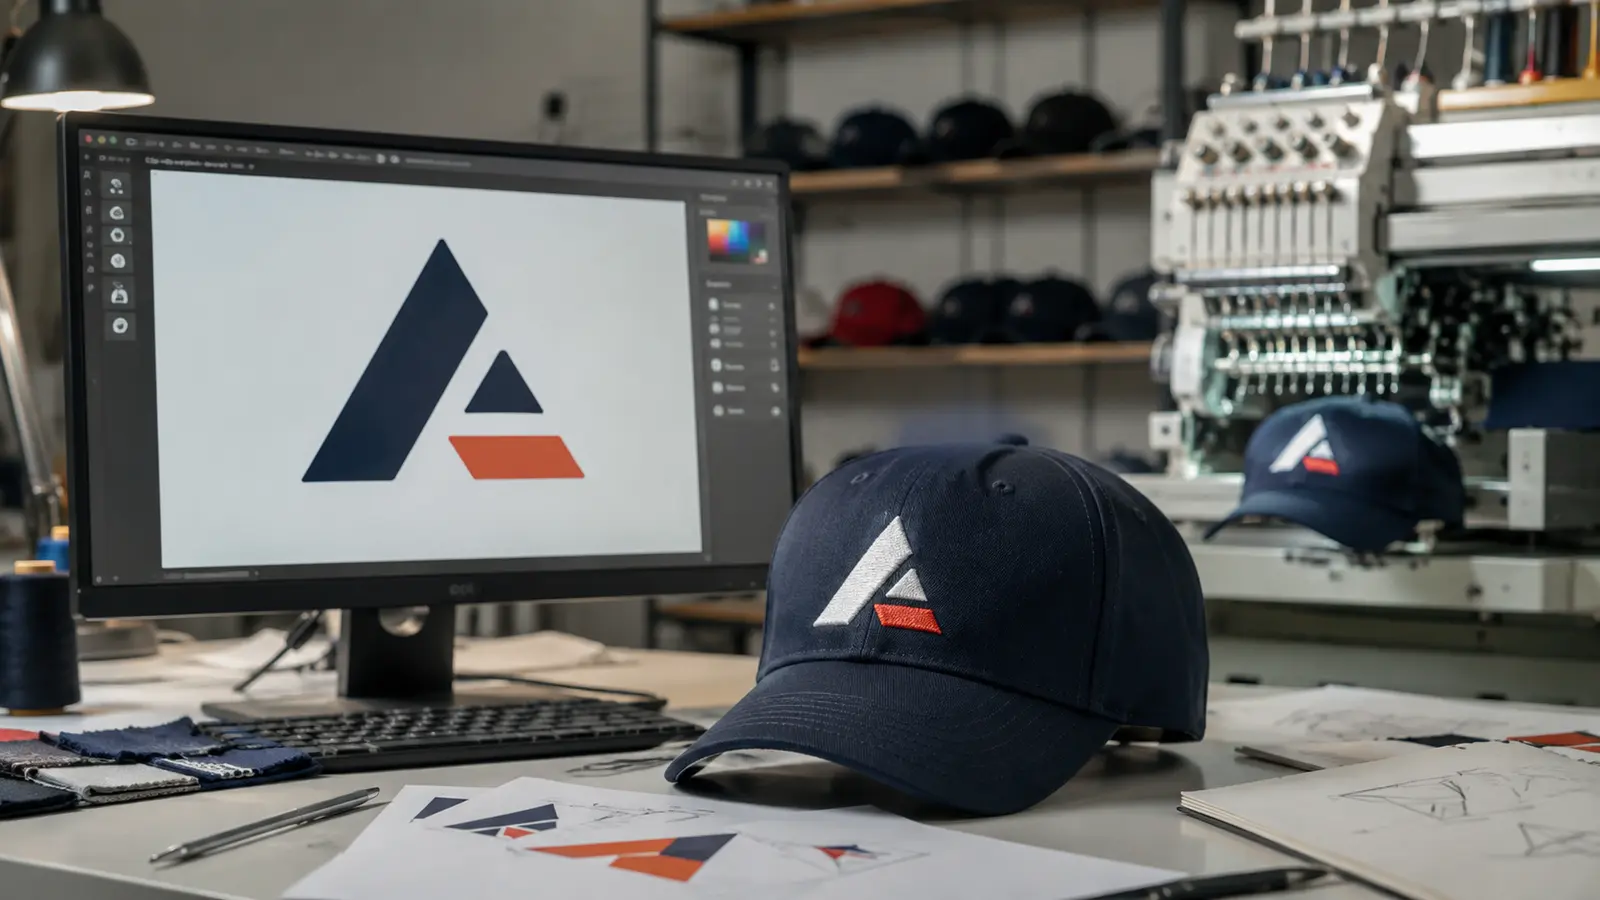
Vector artwork describes geometric paths, fills and strokes. An embroidery machine needs a different set of instructions: stitch types, needle penetrations, stitch directions, color sequence, underlay, density, trims, jumps and machine movement. This is why even perfect vector artwork must be digitized.
The production embroidery file may use a machine format such as DST or another format compatible with the factory’s equipment. Buyers generally do not need to create this file themselves. They need to provide accurate source artwork and approve how the specialist translates it into thread.
Keep the original vector and embroidery master as separate controlled files. If size, fabric or decoration changes, review the stitch file instead of simply scaling it.
What Is Embroidery Digitizing?
Embroidery digitizing is the process of engineering artwork into a sequence of stitches that a machine can sew. It is a skilled production decision, not the same as converting AI to PNG or exporting a PDF. A digitizer interprets the logo in relation to the cap, thread, backing, needle, frame and desired visual effect.
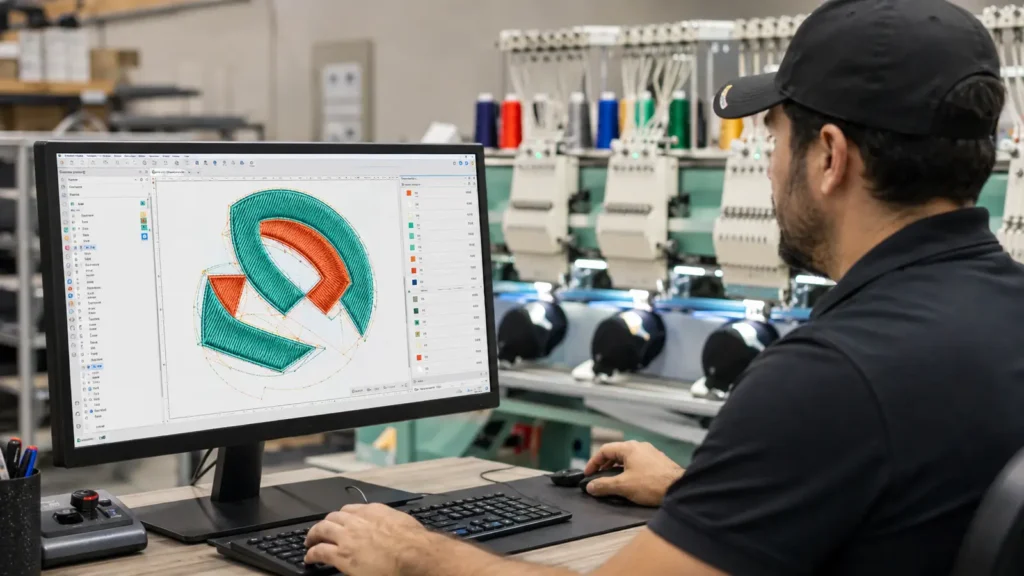
A competent cap-embroidery digitizing process may include:
- assigning satin stitches to suitable borders and lettering;
- assigning fill stitches to wider shapes;
- defining running stitches for fine paths where practical;
- adding underlay that stabilizes the cap surface and supports top stitching;
- choosing stitch angles that create clean edges and visual contrast;
- determining the sewing sequence to reduce registration movement;
- controlling density so the logo covers properly without becoming excessively stiff;
- adding pull compensation to account for fabric movement;
- setting trims and jumps to reduce loose connecting threads;
- mapping flat and puff areas separately for hybrid embroidery;
- planning a center-out sequence where appropriate for curved cap embroidery;
- adjusting around the center seam, panel curvature and available frame area.
Automatic digitizing can provide a starting point, but it cannot always understand which brand elements matter most or how a specific cap will behave. Ricoma’s digitizing materials distinguish between selecting stitch types and automatic conversion, and note that cap designs benefit from cap-specific sequencing. For commercial orders, the output should be reviewed by an experienced operator and tested as a sewn sample.
Why Small Text Becomes Blurry or Unreadable
Small embroidered text does not fail because the source file “is not high resolution” alone. Thread has physical thickness, needles make physical penetrations, and cap fabric moves under tension. When letter strokes and internal spaces become too small, stitches merge, counters close and neighboring letters touch.
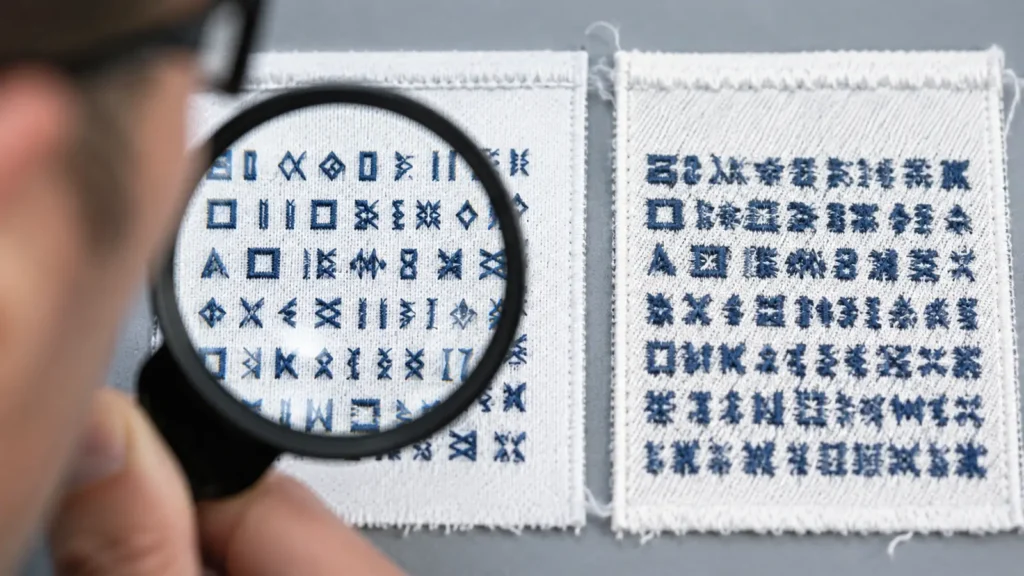
Common causes include:
Letter Height Is Too Small
Lowercase letters often contain smaller bodies, narrow openings and fine features compared with uppercase letters at the same nominal font size. Hatch Embroidery’s font documentation cautions that recommended font sizes depend on the digitized font and that lowercase forms may stitch smaller than uppercase forms. This is why a manufacturer should evaluate actual letter geometry, not merely the point size used in Illustrator.
The Font Is Too Thin or Too Decorative
Hairline fonts, high-contrast serif fonts and scripts with delicate joins may look elegant on a screen but lack enough physical space for stable stitches. A slightly heavier production version may preserve recognition better. Do not allow the supplier to change typography silently; approve any thickening, spacing or simplification through a revised artwork proof and physical sew-out.
Counters and Gaps Close Up
The internal spaces in letters such as A, B, D, O, P and R need enough room to remain open after thread coverage and pull compensation. Narrow spacing between letters can also merge. Increasing the overall logo size, opening counters, adding tracking or removing a secondary tagline can improve legibility.
The Standard Thread Is Too Heavy for the Detail
Standard commercial embroidery commonly uses thread suitable for general lettering and fills, but finer threads and corresponding needles can support smaller details under controlled conditions. Madeira describes product-specific examples where thinner 60-weight and 75-weight threads can produce smaller lettering. These figures are not universal promises: results still depend on font design, substrate, machine setup, density and operator control. Switching thread weight may also affect available colors, production setup and cost.
The Cap Surface Is Difficult
A structured cap front, soft unstructured crown, center seam, mesh panel and thick buckram each behave differently. Fine lettering close to the center seam may distort because the presser foot and needle cross a raised, less uniform area. The same lettering can stitch differently on a flat sample fabric than on the finished cap. Therefore the final test must use the representative cap construction.
Minimum Line Width: Use a Feasibility Range, Not a Universal Rule
Buyers frequently ask for one minimum line-width number. A responsible answer is that no single number applies to every logo, thread, stitch type and cap. A straight isolated satin line, a reversed gap, a script connection and a puff border all have different requirements.
As an initial artwork screen, very thin hairlines should be treated as high risk. The digitizer should assess line width together with finished logo size, stitch type, thread weight, cap fabric and surrounding spacing. For ordinary production thread, a wider, simpler stroke usually produces more stable coverage than a narrow complex stroke. Puff embroidery needs substantially bolder shapes than flat embroidery because foam must remain contained beneath satin stitches.
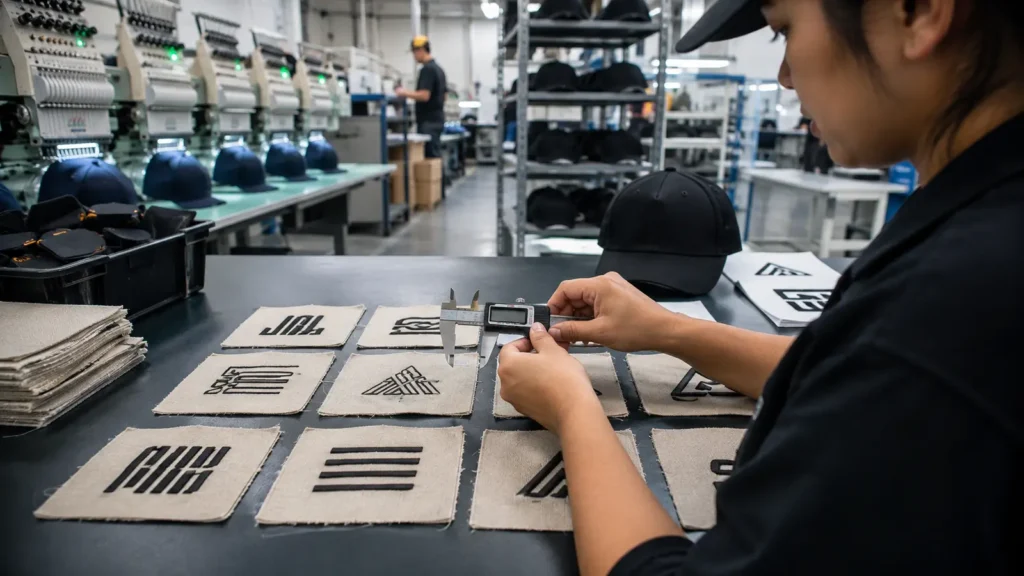
Use this decision process instead of relying on one published number:
| Artwork condition | Likely action | Approval required |
|---|---|---|
| Thin line is decorative and nonessential | Remove or simplify it | Revised digital artwork plus sew-out |
| Thin line is a protected brand element | Increase overall logo size or evaluate finer thread | Physical sew-out at intended size |
| Narrow negative gap separates two colors | Open the gap or revise stitch sequence | Close-up sew-out review |
| Small line crosses the cap center seam | Reposition, enlarge or redesign locally | Sew-out on representative cap |
| Fine detail is requested in 3D puff | Convert that detail to flat embroidery or simplify | Hybrid-method sew-out |
Your purchase specification should record the approved finished logo dimensions and reference the approved sew-out. Otherwise a future order may be “digitized again” at a slightly different size and produce a visibly different result.
Does Stitch Count Affect Price?
Stitch count often affects cost, but it should not be treated as the only pricing formula. More stitches generally mean more machine time, thread consumption and production capacity. They may also require more trims, color changes, operator attention or slower machine speeds. Consequently, many decorators use stitch count as one component of quoting.
However, two designs with the same stitch count can have different production difficulty. A design with many separate objects, frequent trims, metallic thread or registration-sensitive details may take longer than a simple solid fill. A high-density design can also create stiffness, puckering, needle breaks or thread breaks rather than “better quality.”
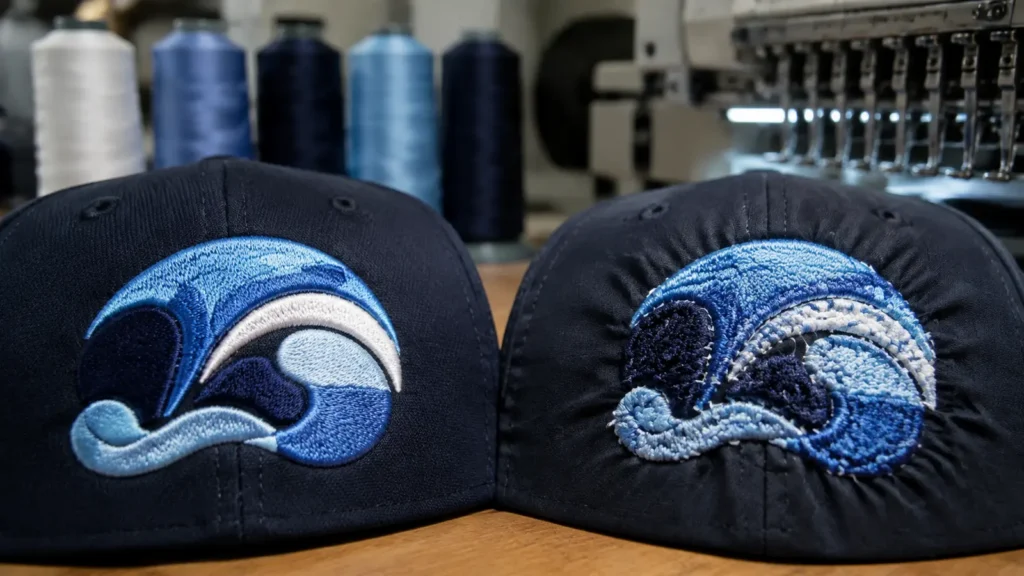
Factors that can influence the quotation include:
- total stitch count at the approved finished size;
- number of thread colors and color changes;
- number of trims and disconnected elements;
- flat, puff or hybrid embroidery method;
- foam handling and cleanup for 3D puff;
- cap loading and frame limitations;
- specialty thread, fine thread or nonstandard needles;
- logo placement, especially side or back locations with smaller working areas;
- order quantity and number of cap/color variants;
- digitizing or redrawing work required before sampling;
- inspection and packaging requirements.
Ask the supplier whether the quote includes digitizing, one physical sew-out, revisions and bulk embroidery. Do not reduce stitch count merely to reduce price if the change weakens coverage or brand appearance. The objective is a balanced, production-stable file—not the lowest possible number of stitches.
How to Confirm the Embroidery File Before Sampling
The digitized proof should contain enough information for a buyer to understand what will be sewn. A screenshot of a stitch simulation can help, but request a specification summary as well.
Confirm these points:
- Finished dimensions: exact width and height in millimeters or inches.
- Placement: distance from the visor, center seam, side seam or back opening as applicable.
- Thread colors: physical thread chart codes or supplier-specific color references.
- Stitch method: which areas use satin, fill, running stitch, flat embroidery or puff.
- Color sequence: the order in which colors and elements will sew.
- Underlay and coverage: especially on textured, soft or contrasting cap materials.
- Small-detail changes: every thickened line, opened gap, removed tagline or altered letter.
- Puff boundaries: which shapes contain foam and which remain flat.
- Approximate stitch count: useful for version control and quotation comparison.
- Version identity: filename, revision date and approval status.
Do not approve a digitized file only because the screen simulation looks smooth. Simulation does not show actual thread spreading, fabric movement, seam interference, puckering, foam exposure, needle deflection or tension problems.
Why a Digital Mockup Cannot Replace a Physical Sew-Out
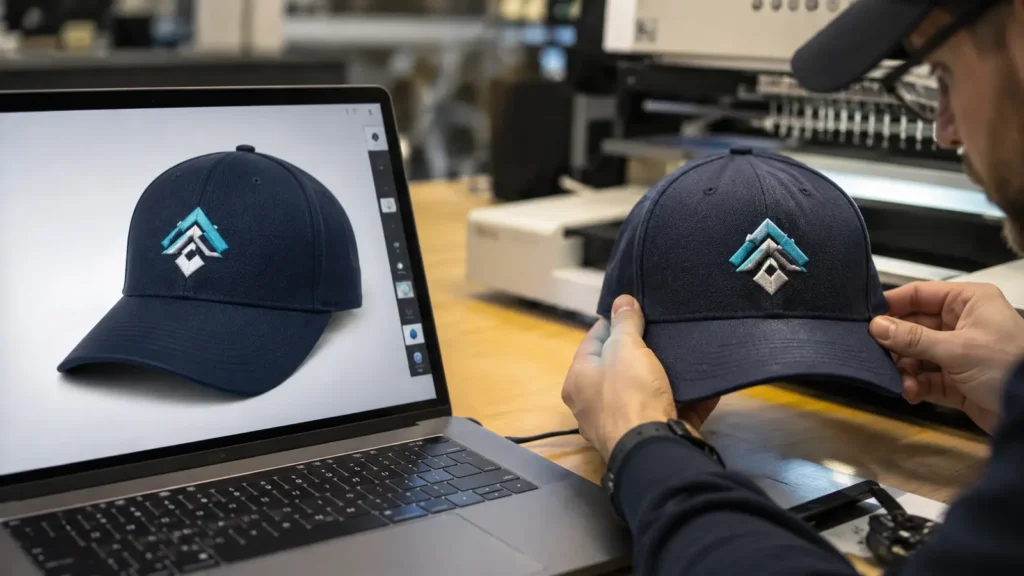
A digital mockup answers visual questions: Is the logo centered? Is the approximate scale right? Do the colors and cap combination look appropriate? It does not prove that the selected stitches can reproduce the artwork on the actual cap.
| Approval tool | What it can confirm | What it cannot confirm |
|---|---|---|
| Digital artwork proof | Logo content, spelling, proportions, intended colors | Stitch behavior, fabric movement or thread coverage |
| Cap mockup | Approximate placement, scale and overall visual direction | Exact curvature, seam interaction, density or puff height |
| Stitch simulation | Planned stitch paths, sequence and approximate stitch count | Real tension, registration, puckering, thread sheen or foam cleanup |
| Flat fabric sew-out | Basic stitch logic and some detail legibility | Final behavior on the curved, seamed cap crown |
| Representative cap sew-out | Actual placement, legibility, coverage, texture and construction interaction | Full bulk consistency unless production controls are maintained |
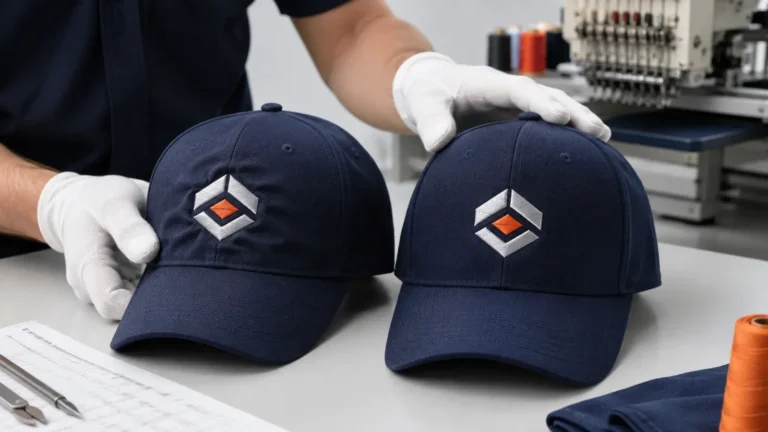
A physical sew-out should be reviewed at normal distance and close range. Check spelling, letter openings, edges, coverage, placement, symmetry, center-seam handling, loose threads and puckering. For puff, inspect height, edge closure and foam exposure.
For remote approval, remember that photography and screens can distort thread color and texture. For brand-critical orders, use a physical sample or known thread chart and record exactly what constitutes approval.
Cap Construction Changes the Artwork Decision
Hat embroidery is not the same as embroidery on a flat panel. The cap frame holds a curved product, and the usable field is constrained by the visor, crown seams and machine movement. Structured crowns provide a firmer surface, while unstructured caps can shift and require different stabilization. Mesh-back trucker caps restrict some side placements, and low-profile crowns may provide less vertical room.
Before digitizing, identify the exact product rather than saying only “baseball cap.” JIUMU offers different custom baseball caps, custom snapback hats, custom fitted hats and custom trucker hats; each style can change the available logo area and recommended construction.
The center seam can interfere with fine vertical details or small lettering. The digitizer may adjust sequence and compensation, but the artwork may still need a gap, heavier shape or different position. Confirm this during sampling.
Preparing Artwork for Flat, 3D Puff and Hybrid Embroidery
The same logo may need different production artwork for each embroidery method. Our separate guide to flat versus 3D puff embroidery explains the visual decision in detail; the key file-preparation differences are summarized here.
Flat Embroidery
Flat embroidery is generally the most flexible choice for fine lettering, outlines, layered details and complex logos. Provide separate vector objects for each color and avoid unnecessary overlaps that could create excessive density. Clearly mark negative spaces. If a thin detail must be retained, ask whether a finer thread and needle are practical for the order rather than assuming the standard setup can reproduce it.
3D Puff Embroidery
Puff works best with bold lettering and simple closed shapes that can contain foam. Avoid tiny counters, sharp internal corners, hairlines, distressed textures and complicated overlapping objects. The digitizer needs to plan edge penetration, foam cutting and stitch coverage. Send a flat version of the logo as a visual master, but allow a purpose-built puff production version to be proposed and approved.
Hybrid Embroidery
Hybrid designs combine puff for dominant shapes with flat embroidery for small text or detail. Separate the intended puff and flat regions in the vector file or provide an annotated PDF. The sewing sequence matters because flat stitches, foam placement and puff stitching interact. Approve the exact combination through a physical sew-out; do not assume two separately successful techniques will automatically combine without adjustment.
Recommended Approval Workflow for B2B Orders
A controlled workflow prevents disputes and helps repeat orders match the original approval.
Step 1: Submit Artwork and Product Information
Send the master vector, visual reference, cap style, color, placement, dimensions, embroidery method, quantity and delivery target. Tell the supplier which brand elements cannot change.
Step 2: Receive a Feasibility Review
The supplier should identify high-risk small text, thin lines, narrow gaps, gradients, excessive colors and placement conflicts. Agree on proposed simplifications before digitizing.
Step 3: Approve the Revised Artwork Layout
Confirm spelling, geometry, proportions, colors, dimensions and placement. This is still artwork approval, not embroidery approval.
Step 4: Review the Digitized Proof
Check stitch method, sequence, dimensions, thread colors, puff zones and documented changes. Record a revision number.
Step 5: Review a Physical Sew-Out
Use representative cap material and construction whenever possible. A flat fabric test can be an intermediate diagnostic step but should not be the only final approval for a challenging cap logo.
Step 6: Correct and Re-Sample if Necessary
Do not accept “the machine will improve it in bulk.” Adjust the digitizing, artwork, placement, thread or stabilization and review a new sew-out when a material issue remains.
Step 7: Sign Off the Golden Sample and Production File
Mark the approved physical sample, digitized file version, dimensions, thread codes, cap style and placement. Store photos and measurement records. The approved production package should be referenced in the purchase order.
Step 8: Control Bulk Production
Use first-piece approval, in-line inspection and final sampling to compare bulk hats with the approved standard. JIUMU’s quality-control process and manufacturing capabilities pages can be linked from the purchase specification.
Logo File Submission Checklist
Copy this checklist into your RFQ or tech pack:
- [ ] Editable vector file supplied: AI, EPS or SVG
- [ ] Vector PDF and PNG visual reference supplied
- [ ] Fonts converted to outlines or legitimately supplied
- [ ] Strokes/effects expanded where appearance must remain fixed
- [ ] All colors separated and identified
- [ ] Gradients, shadows and photographic effects reviewed for simplification
- [ ] Finished logo width and height specified
- [ ] Cap style, crown structure, panel layout and color confirmed
- [ ] Front, side or back placement identified
- [ ] Distance from visor/seam/closure specified or delegated for recommendation
- [ ] Flat, puff or hybrid embroidery specified
- [ ] Puff and flat areas clearly annotated
- [ ] Protected brand elements identified
- [ ] Permitted simplifications documented
- [ ] Physical thread colors selected
- [ ] Digitized proof requested
- [ ] Physical sew-out requested on representative material/cap
- [ ] Approved revision number recorded
- [ ] Bulk first-piece comparison required
- [ ] Repeat-order master file and Golden Sample retention agreed
Common Mistakes to Avoid
Avoid sending only a screenshot, specifying “same as the image” without dimensions, expecting gradients to sew literally, approving only a mockup, scaling an old stitch file without review, accepting unrecorded factory adjustments, or confirming critical thread colors only from a screen. Each of these removes an objective production reference. Use original artwork, exact measurements, documented revisions and a physical sample instead.
Questions to Ask Before Approving Your Supplier
Ask who reviews the digitizing, which revision controls production, which elements changed and whether dimensions are actual sewn dimensions. Confirm the quote includes a cap sew-out, color and registration checks, and retention of the approved file and Golden Sample.
JIUMU’s custom-hat MOQ starts from 50 pieces, and typical hat sample guidance is 5–7 days after design and material confirmation. Actual timing depends on cap construction, artwork revisions, materials and the number of sampling rounds. Send your artwork through Contact Us for a project-specific feasibility review rather than relying on a generic minimum-detail rule.
Frequently Asked Questions
Final Recommendation
The strongest logo submission is a controlled package: editable vector artwork, a clear visual reference, exact size and placement, physical thread colors, documented changes, a versioned digitized proof and an approved physical sew-out. It gives the factory production instructions and the buyer objective inspection evidence.
If your artwork contains small text, thin lines, a center-seam placement or 3D puff, request a technical review before confirming the order. JIUMU can evaluate the cap style and logo together, recommend flat, puff or hybrid construction, and prepare a physical sample for approval. Send your logo file and project details to begin the review.