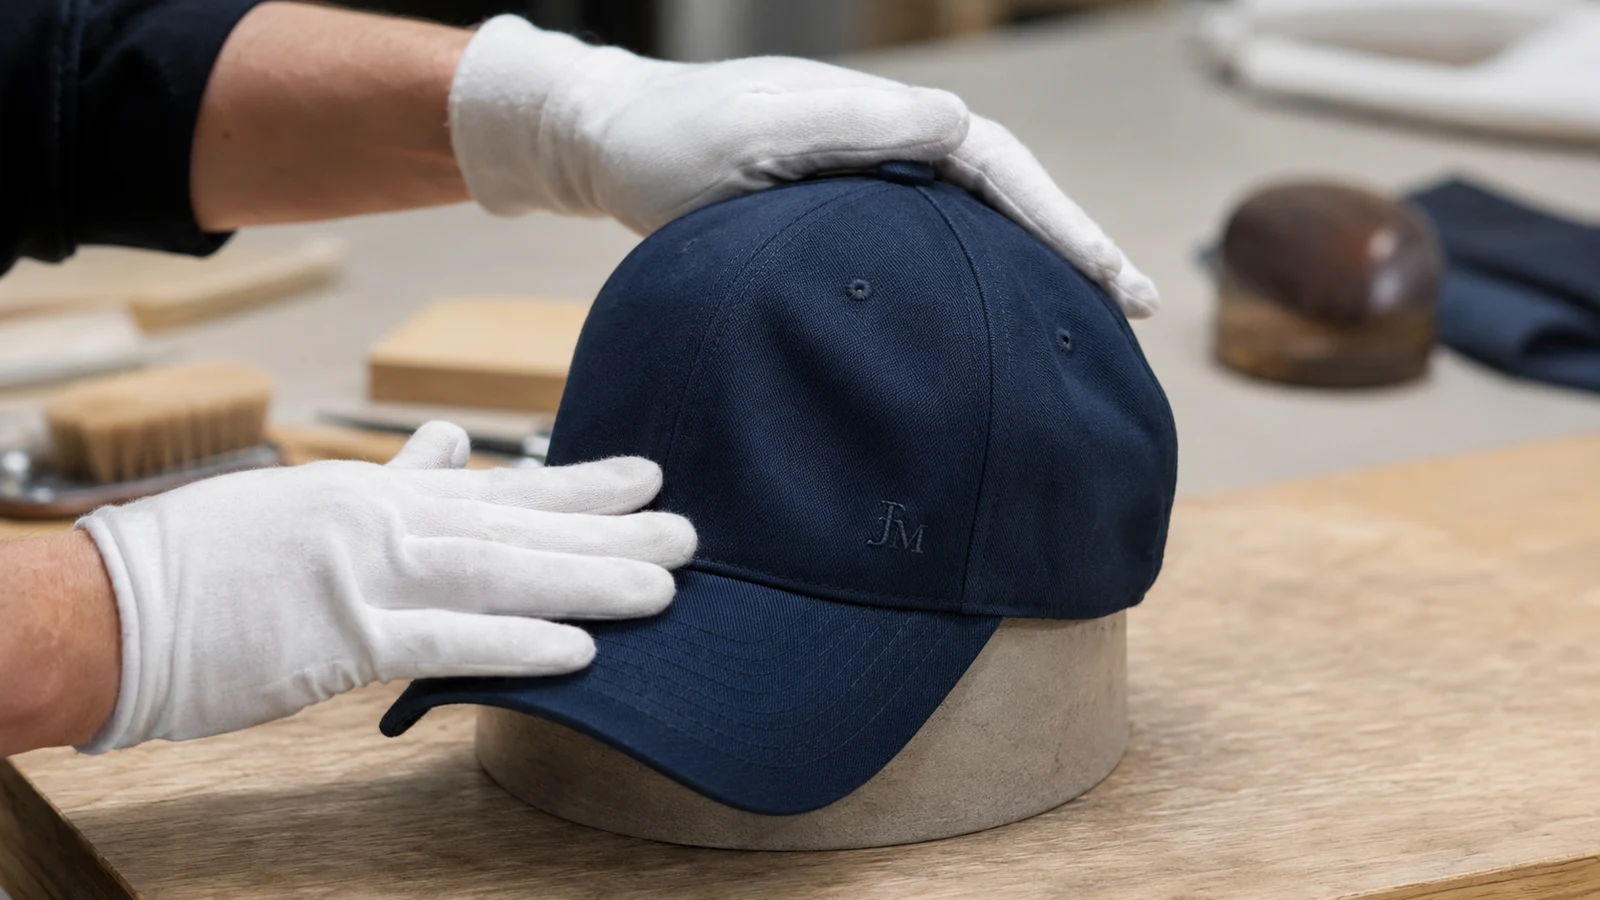
How to Reshape, Dry, Pack and Store a Baseball Cap
A baseball cap can lose its intended profile long before the fabric wears out. A crushed crown, twisted seam, flattened visor, trapped moisture, or poorly chosen shipping carton may turn an otherwise saleable cap into a return, complaint, or rejected team order. For brands, clubs, uniform dealers, and promotional-product buyers, cap care is therefore more than a household topic: it is part of product presentation, inventory control, fulfillment, and repeat-order consistency.
This guide explains how to reshape a baseball cap safely, how to air-dry it without setting unwanted creases, how to pack one cap or a bulk order, and how to store decorated caps between seasons. The correct method always depends on the care label, shell fabric, crown structure, visor insert, decoration, and degree of deformation. When those specifications are unknown, start with the least aggressive method.
Quick answer: To reshape a baseball cap, first identify its crown structure, fabric, visor construction, and care instructions. Lightly relax only the affected area when the label permits, support the crown from inside with a rounded form or clean white tissue, and smooth the panels without forcing the seams. Air-dry the cap in its intended shape, away from tumble dryers, direct heat, and strong sunlight. For packing, support the crown, protect the decoration, keep pressure off the brim, and use a rigid box with controlled empty space. Store only fully dry caps in a clean, dark, stable environment.

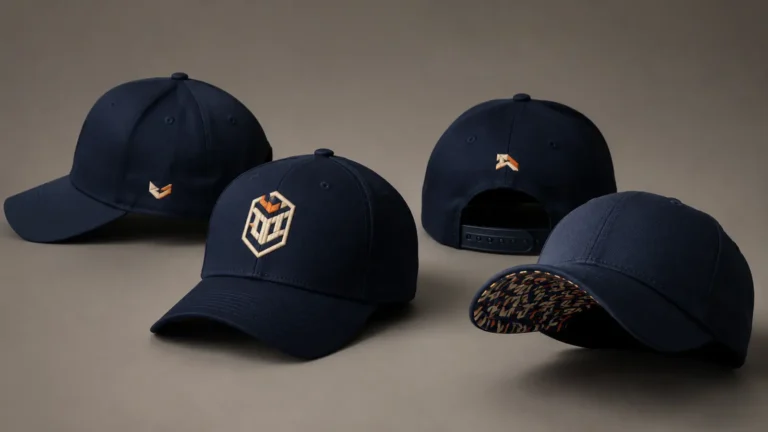
A complete cap-care system protects the crown, visor, decoration, and presentation—not only the outer fabric.
Why Cap Shape Matters to Teams, Brands and Distributors
The profile of a cap is part of its specification. A high-profile structured cap should not arrive looking like an unstructured dad cap. A pre-curved visor should have a controlled, symmetrical arc. A flat visor should not carry an accidental center bend. Front embroidery should face forward without panel dents pulling the logo off-axis.
For a single wearer, poor shape is inconvenient. In a B2B order, the effects multiply:
- A team manager may see inconsistent player presentation.
- A retailer may need to steam, stuff, and re-display inventory.
- A distributor may receive complaints even when the sewing is correct.
- A private-label brand may lose confidence in repeat-order consistency.
- A fulfillment operation may spend more on protective repacking and replacements.
The goal is not to make every cap equally rigid. It is to preserve the profile that was approved in the sample: crown height, front-panel structure, visor curve, logo position, closure, and overall symmetry.
Identify the Cap Before You Reshape It
Do not begin with steam, hot water, a hair dryer, or a washing machine. Begin with the label and construction. Care instructions vary even within one sportswear brand: current adidas product pages, for example, show some caps labeled for cold delicate machine washing and others for cold hand washing, while both specify no tumble drying. The practical lesson is simple: a generic internet method must not override the instructions inside the actual cap.
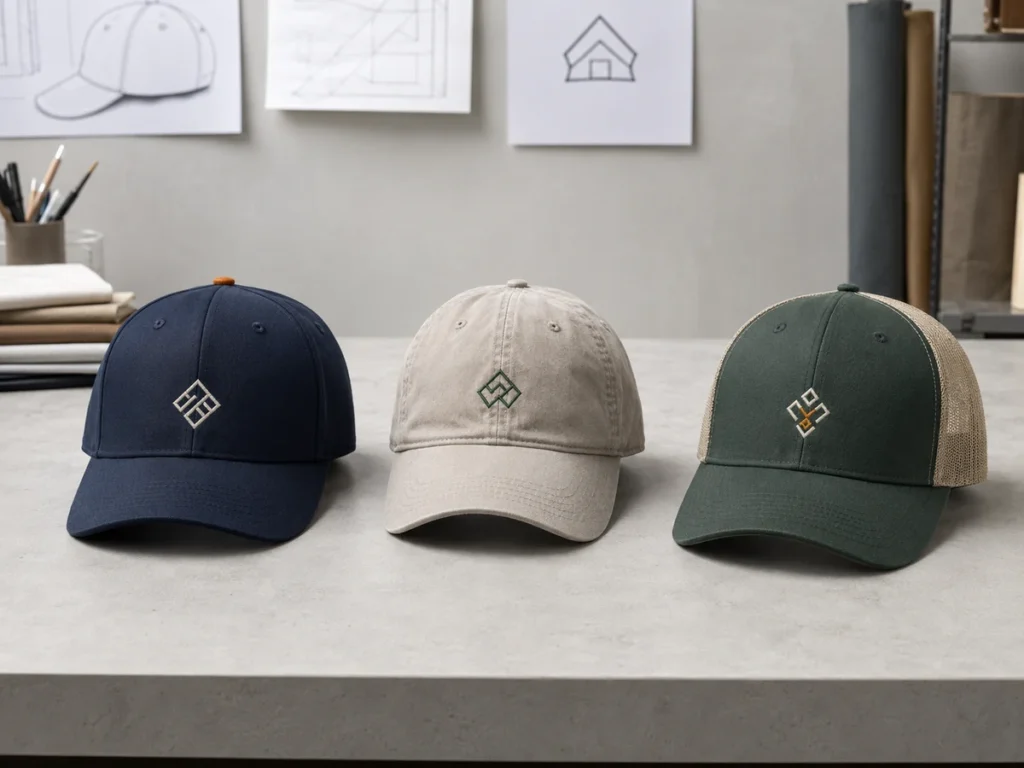
Cap construction and likely handling needs
| Cap element | What to inspect | Typical risk | Safer starting approach |
|---|---|---|---|
| Structured front panels | Buckram or another stabilizer behind the shell | Heat, soaking, or crushing may distort the front profile | Support the crown internally and use minimal moisture |
| Unstructured crown | Soft panels with little internal reinforcement | Can wrinkle or collapse but is usually easier to shape | Smooth on a rounded form without overstretching |
| Mesh back | Open mesh joined to solid front panels | Mesh can stretch or kink at the joining seam | Support both materials and avoid pulling the mesh |
| Curved visor | Even curve from side to side | Hard folding can create a center crease or uneven sides | Form gradually around a broad cylinder or by hand |
| Flat visor | Level plane with a deliberate slight natural contour | Accidental pressure may create a permanent bend | Lay supported and keep weight off the visor |
| Visor insert | Plastic, composite, or—especially in older/vintage caps—possibly paperboard | Unknown inserts may warp, soften, or crack | Avoid saturation until construction is confirmed |
| Embroidery or patch | Thread density, backing, adhesive, edge finish | Heat and abrasion can distort or lift decoration | Work around the decoration and avoid rubbing its face |
| Adjustable closure | Snapback, hook-and-loop, buckle, or fabric strap | Twisting during drying can pull the rear panels off-center | Align and lightly fasten before final drying |
Check whether the damage is reversible
A soft dent after travel is usually easier to correct than a crease that has been compressed for months. Stop and seek professional advice or contact the supplier when you see:
- cracked or delaminated visor material;
- color bleeding after a hidden-area damp test;
- bubbled front-panel backing;
- adhesive patch edges lifting;
- heat-damaged synthetic fibers;
- brittle vintage fabric or unknown memorabilia value;
- mildew odor or visible growth;
- misshapen components caused by a manufacturing defect rather than handling.
Reshaping can restore a temporary deformation. It cannot reliably reverse broken inserts, fused fibers, severe shrinkage, or failed adhesive.
How to Reshape a Baseball Cap Step by Step
The safest general process is inspect, relax, support, align, and dry. Use the smallest amount of intervention that produces the intended profile.
1. Read the care label and record the original shape
Photograph the cap from the front, both sides, top, and underside. If it belongs to a team or merchandise program, compare it with the approved sample or an undamaged cap from the same order. Note:
- crown height and front-panel angle;
- location of the top button and panel seams;
- left-to-right visor symmetry;
- intended visor curve;
- logo position relative to the center seam;
- closure setting and rear opening.
This reference prevents “repairing” a cap into a different style.
2. Remove surface dust before adding moisture
Use a clean, soft cloth or a suitable soft brush, following the material and decoration requirements. Dust or soil can migrate when damp. Avoid brushing aggressively across raised embroidery, suede-like surfaces, distressed finishes, rubber/PVC patches, or loose thread ends.
3. Test a hidden area
If the care label allows damp treatment, test a small area inside the sweatband or another inconspicuous location with cool water and a white cloth. Look for dye transfer, surface change, or adhesive reaction. If color transfers or the material changes, stop.
4. Relax only the dented area
For many modern cotton or polyester caps, a light mist of cool or lukewarm water may make a minor dent easier to smooth. The fabric should become slightly pliable, not soaked. Keep moisture away from uncertain visor inserts and adhesive decorations.
Steam is often presented as a universal solution, but it adds both heat and moisture. Use it only when the cap manufacturer permits it and the materials are known. Never hold a cap directly over boiling water, touch it with a hot iron, or apply concentrated steam to coated fabrics, foam-backed fronts, printed graphics, or glued patches.
5. Support the crown from inside
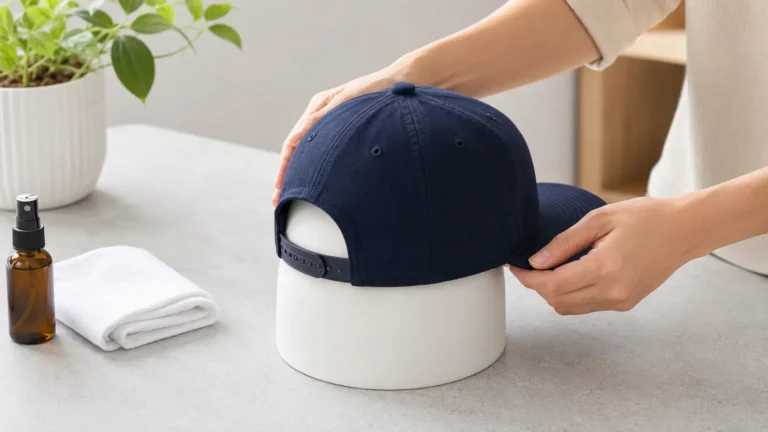
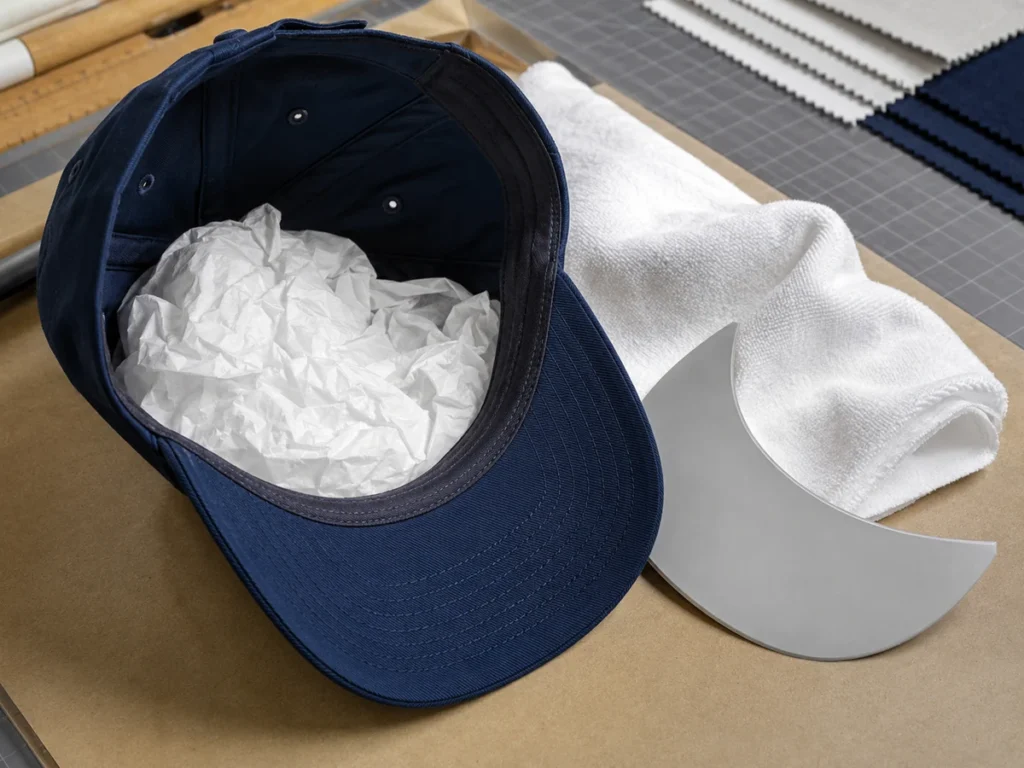
Place the cap on a clean rounded form close to the desired head shape. A commercial cap form is ideal for repeatable B2B work. For occasional care, loosely crumpled clean white, dye-free tissue can support the crown. Do not pack the tissue so tightly that it stretches the circumference or pushes panel seams outward.
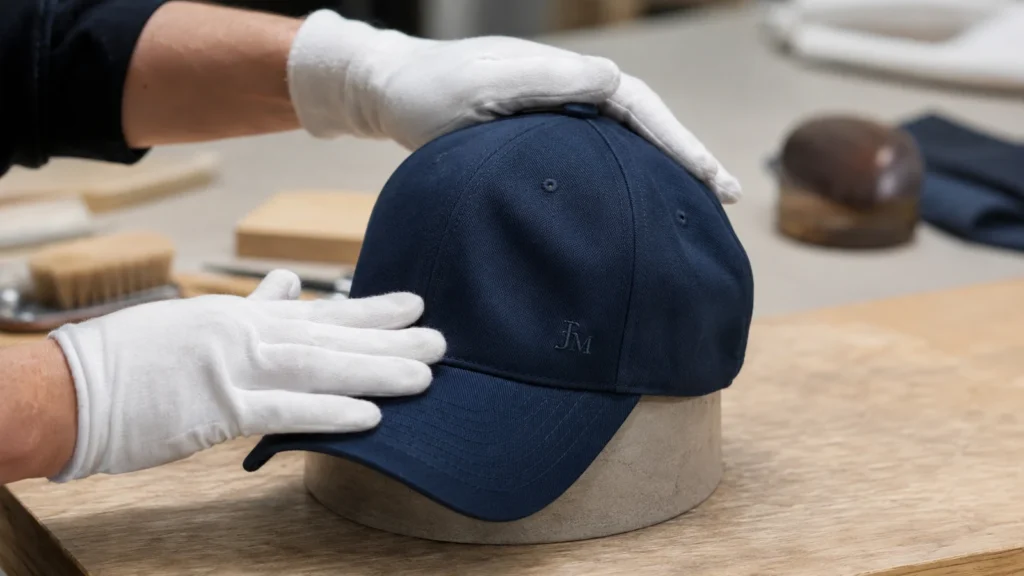
Work from the inside and outside together. Use your inside hand to lift a dent while the outside hand smooths the fabric toward its natural seam. Do not pull one panel independently from the rest of the crown.
6. Realign the crown
View the cap at eye level. The center seam should align with the visor center, the top button should sit centrally, and corresponding side panels should mirror each other. For embroidered caps, judge the whole crown—not only whether the logo appears straight on a collapsed surface.
For an unstructured cap, preserve the intended relaxed look. Overstuffing a dad cap can create an artificial high-profile crown. For a trucker cap, support the solid front and mesh back evenly so the joining seam is not pulled forward.
7. Correct the visor gradually
For a pre-curved visor, use both hands to create a smooth, broad curve. Make small adjustments across the whole visor rather than sharply bending the center. A broad cylinder can help produce an even arc, but do not bind it so tightly that the edge curls or stitch rows buckle.
For a flat visor, place the cap on a clean surface with the crown supported and the visor free from downward pressure. Do not place heavy books on an unknown visor insert. Weight may flatten the center while damaging the edge, laminate, stitching, or original profile.
8. Hold the intended shape through drying
The reshape is not complete until the cap is fully dry. Leave the crown supported and the visor in its intended position. Recheck symmetry during the first stage of drying, when the material may still move.
How to Dry a Baseball Cap Without Ruining Its Shape
Air drying is the default low-risk method for many caps, but the care label remains the authority. Official adidas cap instructions currently include “do not tumble dry” on multiple styles, and its general hat guidance states that air drying helps prevent loss of shape. That supports a conservative approach: remove excess water without twisting, support the profile, and let room-temperature airflow do the work.
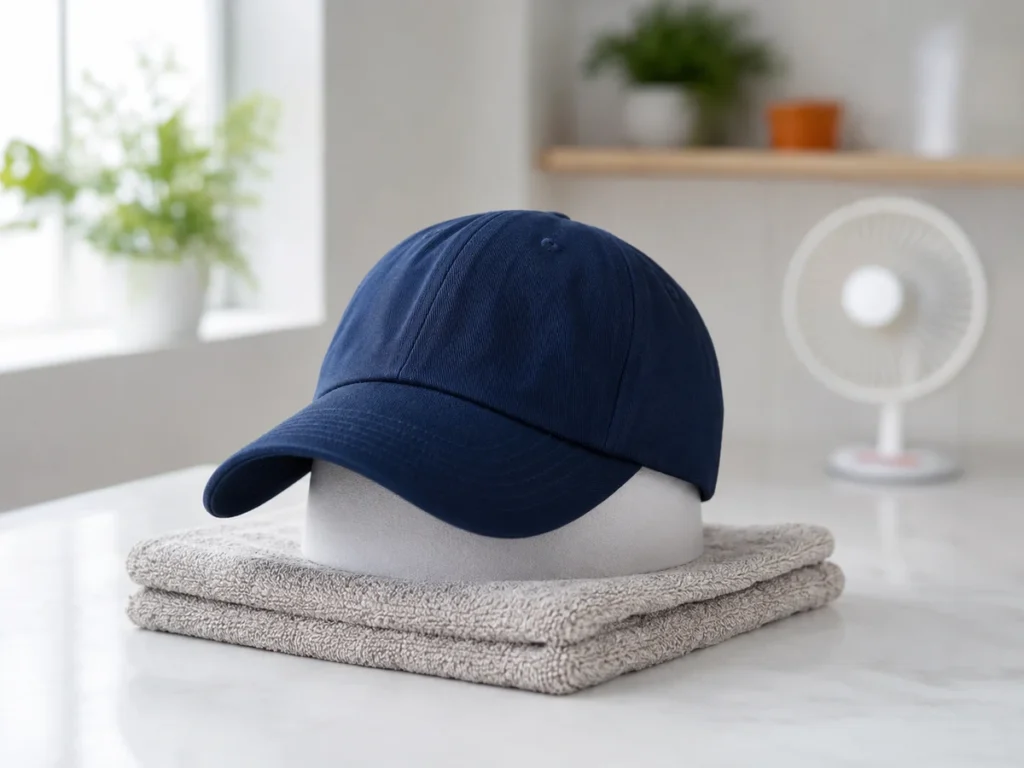
Safe air-drying process
- Rinse according to the label. Detergent residue can create marks or stiffness.
- Blot; do not wring. Press a clean white towel lightly against wet areas. Twisting can pull seams and distort the visor.
- Open the sweatband. When the construction allows, position it so trapped moisture can escape.
- Support the crown. Use a ventilated rounded form or loose clean tissue. Replace saturated paper immediately.
- Shape the visor. Set its approved curve or flat profile before the fabric dries.
- Provide gentle airflow. Place the cap in a well-ventilated room. A fan may improve room circulation, but avoid a strong blast that collapses lightweight panels or blows dust onto the cap.
- Avoid direct heat and strong sun. Do not use a tumble dryer, radiator, heater, hot hair dryer, or hot car interior. Heat can shrink fibers, deform synthetic materials, affect adhesives, and set an unwanted shape. Strong sunlight can contribute to fading.
- Confirm complete dryness. Check the sweatband, front-panel backing, seam allowances, closure, and underside of the visor—not just the outer crown.
Drying methods compared
| Method | Control of shape | Main risk | Recommendation |
|---|---|---|---|
| Room-temperature air drying on a form | High | Slow if airflow is poor | Preferred starting method when label permits |
| Air drying without support | Low to medium | Crown may collapse or seam may twist | Suitable only for intentionally soft caps if monitored |
| Direct sunlight | Low | Fading, uneven heating, stiff drying | Avoid for routine care |
| Radiator or space heater | Very low | Shrinkage, adhesive and synthetic-fiber damage | Avoid |
| Hot hair dryer | Very low | Concentrated heat and uneven drying | Avoid |
| Tumble dryer | Very low | Crushing, heat, abrasion, visor deformation | Use only if the exact care label expressly allows it |
Do not pack a cap that is “almost dry”
Residual moisture inside the sweatband or front-panel support can move into tissue, bags, and cartons. A sealed or tightly packed environment also reduces airflow. The Canadian Conservation Institute notes that textiles are vulnerable to heat, light, incorrect humidity, pests, and improper storage; its basic textile guidance also advises avoiding severe temperature or humidity fluctuations and poor air circulation. A baseball cap is not a museum artifact, but the preservation principle is relevant: stable, clean, dry storage reduces avoidable risk.
How to Pack a Baseball Cap for Travel or Shipping
Packing must control four pressures:
- pressure on the top and sides of the crown;
- pressure that bends or twists the visor;
- abrasion against decoration;
- movement inside the outer box.
Packing one cap
Use a rigid box that is slightly larger than the cap in its intended shape. Place loose tissue inside the crown. Add clean paper cushioning around the cap so it cannot slide, but do not force material against raised embroidery or bend the visor to fit an undersized box.
If moisture protection is required in the distribution environment, define the packaging system with the supplier. Do not seal a recently cleaned cap in an unventilated retail bag. A barrier bag, desiccant, ventilation feature, or carton liner should be selected according to the fabric, transit route, storage duration, climate, and compliance needs—not added casually.
Packing caps in a suitcase
For travel, the best space is a protected cavity where the crown remains supported:
- fill the crown loosely with clean socks or soft garments that will not transfer dye;
- place the cap between stable clothing layers;
- keep shoes, toiletry bottles, and hard objects away from the visor;
- do not use the cap as a handle or compress it under luggage straps;
- remove and reshape it after arrival rather than leaving it packed.
Packing several caps
Compatible caps may be nested if the crown profiles, sizes, visors, and decorations allow it. Use the approved nesting quantity from the supplier sample pack. Too many nested caps can stretch the front panel, rub embroidery, or force the bottom caps into an overly tight curve.
Separate caps when they have:
- large 3D embroidery;
- metal ornaments or pins;
- raised rubber/PVC patches;
- delicate appliqué;
- rigid high-profile fronts;
- contrasting light colors that may pick up loose fibers or dye;
- flat visors that should not take a curved shipping set.
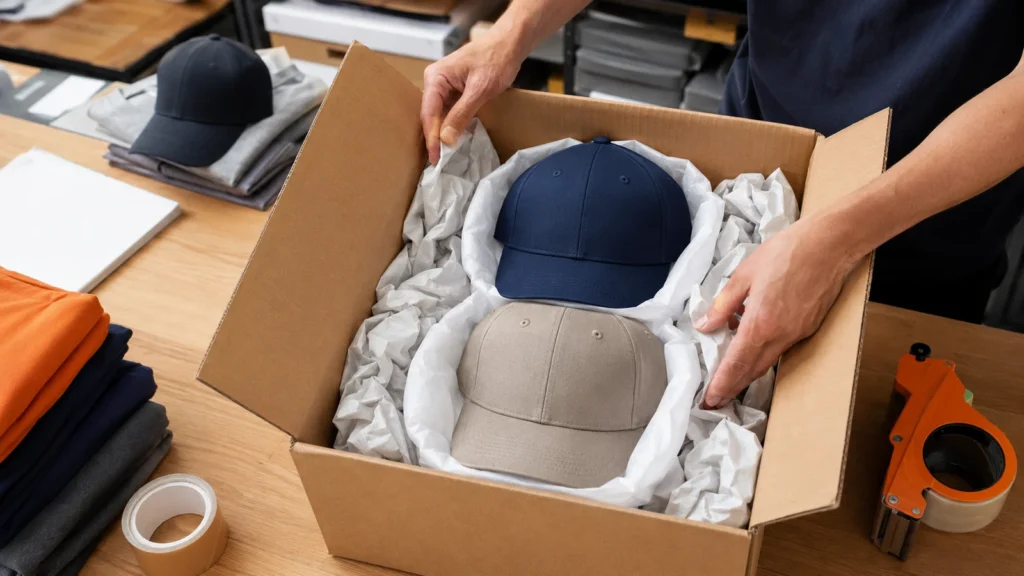
Bulk carton planning
For a commercial order, the packing specification should state:
| Packing field | What to approve |
|---|---|
| Units per inner pack | Quantity and nesting direction |
| Crown support | Tissue type, weight, color, and placement |
| Decoration protection | Interleaving or cover around embroidery and patches |
| Inner bag | Material, dimensions, ventilation, warning marks where required |
| Inner box | Dimensions, board strength, and cap orientation |
| Master carton | Quantity, dimensions, gross/net weight, carton marks |
| Void control | Paper, inserts, or partitions that prevent movement |
| Moisture plan | Dry-product check and route-appropriate protection |
| Drop/handling review | Defined test method if the buyer requires one |
| Receiving standard | Acceptable crown, visor, logo, and carton condition |
Do not optimize carton quantity only by reducing volume. The least expensive carton per unit can become expensive if it causes reshaping labor, returns, or downgraded retail presentation.
How to Store Baseball Caps Short Term and Long Term
Store a cap in the shape in which you expect to use or sell it. The location should be clean, dry, ventilated, and protected from direct sunlight, heat sources, leaks, pests, and heavy objects.
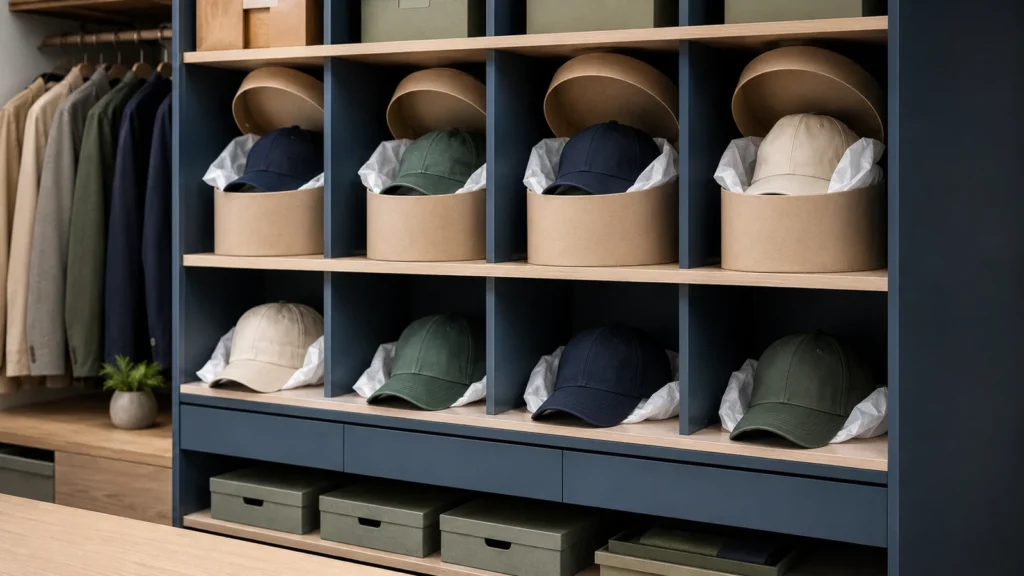
Short-term storage
For frequently used team or staff caps:
- dedicate a shelf or cubby with adequate height;
- support structured crowns instead of flattening them;
- keep the visor free from edge pressure;
- allow a worn cap to dry before putting it away;
- avoid hooks that create a repeated pressure point unless the cap design supports hanging;
- separate dirty field-use caps from clean distribution stock.
Long-term or seasonal storage
For seasonal inventory, archive samples, or event merchandise:
- Clean the cap only according to its care label.
- Dry every component completely.
- Document the cap with photos, SKU, color, size, decoration, and storage date.
- Support the crown with clean, dye-free, preferably acid-free tissue.
- Use a rigid, clean box that protects the cap from dust and crushing.
- Avoid unnecessary folds. National Park Service textile-care guidance recommends padding the interior of costume forms with crumpled unbuffered acid-free tissue, using archival textile boxes, and minimizing folds; those are appropriately conservative principles for valuable cap samples.
- Place the box on shelving, not directly on a floor.
- Keep it away from exterior walls, pipes, windows, radiators, and rapidly changing environments.
- Inspect periodically for odor, moisture, pests, color transfer, deformation, or adhesive change.
Avoid over-specific humidity claims
There is no single storage number that is ideal for every combination of cotton, wool, polyester, foam, adhesive, paperboard, metal, and decoration. Conservation guidance emphasizes that different materials respond differently to relative humidity. For routine commercial inventory, prioritize a stable indoor environment and avoid dampness, condensation, extreme dryness, and rapid cycling. Buyers maintaining valuable archives should consult a textile conservator or qualified storage specialist.
Material-Specific Adjustments
Cotton twill
Cotton can absorb water and may shrink or wrinkle depending on the fabric treatment, dye, sewing, and previous care. Use cool conditions when the label permits, reshape while slightly damp, and avoid heat. Washed finishes are intentionally variable; aggressive brushing or spot treatment may create a lighter patch.
Polyester and performance fabrics
Polyester itself may dry quickly, but a performance cap can include laminated panels, foam, prints, coatings, reflective elements, or adhesive components. Do not assume the whole cap tolerates heat because the shell is synthetic. Support lightweight panels so airflow does not collapse them.
Wool and wool blends
Wool is sensitive to agitation, heat, and uncontrolled moisture. Avoid generic soaking or steaming advice. Follow the label and consider specialist cleaning for valuable fitted caps, complex decorations, or stains.
Corduroy, denim, canvas, suede-like and coated surfaces
Directional pile and surface finishes can change appearance when rubbed. Denim may transfer color. Coatings may spot or delaminate. Test hidden areas and use material-specific methods.
Mesh panels
Mesh improves ventilation but can snag, stretch, or crease at the join with the front panel. Do not use narrow stuffing that pushes through the mesh or stretch the rear circumference around an oversized form.
Embroidery, patches and printed logos
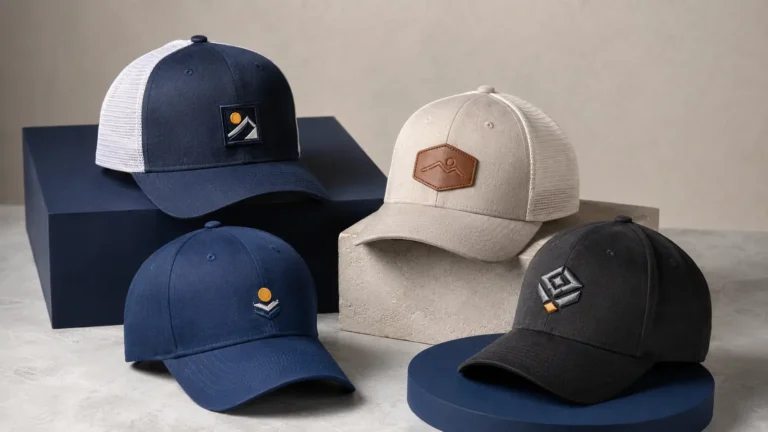
Decoration adds its own care rules. Dense embroidery can dry more slowly than the shell. Leather-style patches, rubber/PVC patches, woven patches, heat transfers, and screen prints respond differently to heat, water, abrasion, and folding. For a custom program, ask the supplier to provide care guidance for the complete decorated cap—not only the blank fabric.
Common Cap-Care Mistakes
Treating every visor as plastic
Many current caps use resilient synthetic inserts, but older, promotional, or unknown caps may use different materials. If the construction is unknown, do not saturate the visor.
Using too much steam
More steam does not mean more control. It can spread moisture into backing, adhesive, and the visor. Work locally and conservatively.
Forcing the crown over an oversized object
A bowl, ball, or improvised form can stretch the circumference and misalign seams. The support should hold the intended profile without tension.
Drying with concentrated heat
A hot dryer, heater, or hair dryer may create shrinkage, shine, rippling, adhesive failure, or a fixed crease. Room-temperature air drying takes longer but gives better control.
Flattening caps to save warehouse space
This transfers cost from freight or storage to receiving labor, inconsistent presentation, and possible rejects. Approve a space-efficient packing method through physical samples and transit testing.
Storing caps in sealed bags while damp
Moisture that cannot escape can create odor, staining, and microbial risk. Confirm dryness before final packing.
Stacking heavy items on the visor
Even a well-supported crown will not protect the cap if the visor is bent by carton contents, shelving, or luggage.
B2B Quality Control for Shape and Packing
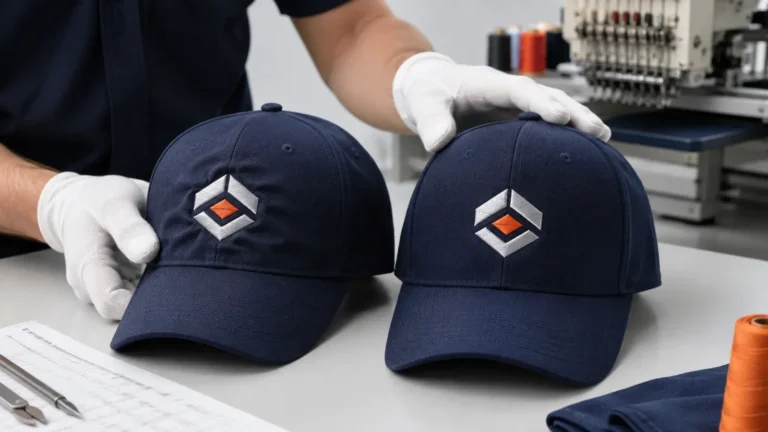
Cap shape should be a measurable approval point, not a subjective last-minute judgment. Establish a golden sample and photograph it from repeatable angles.
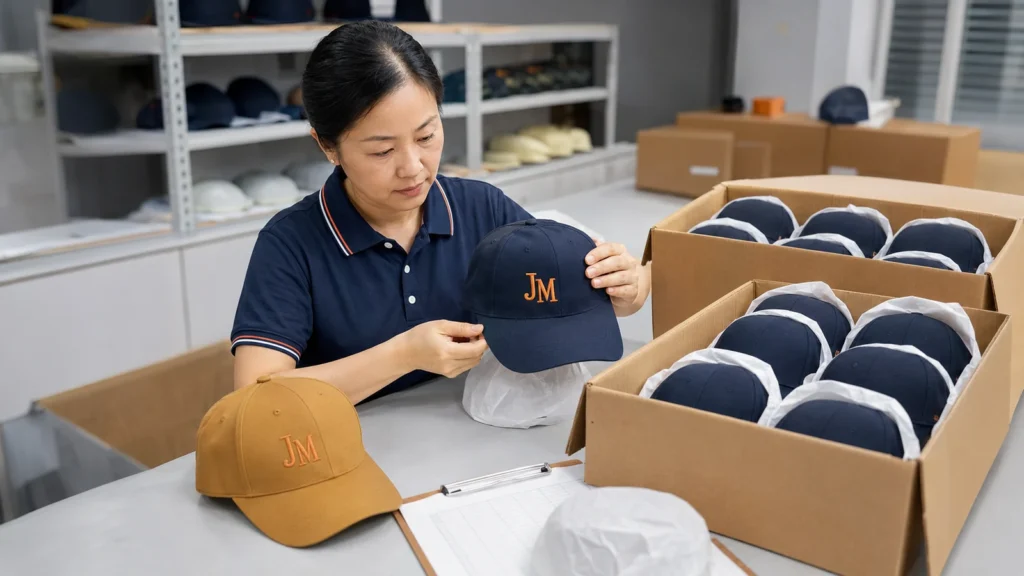
Suggested inspection sequence
- Confirm SKU, color, size, closure, fabric, and decoration.
- Compare crown height and profile with the approved sample.
- Check panel symmetry, seam alignment, top-button position, and eyelets.
- View the embroidery or patch from the front at normal wearing height.
- Compare visor width, center alignment, edge shape, and curve.
- Check that the cap and packaging are dry, clean, and odor-free.
- Review tissue placement, nesting quantity, bag dimensions, and carton orientation.
- Close a sample carton and confirm that the lid does not press on the crown.
- Reopen the carton after a defined holding or transit test and record deformation.
- Retain approved packing photos for repeat orders.
Sample approval should include packaging
A decorated cap sample presented individually on a stand does not prove that 100 or 1,000 caps will arrive in the same condition. Approve:
- the product sample;
- the size set or fit sample where relevant;
- logo placement and decoration sample;
- pre-production sample;
- inner packing sample;
- sealed master-carton sample;
- carton marks and shipping documents.
If the buyer needs a specific drop, vibration, compression, humidity-conditioning, or colorfastness test, define the method, laboratory, sample size, pass/fail criteria, and responsibility before production. Do not rely on vague wording such as “export-standard packing.”
What to Send a Supplier for a Cap and Packaging Quotation
To receive a useful quotation from a custom cap supplier, send:
- cap style and crown profile;
- panel count and structured or unstructured construction;
- shell, mesh, sweatband, and visor material requirements;
- fitted size or adjustable closure type;
- visor shape and desired curve;
- Pantone references or physical color standard;
- vector logo artwork and decoration method;
- logo size and placement;
- order quantity by color and size;
- label, hangtag, barcode, polybag, and carton requirements;
- individual or nested packing preference;
- destination country and delivery location;
- target delivery date;
- required testing, compliance documentation, or inspection;
- reference images or a physical sample;
- whether the order is a new program or a repeat requiring exact matching.
For repeat orders, include the previous purchase order, approved sample reference, packaging photos, and any receiving feedback. That information is more actionable than asking for “the same quality.”
How JIUMU Supports Custom Cap Programs
Established in 2010 in Guangdong, China, JIUMU supplies B2B custom hats, teamwear, logo apparel, bags, and branded merchandise for buyers in North America and Europe. Available capabilities include OEM and ODM development, embroidery, woven and rubber/PVC patches, leather-style patches, fabric sourcing, Pantone color matching, private labels, hangtags, packaging customization, digital mockups, physical samples, bulk production support, quality control, and export coordination.
The typical MOQ is 50 pieces, subject to cap construction and customization. For a project where arrival shape matters, buyers can request that crown support, nesting quantity, inner packaging, carton dimensions, and pre-shipment appearance be included in sample approval.
Planning a custom baseball-cap order? Explore JIUMU’s custom baseball caps or custom hats manufacturing capabilities. Share your cap reference, quantity, colors, logo artwork, decoration method, packing preference, destination, and target delivery date for a project-specific review.
Frequently Asked Questions
Final Recommendation
The safest way to reshape, dry, pack, and store a baseball cap is to preserve the original specification with the least aggressive intervention. Read the care label. Identify the crown, visor, material, and decoration. Support rather than stretch. Air-dry rather than force-dry. Pack against crushing, movement, and abrasion. Store only when fully dry in a stable, protected environment.
For professional programs, add those decisions to the product specification and sample approval. A cap that looks correct in the showroom should still look correct after packing, international transit, storage, and distribution.
Request a custom cap quotation from JIUMU: Send a reference image or tech pack, order quantity, colors, logo artwork, decoration method, packing preference, destination, and required delivery date through the JIUMU contact page, by WhatsApp/phone at +86 18507502899, or by email at zhengdong@jiumugear.com.
Sources and Further Reading
- adidas Baseball Cap Bold care instructions
- adidas Lightweight Baseball Cap care instructions
- adidas Originals hats care guidance
- National Park Service: Curatorial Care of Textile Objects (PDF)
- Canadian Conservation Institute: Textiles and costumes
- Canadian Conservation Institute: Basic care—textiles
- Canadian Conservation Institute: Incorrect relative humidity
About JIUMU
Established in 2010 in Guangdong, China, JIUMU supports B2B custom hats, teamwear, logo apparel, bags and branded merchandise programs for North American and European buyers.