How to Prepare a Tech Pack for Custom Teamwear and Hats
How to Prepare a Tech Pack for Custom Teamwear and Hats
Direct answer: A production-ready tech pack for custom teamwear or hats should identify the exact product, show its construction, define every material and color, give measurable logo and placement specifications, list labels and packaging, provide a graded size chart with measurement methods and tolerances, and maintain a dated revision log. It should also separate buyer requirements from supplier confirmations. Before bulk production, all open points must be closed and the approved pre-production sample should become the sealed Golden Sample.
A good tech pack is not simply a mood board or a collection of logo files. It is the controlled instruction set used by the buyer, pattern maker, sample room, production team and quality-control team. When the document is specific, two independent people should interpret the essential requirements in the same way. When it is vague, the supplier must guess—and those guesses can reappear as sampling delays, quotation changes or bulk-production disputes.
This guide explains how schools, sports clubs, teams, promotional buyers and private-label brands can prepare a practical tech pack for jerseys, team apparel and custom hats. You can also download JIUMU’s editable Excel template and replace the clearly marked example data with your project information.
Important: a tech pack reduces ambiguity, but it does not guarantee quality by itself. Physical sampling, fit approval, material approval, inline quality control and pre-shipment inspection remain necessary.
What Is a Tech Pack?
A tech pack, or technical package, is a version-controlled product specification used to develop, quote, sample, manufacture and inspect a custom product. It connects the visual design to measurable production requirements.
For custom teamwear, it may include garment sketches, panel and seam construction, fabric composition and weight, a graded measurement chart, decoration positions, player-name rules, labels and packing ratios. For hats, it should describe the silhouette, panel structure, visor, crown height, buckram, sweatband, closure, eyelets and embroidery details.
The tech pack should answer five operational questions:
- What exactly is being made? Product type, style number, construction and intended use.
- Which materials and colors are approved? Fabric, trims, components and physical color standards.
- How should it measure? Points of measure, methods, size grading and product-specific tolerances.
- How should branding be executed? Artwork version, dimensions, position, color and technique.
- Which version controls production? Current revision, approvals, rejected options and superseded files.
Tech Pack Checklist at a Glance
| Section | Buyer should provide | Supplier should confirm | Approval evidence |
|---|---|---|---|
| Style identity | Brand, style name, style number, season, intended use | Internal factory style reference | Quotation and sample order |
| Construction | Sketches, panels, seams, closures and special features | Feasibility and construction method | Development sample |
| Materials | Composition, weight, performance and restricted substitutions | Available quality, supplier code and test basis | Swatch, lab report or approved sample |
| Colors | Pantone target and color location | Dye/print method and achievable standard | Lab dip, strike-off or physical swatch |
| Measurements | Points of measure, size chart and grading | Pattern interpretation and proposed tolerances | Fit sample and measurement report |
| Logos | Vector artwork, finished size, position and technique | Digitization, stitch count or print method | Embroidery/print strike-off |
| Labels and packing | Artwork, wording, position, pack ratio and carton marks | Material, dimensions and compliance feasibility | Label proof and packed sample |
| Version control | Revision number, date, change summary and approver | Written acknowledgement | Signed revision log |
1. Start with Product Identity and Intended Use
Give every style a unique style number. Avoid file names such as “new jersey final” or “cap latest.” A better naming system is BRAND-CATEGORY-STYLE-COLORWAY, for example NS-JR-001-NAVY. Use that identifier on the quotation, sample label, purchase order, carton mark and inspection report.
State the intended use because it affects construction decisions. A competitive baseball jersey, a one-day promotional shirt and a work team’s weekly uniform do not require the same fabric, seam strength or wash durability. For hats, explain whether the buyer expects a structured on-field cap, an unstructured lifestyle cap, a trucker cap or a performance running cap.
Include target market, wearer, season, order quantity and required delivery date. Treat delivery as a planning target until the supplier has confirmed material availability, sample approval timing and production capacity. For JIUMU projects, typical minimum quantities start from 50 pieces for hats and apparel; actual feasibility still depends on style, colors, decoration and materials.
2. Define Product Construction
Construction specifications describe how the product is assembled. Use front, back and detail views with callouts. A simple sketch can be useful, but a factory should not need to infer important seam, panel or closure decisions from a fashion illustration.
Teamwear construction details
For jerseys and apparel, identify:
- body and sleeve panel configuration;
- set-in, raglan or sleeveless construction;
- neckline shape, rib width and neck-tape requirement;
- button, zipper or pullover opening;
- seam type, stitch type and visible topstitching;
- side vents, drop tail, curved hem or straight hem;
- lining, mesh ventilation or reinforcement panels;
- pocket construction and bartack locations;
- sublimated, cut-and-sew or hybrid construction;
- gender/age fit and base-size sample.
If a seam or feature is critical, label it on the drawing and repeat it in a construction table. Do not rely on a single reference photo when the photographed product contains features you do not want.
Hat construction details
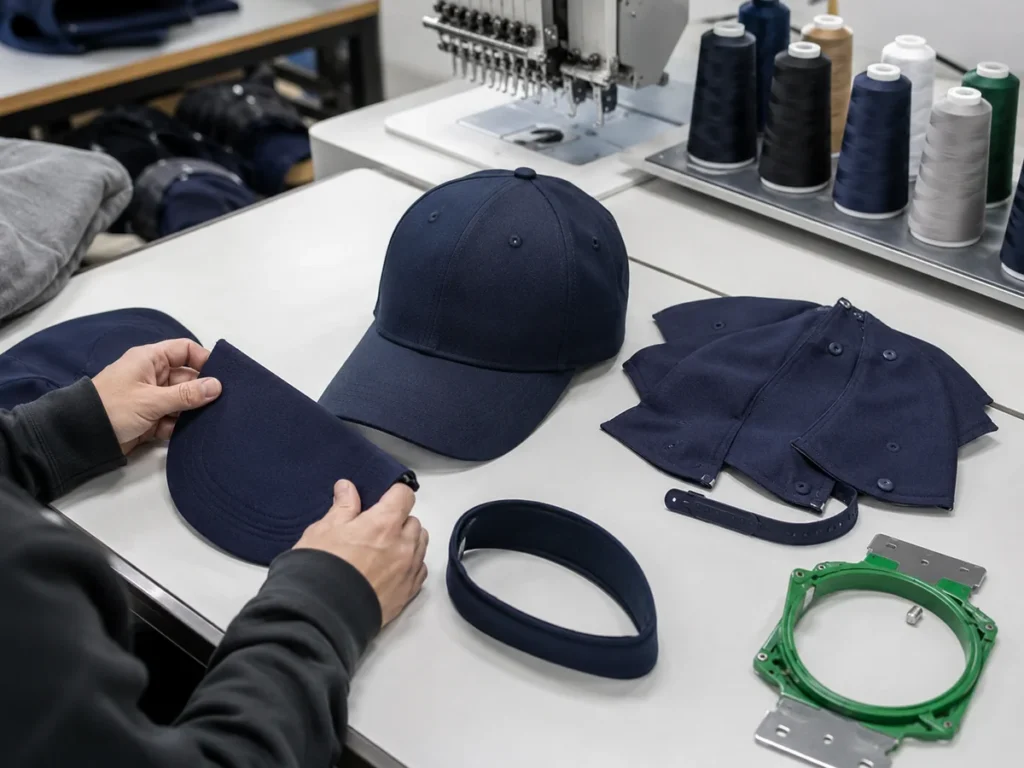
For hats, specify:
- number and shape of panels;
- structured or unstructured crown;
- crown profile and finished crown height;
- buckram type and stiffness;
- flat, pre-curved or buyer-shaped visor;
- visor insert material and number of stitch rows;
- sweatband material and width;
- closure type, color and hardware finish;
- embroidered or metal eyelets;
- seam tape, taping print and internal branding;
- top button and visor-under color.
Terms such as “standard baseball cap” are not sufficiently precise. Crown shape, visor curvature and front-panel structure can change the entire appearance even when circumference is the same.
3. Build a Size Chart with Clear Measurement Methods
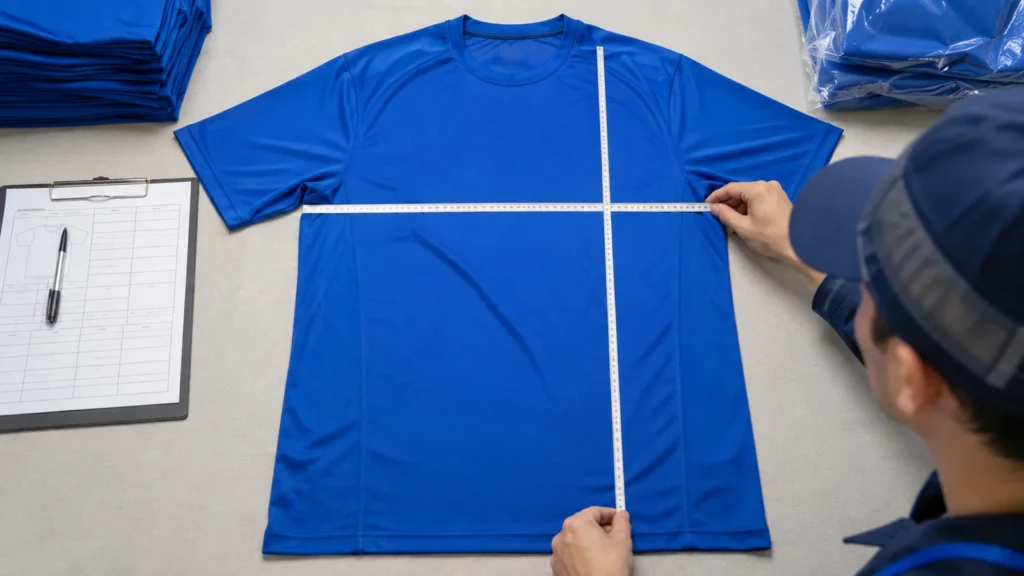
A measurement table is only usable when each point of measure has a defined method. “Chest 54 cm” could mean half chest, full circumference or body measurement. Instead write: “Half chest measured 2.5 cm below armhole, garment laid flat, no stretch.”
Include a point-of-measure code so the table corresponds to the diagram. State whether the value is a body measurement or finished-product measurement. Most production specifications use finished-product measurements unless clearly noted otherwise.
For teamwear, common points include half chest, body length from high-point shoulder, shoulder width, sleeve length, bicep, cuff opening, neck width and bottom opening. For pants, include waist relaxed and stretched, hip, rise, thigh, inseam and leg opening.
For hats, measurements may include internal circumference, crown height at center front, visor length, visor width, closure strap dimensions and sweatband width. Explain the closure position used when measuring adjustable circumference.
Example: base-size team jersey
| POM | Measurement method | Size L target | Example tolerance |
|---|---|---|---|
| A | Half chest, 2.5 cm below armhole | 54.0 cm | ±1.0 cm |
| B | High-point shoulder to bottom hem | 74.0 cm | ±1.0 cm |
| C | Shoulder seam to sleeve cuff | 25.0 cm | ±0.7 cm |
| D | Neck width, straight across | 18.0 cm | ±0.5 cm |
These figures are examples, not universal standards. Buyers should set tolerances by product, material, measurement location and intended use. A small logo-placement tolerance cannot automatically be applied to a large knitted body measurement. The supplier should review proposed tolerances before sampling, and the approved fit sample should confirm the measurement method.
4. Specify Fabrics, Trims and Components in a BOM
The Bill of Materials, or BOM, records everything that becomes part of the finished product. Each line should identify the item, location, composition, construction, weight or thickness, color, supplier code where known, approval status and substitution rule.
For fabrics, include:
- fiber composition and permitted blend tolerance;
- knit or weave structure;
- target weight in gsm;
- performance requirements such as moisture management, stretch or UV protection;
- finish, handfeel and surface appearance;
- recycled or certified-content requirement, if applicable;
- test standard or buyer protocol where performance claims matter.
Do not write only “polyester sports fabric.” A 140 gsm mesh, 160 gsm interlock and 220 gsm brushed knit can all be polyester but behave differently during printing, embroidery, wear and washing.
For hats, the BOM should include shell fabric, buckram, sweatband, seam tape, visor board, closure, eyelets, top button, thread and internal labels. For garments, include main fabric, contrast panels, rib, elastic, zipper, buttons, thread, reinforcement, labels and decoration films or backing.
If the supplier recommends an alternative, record it as a proposed change. No material should be substituted in bulk without the buyer’s written approval. The approved material should be traceable through a swatch code, supplier code or sealed sample.
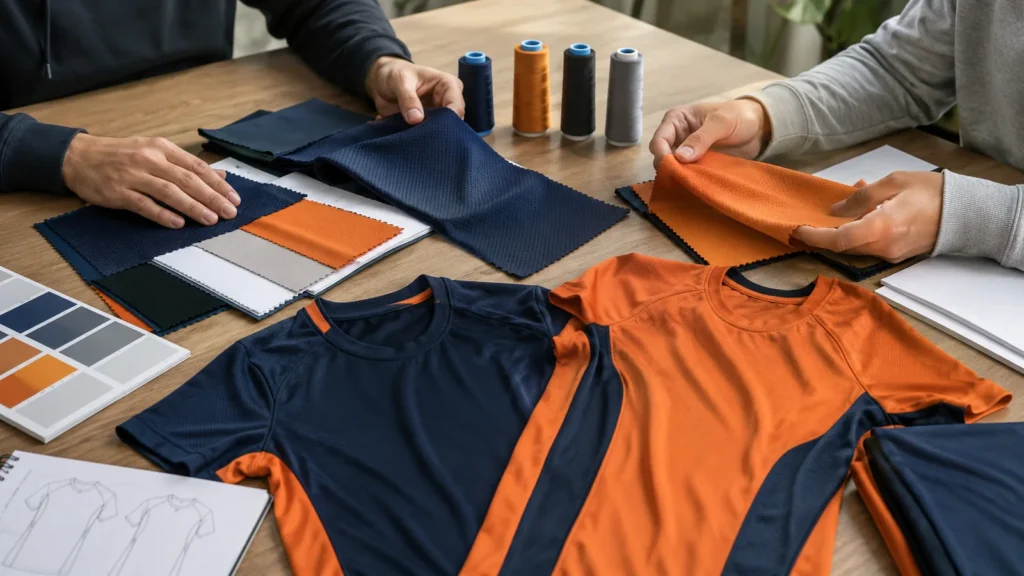
5. Use Pantone as a Target—and Approve Color on the Actual Material
Pantone references create a shared color target, but a Pantone number alone cannot guarantee identical visual color across materials and processes. The same target can appear different on polyester, cotton, reflective film, embroidery thread, sublimation ink and a computer screen. Surface texture, gloss, lighting and dye method change perception.
Specify the appropriate Pantone library where possible, such as Pantone Solid Coated for printed artwork or a textile reference for fabric targets. Then approve color on the intended substrate:
- Lab dip: dyed fabric color sample;
- Strike-off: printed or sublimated color sample;
- Embroidery swatch: actual thread and stitch construction;
- Trim sample: zipper, buckle, patch or label color;
- Production sample: assembled appearance under agreed lighting.
Record acceptance, rejection and comments in the sample log. If color matching conditions matter, specify the light source or assessment protocol. Digital mockups are useful for placement, but they should not replace physical color approval.
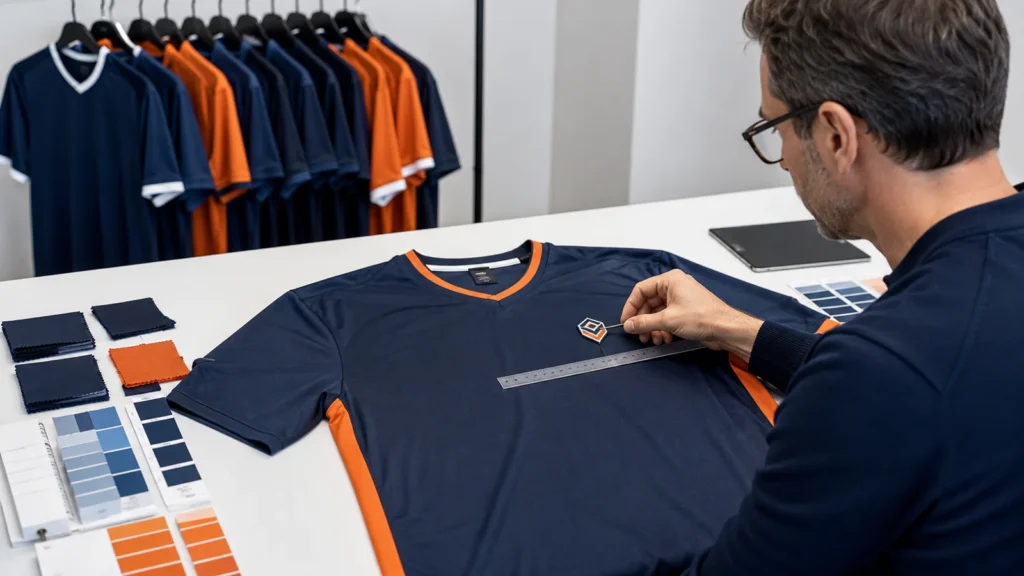
6. Define Logo Size, Position and Decoration Process
Attach vector artwork in AI, EPS, SVG or print-ready PDF format where possible. Give every logo a unique ID and version. The tech pack should state:
- finished width and height in millimeters;
- exact placement from stable reference points;
- decoration method;
- Pantone or approved thread/ink color;
- artwork file name and revision;
- special effects such as 3D puff, appliqué, reflective film or gradient;
- required backing, border and edge finish;
- player-name and number rules.
Avoid directions such as “logo on left chest” without measurements. A better instruction is: “Logo L01, finished width 85 mm, centered 90 mm below high-point shoulder and 85 mm from center front.” For hats, reference the center-front seam, visor seam or panel boundary.
Technique affects feasibility. Fine text may close during embroidery; very small gaps may fill during screen printing; sublimation color can shift with fabric and heat. Ask the supplier for an embroidery sew-out, print strike-off or heat-transfer proof before approving the pre-production sample.
7. Document Labels and Packaging
Labels and packaging often cause late-stage delays because their text and artwork are approved after the product. Add them to the tech pack from the beginning.
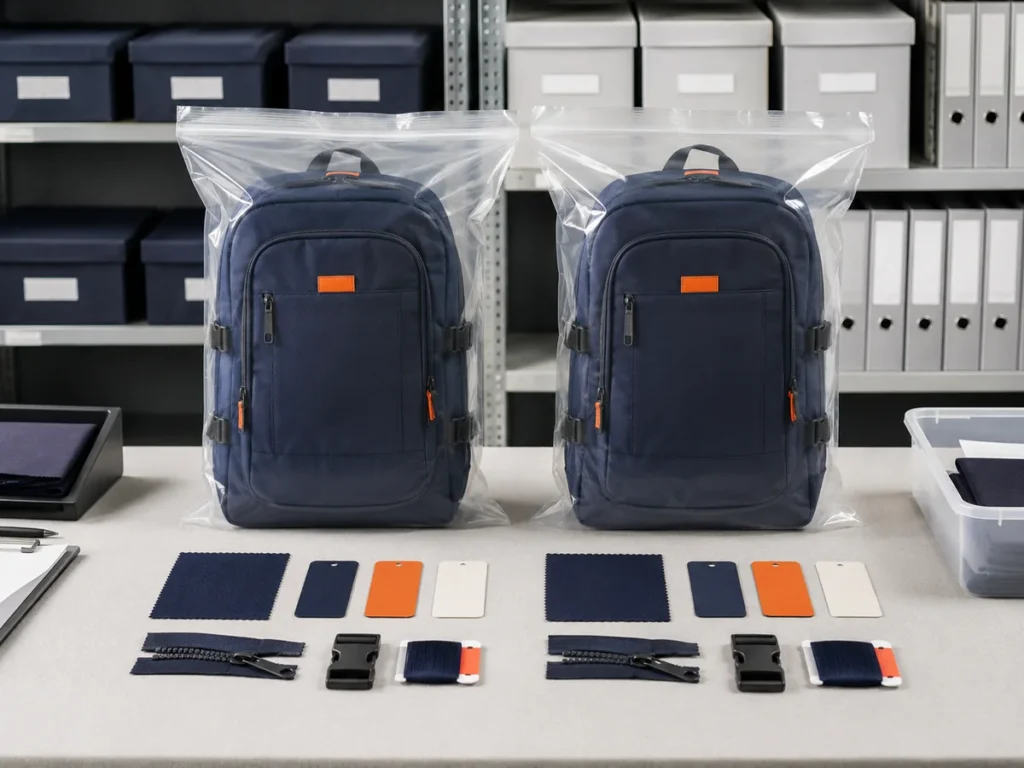
List the main brand label, size label, care/content label, country-of-origin information, hangtag, barcode sticker, individual bag, tissue, carton, carton mark and packing ratio. For each item, provide dimensions, material, color, artwork file, position and quantity per unit.
The buyer is responsible for determining destination-market labeling and product claims. Requirements vary by product and market, so do not copy legal wording from an unrelated style. Ask the supplier to confirm production feasibility, but obtain qualified compliance advice where necessary.
For carton packing, include unit folding method, size/color assortment, units per carton, maximum carton weight if required, shipping marks and barcode placement. Approve a packed pre-production sample when presentation or transit protection is important.
8. Control File Versions and Revisions
Version control is one of the highest-value parts of a tech pack. Without it, the merchandiser may quote v03, the sample room may print v02 artwork and the buyer may comment on an undated PDF.
Use a consistent file name such as:
Brand_StyleNumber_TechPack_v04_2026-08-17.xlsx
Maintain a revision log with version, date, editor, changed sheets, change summary, recipient and supplier acknowledgement. Make one version “CURRENT” and mark all older versions “SUPERSEDED.” Do not delete the history; archive it in a read-only folder.
When sending a revision, summarize the changes in the email or order platform. Ask the supplier to acknowledge the version number in writing. Artwork should use its own controlled file name, and the tech pack must reference that exact artwork version.
Recommended approval sequence
- Issue draft tech pack for feasibility and quotation.
- Record supplier questions and confirmations.
- Issue a controlled version for development sampling.
- Approve fabric, color and decoration samples.
- Review fit and measurements.
- Issue corrected pre-production version.
- Approve and seal the Golden Sample.
- Release bulk production against the current tech pack and Golden Sample.
9. Set Allowable Tolerances Correctly
Tolerance is the permitted difference between the specified target and the measured result. It should not be used to hide an unclear specification or compensate for incorrect pattern grading.
Set tolerances by point of measure. Critical fit dimensions may need tighter control than non-critical measurements. Fabric stretch, garment size, seam construction and measurement repeatability should be considered. For hats, crown height and visor dimensions affect visual shape, while circumference affects fit.
Separate these concepts:
- Target: the intended measurement;
- Tolerance: acceptable deviation from the target;
- Grading rule: change between sizes;
- Measurement uncertainty: variation caused by handling or method;
- Defect: result outside the approved requirement.
The supplier should report sample measurements against the table, not simply mark “fit approved.” If the buyer accepts an off-spec sample, update the tech pack to the actually approved measurement or record a documented exception. Otherwise the bulk team may follow the old target while QC follows the physical sample.
10. Separate Buyer Requirements from Supplier Confirmations
A useful tech pack distinguishes three kinds of information:
- Buyer required: a requirement the supplier should not change without approval;
- Supplier confirmed: material code, construction interpretation, feasibility, lead time or production method confirmed by the factory;
- Example/TBC: placeholder information that must be replaced or closed before bulk.
This prevents an example fabric weight or proposed tolerance from accidentally becoming an approved production requirement. In the downloadable workbook, example cells are clearly marked and editable. Remove “EXAMPLE” labels only after replacing the data.
Common Tech Pack Mistakes
Using only reference photos
Photos communicate style direction but not hidden construction, scale, materials or permitted differences. Pair images with callouts and tables.
Leaving logo placement subjective
“Center it nicely” is not inspectable. State dimensions and reference points.
Treating Pantone as physical approval
Approve color on actual fabric, thread, ink or trim. Record the approved sample.
Applying one tolerance everywhere
Tolerance must be appropriate to the product and measurement. A universal ±1 cm rule can be too loose for a small detail and unrealistic for a large elastic measurement.
Overwriting the only file
Keep dated revisions and clearly identify the current version. Never rely on “final-final-2.”
Releasing bulk with open items
Close materials, colors, size chart, artwork, labels and packing before production. Open decisions during cutting or decoration create avoidable risk.
Questions to Ask the Manufacturer Before Sampling
- Which specification points are technically unclear or not feasible?
- Which materials are stock, custom-developed or subject to supplier minimums?
- What physical color and decoration approvals are available?
- Which base size will be sampled and graded?
- How will the factory record sample measurements?
- Who controls the active tech pack version in production?
- How are material substitutions escalated for written approval?
- What inline and final inspections compare bulk with the Golden Sample?
- What changes would affect MOQ, price or lead time?
How JIUMU Uses a Tech Pack in Development
JIUMU Gear manufactures custom hats, teamwear and bags for B2B buyers. A buyer tech pack helps the team assess construction, source materials, prepare artwork proofs, develop samples and establish inspection points. JIUMU reports a production operation of approximately 200 people, 25,000 square meters and average monthly capacity of about 30,000 pieces; actual scheduling depends on product type, complexity, material availability and approvals.
For planning, reported starting MOQs are 50 pieces for hats and apparel and 20 pieces for backpacks. Typical sampling guidance is 5–7 days for hats, 7–10 days for jerseys and 10–14 days for backpacks. Typical bulk lead time is 25–30 days for standard orders, 35–45 days for complex orders and 20–25 days for repeat orders, subject to specification and capacity confirmation.
Learn more about Manufacturing Capabilities, Quality Control, and the Custom Apparel Sample Checklist. You can also review custom team jerseys and custom hats.
Final Pre-Production Release Checklist
- Current tech pack version is identified and acknowledged.
- Product construction and base-size fit are approved.
- Graded size chart and measurement methods are complete.
- BOM materials and supplier codes are confirmed.
- Physical colors are approved on intended substrates.
- Logo artwork, dimensions, positions and techniques are approved.
- Labels, legal text, packaging and carton marks are approved.
- Tolerances are product- and measurement-specific.
- Pre-production sample matches the current specification.
- Golden Sample is sealed and retained by both parties where practical.
- No material substitution is permitted without written approval.
- Inline and pre-shipment inspection requirements are scheduled.
Ready to prepare a production-ready request? Contact JIUMU Gear with your editable tech pack, artwork files, quantity, target delivery date and destination market.