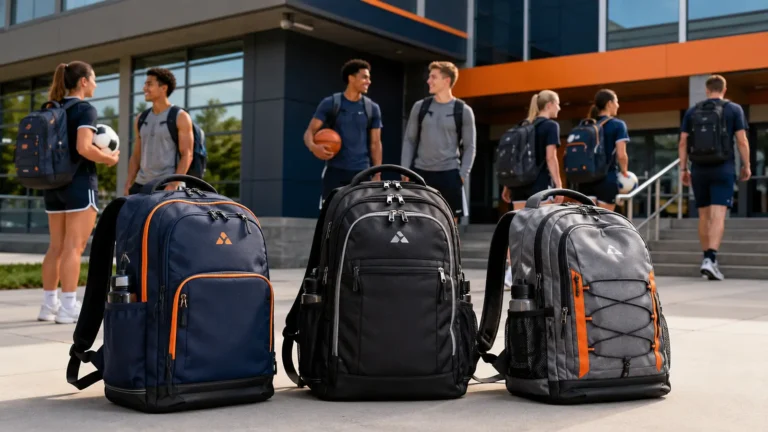
How to Store and Organize Backpacks at Home, School or Team Facilities
Backpacks are easy to buy and surprisingly difficult to manage at scale. One bag by a front door is a household habit; thirty bags in a classroom or sixty coordinated team bags in an athletic facility are an operating system. Without assigned locations, drying rules and clear ownership, backpacks migrate into walkways, collect damp apparel, hide damaged zippers and consume more space than expected.
This guide explains how to store and organize backpacks at home, school or team facilities. It gives families a practical daily routine while helping schools, clubs, academies, uniform dealers and team administrators plan repeatable storage for larger fleets. It also translates storage needs into backpack specifications that professional buyers can use when sourcing custom team bags.
Quick Answer: Empty food, liquids and wet clothing before storage; dry the backpack completely; close or tuck loose straps; and assign one ventilated location per user. Homes usually need hooks plus a small accessory bin. Schools work best with named cubbies or lockers and a clear floor. Team facilities need separate zones for ready-to-use, wet/dirty, repair and long-term storage, supported by an inventory list and scheduled inspections.
Why Backpack Storage Deserves a System
An organized storage system reduces search time, keeps corridors usable, makes missing equipment visible and lets staff identify wear before the next trip. It also protects the bag’s shape by avoiding compressed piles and overloaded hooks. The goal is not a showroom-perfect wall. It is a routine that users can follow when they are tired, late or returning from wet practice.
At facilities, storage is also a housekeeping and movement issue. The US Occupational Safety and Health Administration states that exit routes must remain free and unobstructed and that stored materials should not create tripping or stability hazards. Local school, building and fire requirements may be more specific, so facility managers should confirm their own applicable rules rather than treating this article as a compliance plan.
The strongest systems answer five questions at a glance:
- Where does each backpack belong?
- Is it clean and dry enough to store?
- Is it ready for use, awaiting repair or out of service?
- Who is responsible for it?
- Can people move through the space safely?
Backpack Storage Options by Location
| Location | Best everyday setup | Useful additions | Main risk to control |
|---|---|---|---|
| Home entryway | Individual hooks or open cubbies | Accessory tray, shoe shelf, charging station nearby | Floor clutter and forgotten food |
| Bedroom or study area | Shelf, peg rail or freestanding rack | File holder for papers, small basket for cables | Overloading one hook |
| Classroom | Assigned cubbies or wall hooks | Color/number identification, overflow shelf | Bags narrowing circulation paths |
| School locker area | One bag per locker or bay | Ventilated shelf, timetable-based rotation | Wet bags in closed lockers |
| Team locker room | Open cubbies with user IDs | Clean-return, wet-item and repair zones | Cross-mixing clean and dirty gear |
| Equipment room | Adjustable shelving with inventory map | Rolling carts, spare-parts bin, quarantine area | Unstable stacking and poor accountability |
| Seasonal storage | Clean, dry shelf or breathable cover | Desiccant only when appropriate, inspection log | Moisture, pests and compressed padding |
The storage furniture should fit the actual loaded bag, not the dimensions of an empty catalog sample. Measure height, width and depth after the backpack contains its typical equipment. Allow space for the top handle, zipper movement and airflow. If bags have ball pockets, helmet carriers or external shoe compartments, measure them in the configuration that will be stored.
Step 1: Empty, Sort and Reset the Backpack
Storage begins before the bag reaches a hook. Create a short “return routine” that removes the items most likely to cause odor, leakage or next-day confusion.
Remove food and liquids
Take out lunch containers, opened snacks and drink bottles every day. Check small front pockets, since wrappers and fruit are often forgotten there. Empty refillable bottles and let them dry separately. A sealed bottle can still leak when pressed by other contents.
Separate wet or dirty equipment
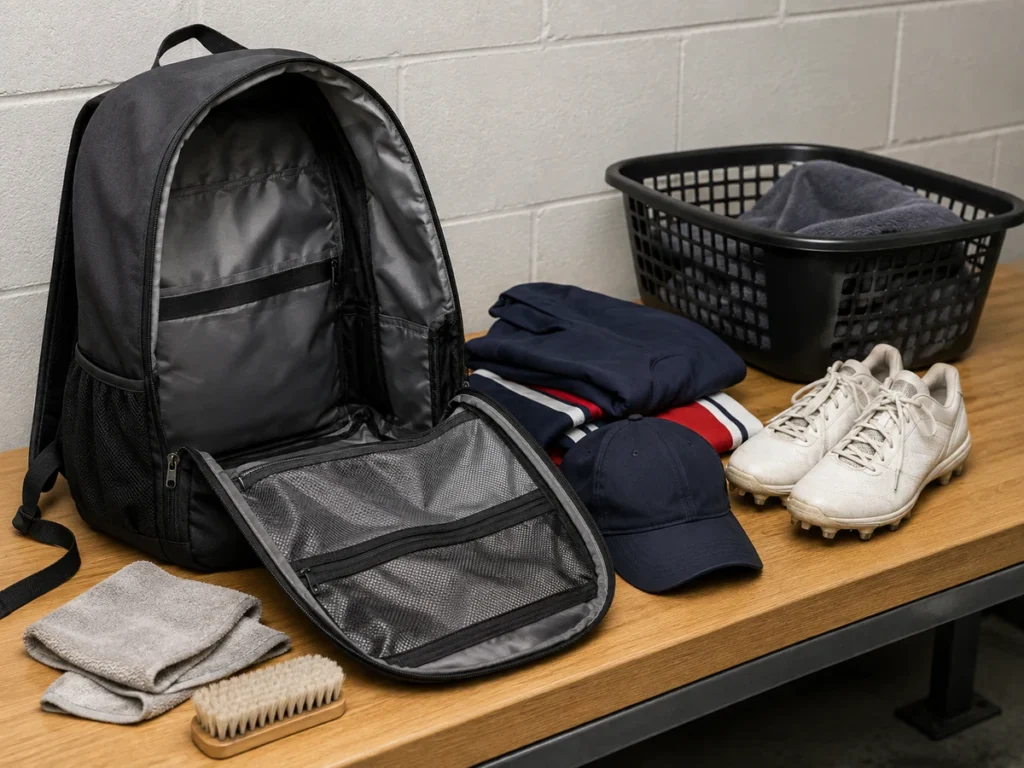
Do not place sweaty apparel, towels, muddy footwear or rain-wet items into long-term storage inside the backpack. Use a washable ventilated basket or designated return bin. The US Environmental Protection Agency advises drying wet or damp materials promptly—often within 24 to 48 hours after a leak or spill—to reduce the chance of mold growth. That is a general moisture-control benchmark, not a warranty for any particular textile.
Return small items to a defined pocket
Choose a consistent location for keys, ID cards, mouthguards, tape, chargers and medical supplies. Small pouches can help, but too many nested organizers slow down inspection. For teams, a transparent or mesh accessory pouch makes missing items easier to identify without emptying the entire bag.
Reset the load for the next use
If a backpack is used daily, replenish only the standard items on a checklist. Avoid using the bag as permanent storage for duplicate clothing or paper. A lighter, predictable load makes hook and shelf capacity easier to manage.
Step 2: Clean and Dry Before Enclosed Storage
Always start with the care label or supplier’s instructions. Fabrics, coatings, foam laminations, printed graphics, embroidery backings and structured panels can react differently to water, heat and cleaning products. Do not assume a bag is machine washable.
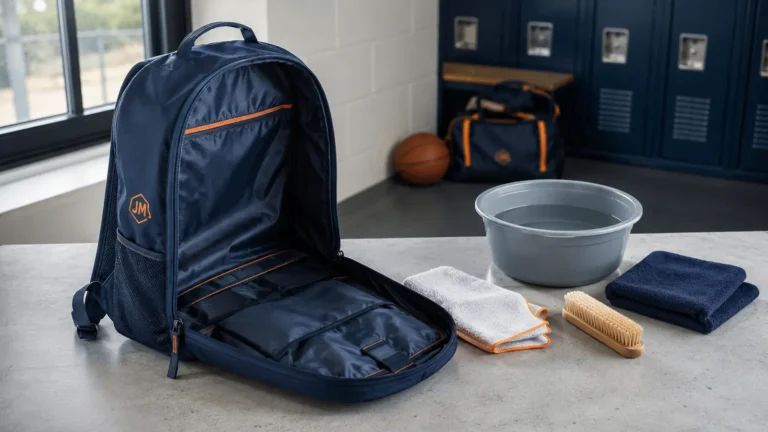
For routine care, remove loose debris, wipe compatible surfaces with a soft damp cloth and use only a cleaner appropriate for the material. The US Centers for Disease Control and Prevention recommends following the product label and manufacturer’s instructions and drying washable items completely. Avoid soaking foam padding, applying concentrated chemicals, mixing cleaning products or using high heat unless the product instructions explicitly allow it.
Open the main compartment and pockets while air-drying. Position the bag so air can reach the base and interior corners. A fan or naturally ventilated room may help; direct high heat can distort some coatings, plastics or padding. If a bag has a removable bottom panel, take it out when the construction permits.
A practical condition system
| Status | Meaning | Storage action |
|---|---|---|
| Ready | Clean, dry, complete and functional | Place in assigned daily-use bay |
| Drying | Damp from weather, washing or equipment | Open and place in ventilated drying zone |
| Cleaning | Visible soil, spill or odor needs attention | Move to controlled cleaning area |
| Repair | Damaged zipper, seam, strap or buckle | Tag and isolate from ready inventory |
| Retired | Unsafe, uneconomical to repair or no longer assigned | Record disposition; do not return to active shelf |
This simple status model prevents a repaired-looking bag from being issued before it has actually been checked.
Step 3: Choose Hooks, Cubbies, Shelves or Lockers
Hooks for fast daily access
Hooks work well at home and in small team spaces because users see the bag and can return it in one motion. Use the top carry handle rather than a shoulder strap when the manufacturer designed it for hanging. The hook should have a smooth, broad contact area and sufficient load rating for the bag’s typical packed weight. Avoid sharp hooks that concentrate force or catch fabric.
Hooks are less suitable for very heavy equipment bags or long seasonal storage. A loaded bag hanging for months can place continuous stress on the carry handle and distort padding.
Cubbies for one-person ownership
Cubbies create clear assignment and support upright storage. Their interior dimensions should exceed the loaded backpack’s envelope and leave room for a hand to retrieve it safely. Open fronts improve visibility and airflow. A low shelf below can separate footwear from the backpack.
Do not design cubbies around the smallest bag in the current order if the program may add larger equipment models later. Modular dividers or adjustable shelves preserve flexibility.
Shelves for fleet storage
Shelves are efficient for spares, travel bags and seasonal inventory. Store backpacks upright when possible, with heavy bags on lower shelves. Keep the shelf stable, respect its rated capacity and avoid stacks that can slide or collapse. Use shelf-edge identification rather than attaching large paper labels that may fall away.
Lockers for security and privacy
Lockers protect personal contents but can conceal moisture and forgotten food. Use them for clean, dry bags and establish a routine for opening, inspection and end-of-term clearing. Ventilation performance varies by locker design and installation, so verify rather than assume.
Step 4: Size the Storage Area Correctly
Count users, peak inventory and operational states. A team with 40 active players may need more than 40 positions because some bags are drying, awaiting repair, held for new athletes or stored as spares.
Use this planning formula as a starting point:
Required positions = active assigned bags + spares + expected growth + temporary-condition capacity.
For example, a 36-player program might plan 36 assigned cubbies, 3–4 spare positions, growth space and a separate drying/repair rack. This is planning guidance, not a universal percentage: roster turnover, season overlap and travel patterns determine the correct buffer.
Measure the biggest loaded configuration and test a physical sample in the proposed furniture. Check door clearance, retrieval angle, top-handle space, protruding bottle pockets and the swing of adjacent locker doors. Then test the busiest five minutes of the day: can multiple users return or retrieve bags without creating a floor pile?
How to Organize Backpacks at Home
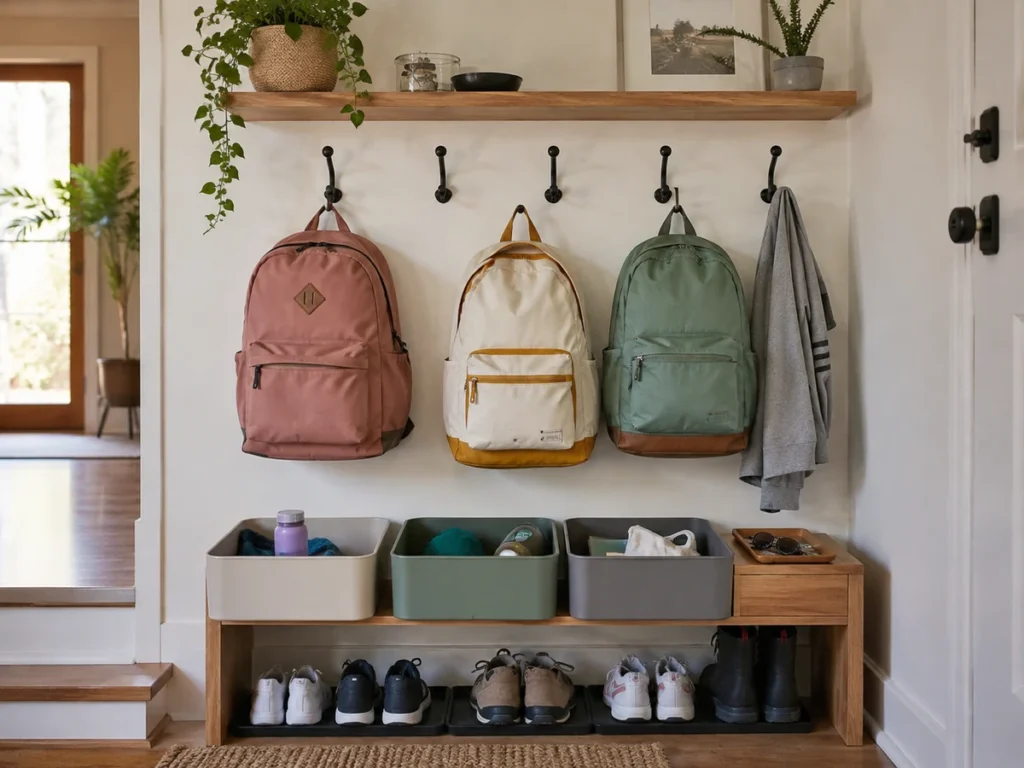
The best home system is close to the door used most often. Give each person one hook or cubby, one small bin and one reset responsibility. Place frequently forgotten items—permission forms, transit cards or practice accessories—at eye level rather than deep inside a shared basket.
A simple home routine is:
- Put the backpack in its assigned location.
- Remove lunch items, bottles and wet clothing.
- Place papers in an action tray.
- Connect devices at a separate, safe charging point.
- Repack the standard items for the next day.
Avoid charging electronics inside a closed backpack. Follow the device manufacturer’s instructions and keep cables from crossing walkways. For younger users, icons or colors may be more effective than written labels.
How Schools Can Organize Student Backpacks
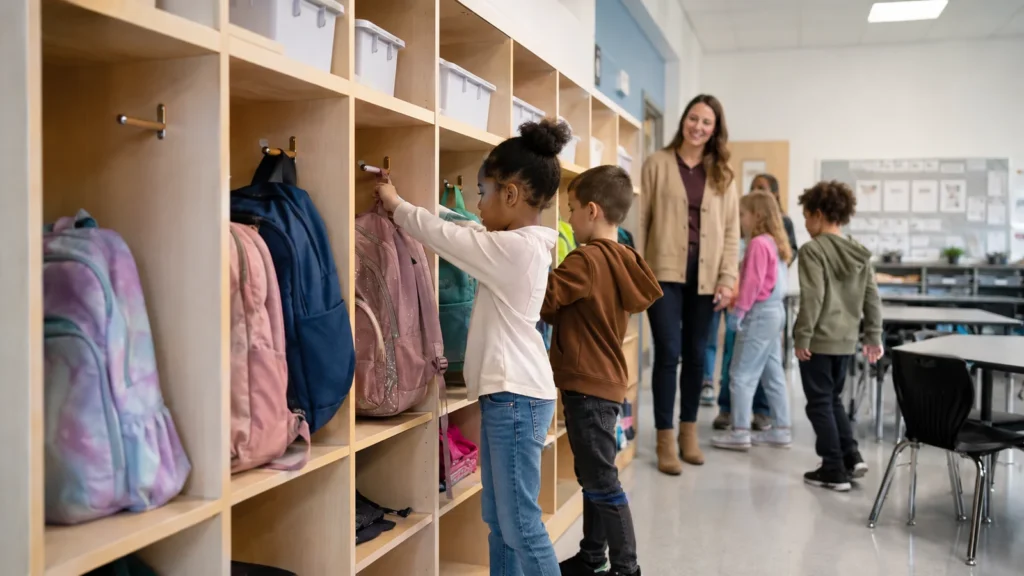
Schools need a solution that is quick, inclusive and easy to supervise. Assign one visible location per student. Keep floor areas and required circulation routes clear, and consult the facility’s own safety policies and applicable codes when deciding where racks or hooks may be installed.
The identification system should reveal ownership without exposing unnecessary personal data. A classroom may use student numbers, colors or removable symbols rather than full names visible to visitors. If names are required, follow the school’s privacy practices.
For younger students, place hooks at an accessible height and avoid sharp projections. For older students carrying larger technology loads, verify that the cubby or locker accommodates the bag without crushing devices. Do not let oversized bags sit partly in the aisle; create an overflow position or select a storage-compatible bag specification.
At term end, require every bag to be emptied, cleaned, dried and claimed. Unclaimed items should follow the school’s documented lost-property procedure rather than being quietly moved into permanent storage.
How Team Facilities Should Manage Backpack Fleets
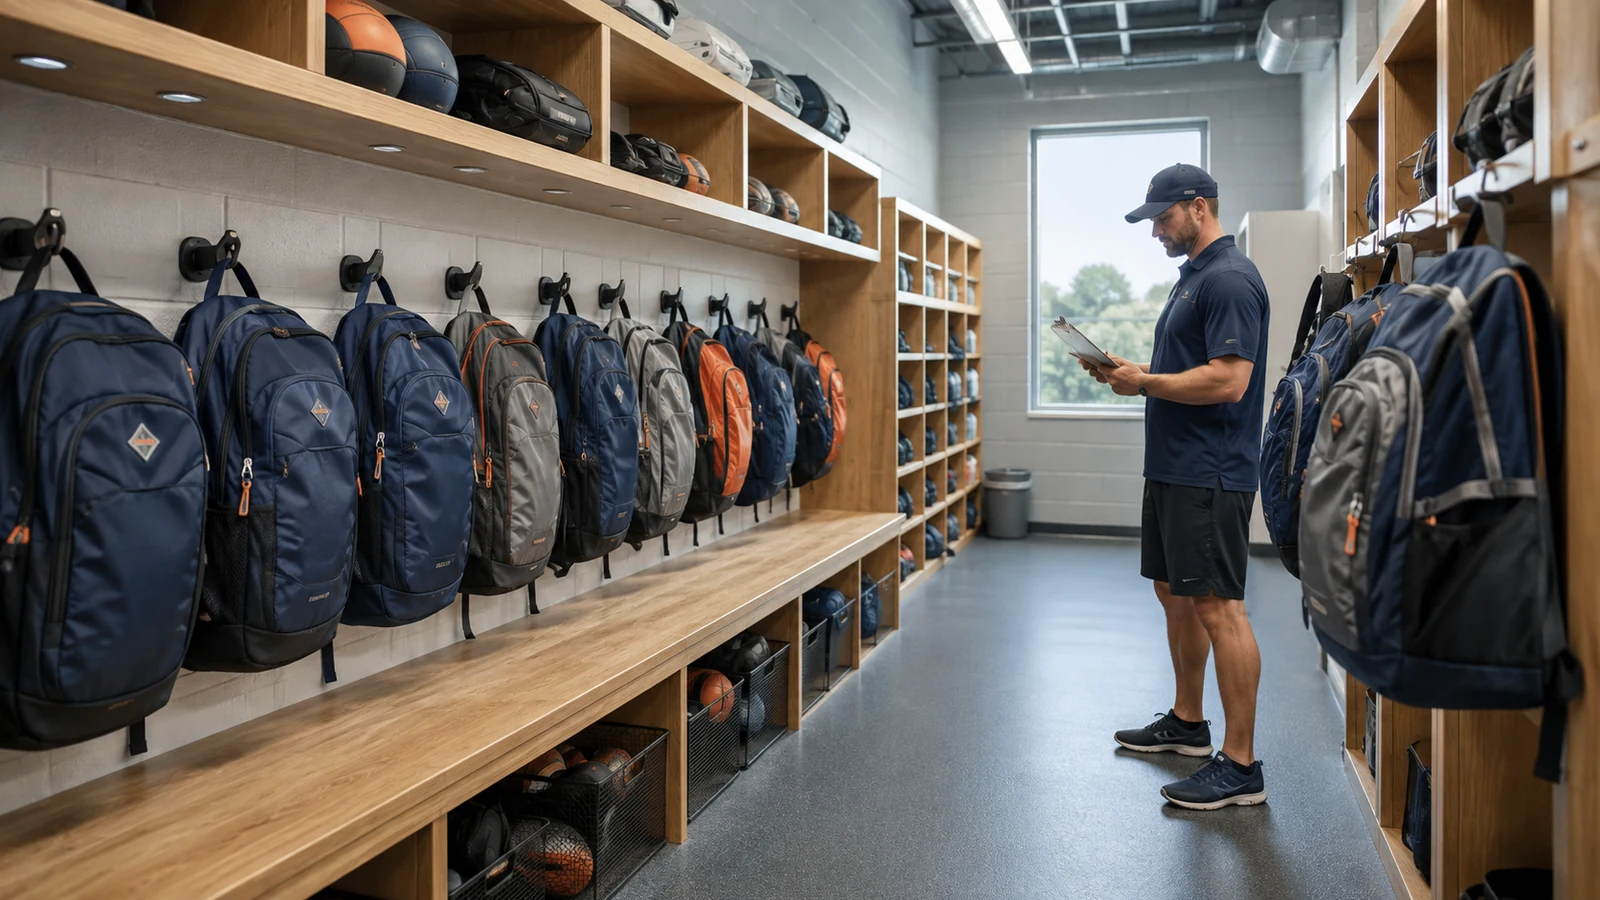
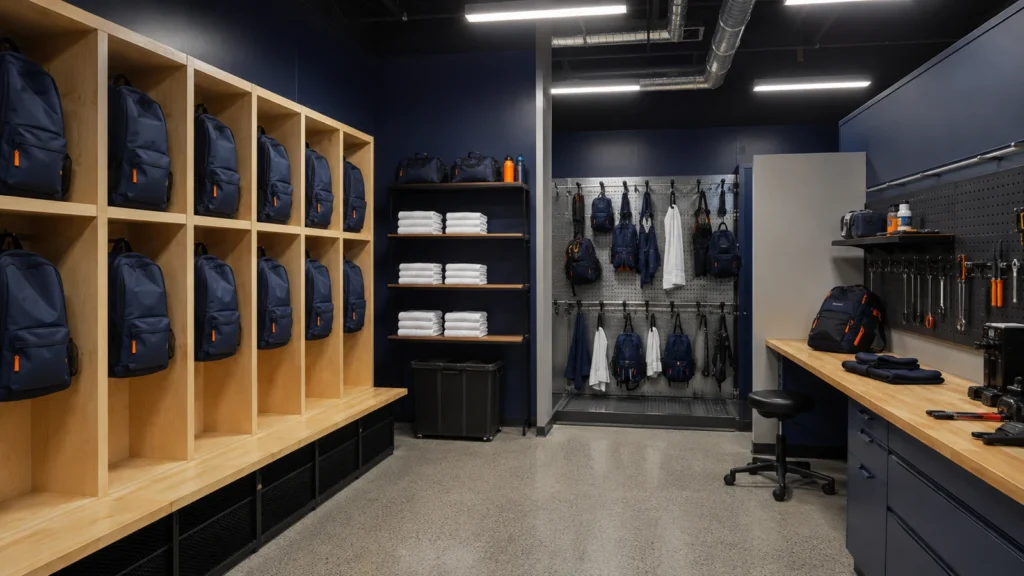
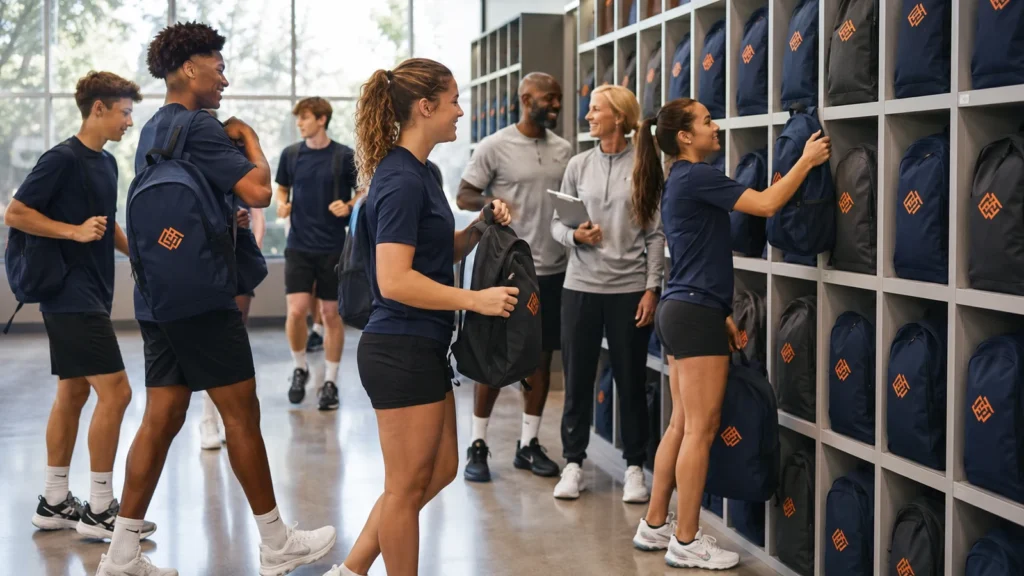
A team facility benefits from zones because bags move through different conditions. The layout can be simple:
- Issue/ready zone: clean bags assigned to players or staff.
- Return zone: incoming bags awaiting emptying and condition check.
- Drying zone: open, ventilated positions for damp bags.
- Repair zone: tagged items unavailable for issue.
- Spare zone: counted and size/type sorted.
- Seasonal archive: clean, dry, documented inventory not in daily use.
Put the highest-frequency zone closest to the natural movement path without narrowing it. Keep repair tools, cleaning products and chemicals controlled by staff. Bags should not be placed against heating equipment, electrical panels, fire equipment or emergency exits.
Use a simple inventory record
Record an asset number, assigned user, bag model or size, issue date, condition and current location. A spreadsheet is sufficient for many teams. QR or barcode systems can improve speed, but they only work if staff scan every movement. The physical identifier should survive routine handling and match the digital record.
Schedule inspections around the season
Inspect at issue, before major travel, at midseason and at return. High-use programs may need more frequent checks. Look for zipper function, slider alignment, seam opening, strap attachment, buckle damage, interior spills, coating breakdown and missing accessories. Record the outcome instead of relying on memory.
Storage-Friendly Backpack Specifications for Bulk Buyers
Storage problems often begin in product development. A backpack can look attractive in a mockup yet fit poorly in a locker or be difficult to identify across a team. Include storage behavior in the sourcing brief.
| Product feature | Storage implication | Procurement question |
|---|---|---|
| Overall dimensions | Determines cubby and locker fit | What are loaded dimensions and tolerance? |
| Top carry handle | Supports quick hook storage | What construction reinforces the handle attachment? |
| Structured base | Helps the bag stand upright | Does the base retain shape when partly loaded? |
| Ventilated compartment | Helps separate footwear or damp gear | Is ventilation physical mesh/opening or only marketing language? |
| Removable panel | Can simplify cleaning and drying | Can users remove and reinstall it without tools? |
| External straps | May snag or extend into aisles | Can loose ends be managed with keepers? |
| Identification panel | Enables assignment and inventory | Can names/numbers be replaced for roster changes? |
| Decoration method | Affects feel, cleaning and repeat orders | Where will embroidery, transfer or patch be placed? |
Ask for a physical sample and test it in the real locker, cubby, vehicle and travel workflow. Load it with representative equipment. Check whether the top handle is comfortable, pockets open fully, the bag stands as intended and identification remains visible on the shelf.
Planning a Custom Team Backpack Order? Send JIUMU your quantity, target dimensions, storage or locker limits, compartment requirements, colors, logo artwork, identification method, packaging needs and target delivery date. A digital mockup and physical sample can be used to align the design before bulk production. Explore custom team bags or request a quotation.
Labeling and Identification That Scale
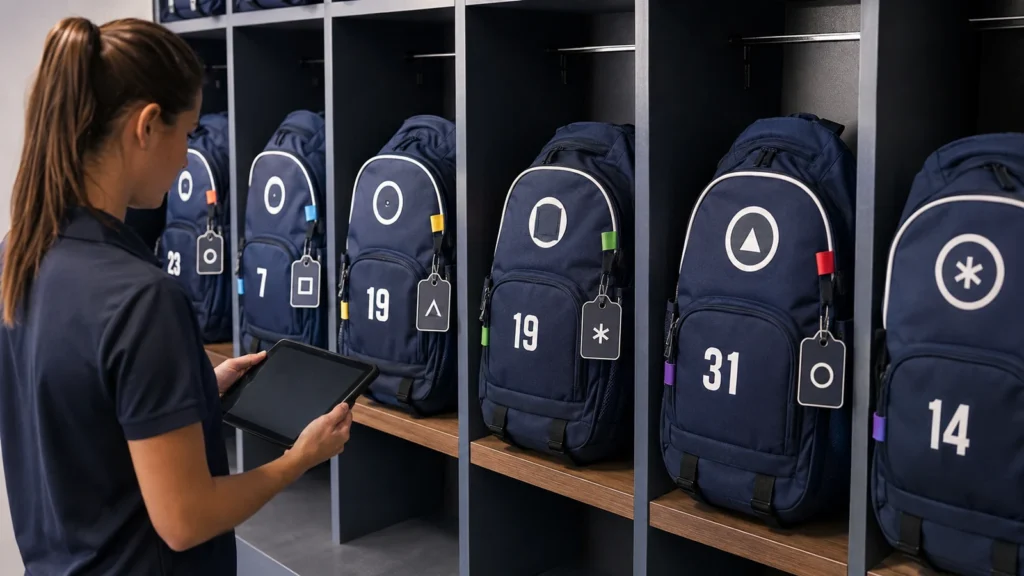
Use identifiers in at least two places when bags may be viewed from different orientations—for example, a front number plus an interior asset label. Keep permanent team branding separate from changeable player identity. This allows a bag to move to a new athlete without covering the team logo.
Possible systems include embroidered numbers, heat-transferred names, woven labels, hook-and-loop name patches, color tabs, hang tags, printed interior asset labels and QR/barcode labels. Each method has tradeoffs in permanence, minimum order requirements, abrasion exposure and ease of replacement.
For school and youth environments, limit personal information to what the program needs. A roster number linked to a controlled inventory sheet can be more discreet than printing a full name and phone number on the exterior.
Long-Term and Seasonal Backpack Storage
Never archive a bag immediately after the last game. Empty every pocket, remove crumbs and dirt, clean according to the care instructions and dry fully. Loosen compression straps so foam and panels are not held under unnecessary stress. Lightly fill the main compartment with clean, acid-free tissue or another suitable material if shape retention matters; do not overstuff.
Store bags off the floor in a clean, dry area with reasonable air movement. Avoid sealing a backpack that may retain moisture inside an airtight plastic bag. A breathable dust cover can reduce surface dust while allowing inspection. Keep bags away from direct sunlight, high heat, leaks, pests and sharp hardware.
Create a seasonal record showing quantity, condition, location and next inspection date. Rotate older stock forward when the models are compatible, and separate obsolete versions so staff do not accidentally issue mismatched sets.
Quality-Control Checklist for Stored Backpacks
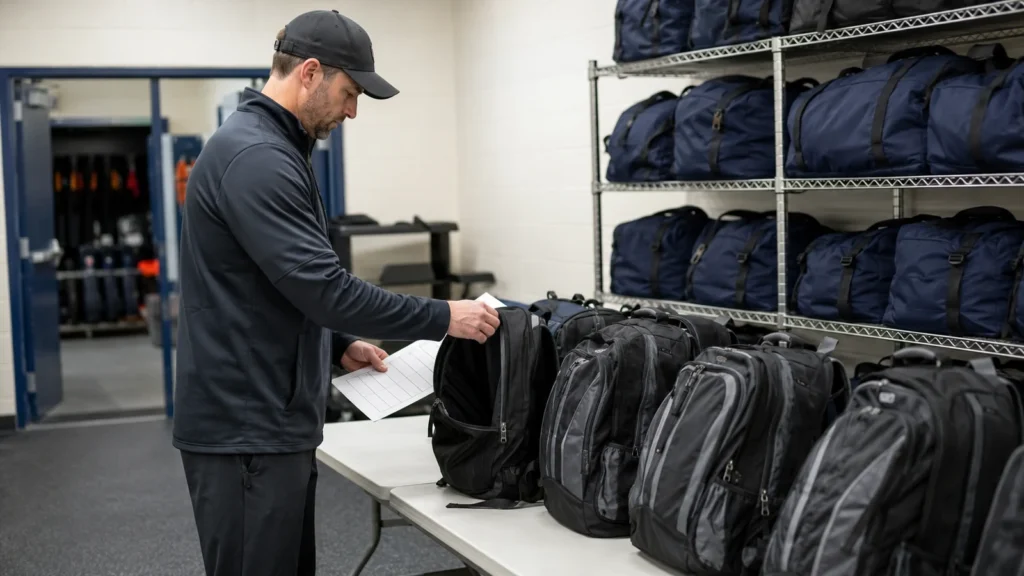
Use the same inspection sequence so results are comparable:
Exterior
- Check stains, abrasion, cuts and coating changes.
- Inspect printed or transferred graphics for lifting.
- Check embroidery and patch edges for loose threads.
- Confirm identification is readable and matches inventory.
Closures and hardware
- Open and close every main zipper without forcing it.
- Inspect sliders, zipper ends, pullers and buckle engagement.
- Check strap adjusters and retainers.
Load-bearing construction
- Inspect top-handle and shoulder-strap attachment points.
- Look for seam opening, pulled stitches or distorted panels.
- Remove from service when damage could worsen under load.
Interior
- Empty debris from corners and pockets.
- Check for moisture, odor, spills and lining damage.
- Confirm removable organizers and accessories are present.
Storage position
- Confirm the bag is fully supported and not crushed.
- Keep straps contained and aisle space clear.
- Verify shelf, hook and rack condition.
Common Backpack Organization Mistakes
Buying storage before measuring loaded bags
Empty-bag dimensions can understate the real footprint. Test a representative packed sample and account for external pockets.
Hanging every bag regardless of weight
Hooks are convenient, but a heavy equipment load may be better supported on a shelf. Match storage to construction and load.
Treating a closed locker as a drying cabinet
A damp bag needs airflow. Use an open drying position before returning it to enclosed storage.
Mixing ready, dirty and repair inventory
If all bags share one shelf, staff cannot tell what is usable. Create visible status zones.
Using labels that cannot survive roster changes
Permanent player names may create waste when assignments change. Combine durable team branding with replaceable personal identification.
Overcomplicating the digital system
An advanced app is not useful if returns are not recorded. Start with a small set of required fields and a responsible owner.
Making unsupported performance assumptions
“Water-resistant,” “washable” and “heavy duty” need defined materials, construction and test criteria. Ask the supplier what the claim means and what evidence is available for the proposed specification.
What to Send a Backpack Supplier for a Quotation
Prepare a concise sourcing brief containing:
- intended users and use case;
- estimated quantity by style or color;
- target dimensions or required locker/cubby envelope;
- typical contents and approximate load;
- compartment and access requirements;
- fabric, lining, padding and hardware preferences;
- logo artwork and desired decoration method;
- individual names, numbers or replaceable ID system;
- Pantone or reference colors;
- private labels, hangtags and packaging;
- target market and any required testing or documentation;
- sample expectations;
- delivery destination and target date.
If a specification is undecided, describe the operational problem rather than guessing. “The bag must fit a 17 × 13 × 8 inch cubby when loaded” is more actionable than “standard size.” A responsible supplier can then discuss feasible construction and tolerances.
Questions to Ask Before Bulk Production
- What are the finished bag dimensions and acceptable tolerances?
- Can the proposed sample be tested inside our actual storage furniture?
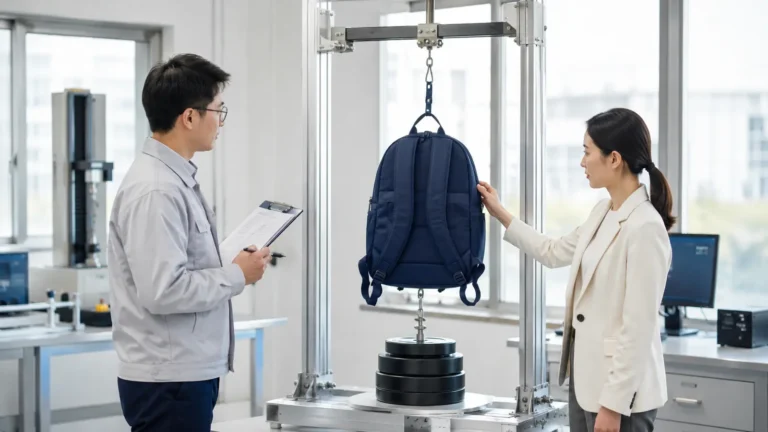
- How is the top handle attached and what load expectation is appropriate?
- Which compartments can be opened for drying?
- Which cleaning method is compatible with the selected fabrics and decoration?
- Can individual identification be replaced without damaging permanent branding?
- How will colors and logo placement be approved?
- What will be checked during production and final inspection?
- How will finished bags be packed to reduce deformation in transit?
- What files, approvals and dates are required to keep the order on schedule?
Why JIUMU for Custom Team Backpacks
JIUMU is a Guangdong-based B2B supplier established in 2010, serving professional buyers in North America, the United Kingdom and Europe. Its relevant capabilities include OEM and ODM development, fabric sourcing, Pantone color matching, embroidery, screen printing, heat transfer, woven and rubber/PVC patches, private labels, packaging customization, digital mockups, physical samples, bulk quality control and export support.
For backpack programs, that capability set allows a buyer to coordinate product structure, team branding, replaceable or permanent identification and packaging within one sourcing brief. JIUMU’s typical MOQ is 50 pieces, subject to the bag structure and customization. Final materials, performance expectations, lead time and testing requirements should be confirmed for the specific order.
Frequently Asked Questions
Final Recommendation
The best way to store and organize backpacks is to build a routine around condition, ownership and location: empty the bag, separate wet contents, clean and dry it, return it to one assigned position and record exceptions such as repair or missing inventory. Homes can achieve this with hooks and bins. Schools need accessible assigned storage and clear floors. Team facilities should add status zones, inventory control and scheduled inspection.
For a new custom backpack program, design the product and storage system together. Measure the loaded bag, test the sample in its cubby or locker, choose an identification method that survives roster changes and confirm care instructions before bulk production.
Request a Custom Backpack Quotation: Share your bag concept or reference image, quantity, storage dimensions, colors, logo, individual IDs, packaging and required delivery date with JIUMU. Email zhengdong@jiumugear.com, WhatsApp +86 18507502899, or contact JIUMU.