Custom Apparel Sample Checklist: What to Inspect Before Bulk Production
A custom apparel sample is not merely a miniature order. It is the buyer’s opportunity to confirm what the supplier is expected to reproduce before fabric is committed, decorations are applied, and units move through production. A sample can look attractive in a photograph yet still leave critical questions unanswered: Is the fabric composition correct? Does the weight match the specification? Are the measurements repeatable? Will the logo remain aligned after washing? Are the labels and packaging ready for the destination market?
This checklist turns a subjective “looks good” review into a documented approval process for teams, schools, distributors, uniform dealers and private-label brands. It defines what was checked, accepted or corrected and which references will control bulk production.
Quick Answer: Before approving a custom apparel sample, verify the fabric composition and agreed weight, measurements and tolerances, stitching and construction, color, logo position, embroidery or print execution, labels, packaging, fit in use, and performance after the agreed wash-and-dry procedure. Record every approved detail in the tech pack, bill of materials, artwork and measurement table. Keep a controlled Golden Sample, and state that no material, color, component or process may be substituted without written buyer approval.
Which Sample Are You Approving?
The word “sample” can refer to several development stages. Approval is risky when the buyer and supplier use the same word for different purposes. Identify the stage on the sample tag, email subject, approval form and courier record.
| Sample type | Main purpose | What it may not prove |
|---|---|---|
| Development or prototype sample | Confirm general concept, construction route and feasibility | Final production material, exact color, complete labels or bulk-ready workmanship |
| Fit sample | Evaluate measurements, balance, mobility and size corrections | Final decoration, packaging or exact fabric lot |
| Sales or photo sample | Support presentation, photography or selling activity | Production-line repeatability unless specifically made under bulk conditions |
| Pre-production sample (PPS) | Confirm the intended combination of materials, measurements, colors, logos, labels and workmanship before bulk cutting | That every bulk unit will be identical or defect-free |
| Size-set sample | Check approved measurements and fit across selected sizes | Full grading accuracy for sizes that were not sampled |
| Golden Sample | Serve as a controlled physical reference after final approval | Details not visible or measurable in the physical item unless linked to current documents |
For most custom teamwear and logo-apparel orders, the pre-production sample is the central release point. However, the buyer should state which elements are final and which remain provisional. A PPS made with substitute fabric can help evaluate fit, but it should not be described as fully approved for fabric hand feel, shade, weight or wash behavior.
1. Check Fabric Composition and Material Identity
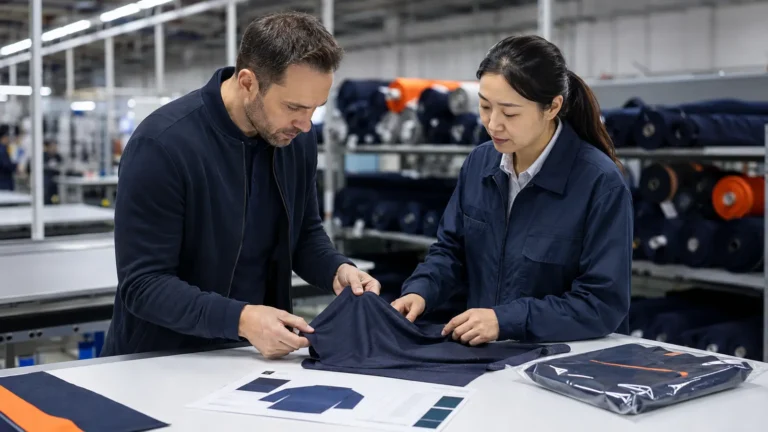
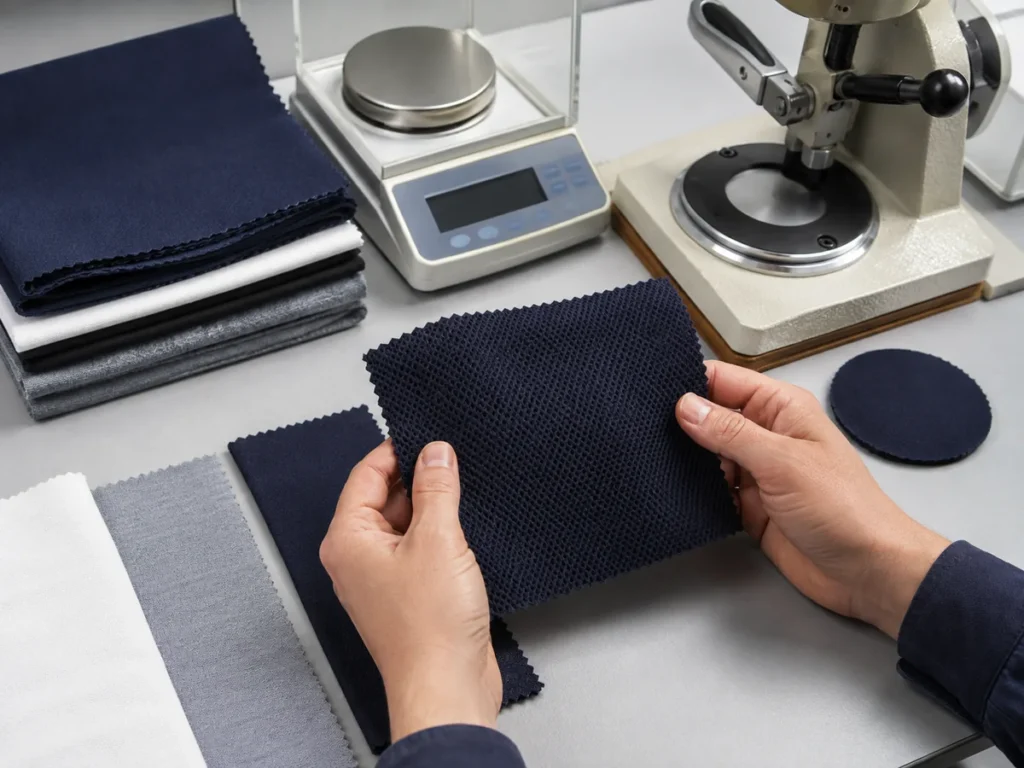
Start by confirming that the sample uses the intended material—not simply a material that looks similar. Polyester, cotton, nylon, elastane and blended structures can behave differently in stretch, moisture handling, print response, pilling, shrinkage and care. Two fabrics described with the same generic fiber name may differ in yarn, knit or weave, finishing, coating, width and supplier source.
Compare the sample with the bill of materials and approved swatch. Record the supplier’s fabric reference, color reference, composition statement, usable width where relevant, finish, lining, interlining, rib, mesh and reinforcement materials. For garments containing several fabrics, inspect each zone separately. A jersey body, collar rib, side mesh and pocket lining should not be treated as one fabric decision.
Use touch and appearance as screening tools, not as proof of exact composition. If fiber content or performance is commercially or legally important, agree on suitable documentation or third-party testing. The buyer should also decide whether the exact source is controlled. “100% polyester, any equivalent” permits a wider substitution than a named fabric article from an approved mill.
Ask these questions:
- Is the sample made from production-intent fabric?
- Are body, trim, lining and reinforcement materials separately identified?
- Does the surface show unwanted shine, pilling, streaks, slubs or contamination?
- Does stretch and recovery suit the intended movement and fit?
- Is opacity acceptable in normal use, including when stretched?
- Has the buyer approved any water-repellent, brushed, anti-pilling or other finish as a specification rather than a marketing phrase?
2. Check Fabric Weight and GSM
GSM means grams per square metre and is commonly used to express fabric mass per unit area. It can help distinguish a lightweight fabric from a heavier construction, but it does not independently describe durability, opacity, stretch, warmth or quality. Knit structure, yarn, finishing and moisture condition can influence both the measured result and how the garment performs.
Do not approve GSM by judging the finished garment’s total weight. Trims, labels, thread, zippers and decoration distort that comparison. Agree on the test-piece method, conditioning, sampling location and allowable range appropriate to the material. ISO 3801 describes determination of mass per unit length and area for woven fabrics; other structures may require a different applicable method. If a specification or compliance program depends on the result, use qualified testing rather than an improvised office check.
Record:
- Target fabric weight and allowed variation
- Fabric structure and supplier reference
- Whether the figure applies before or after finishing
- Measurement method and sample location
- Number of readings and reported result
- Action if the material falls outside the agreed range
A sample may pass visual review while using a materially lighter fabric than quoted. Conversely, a small variation may be acceptable when it falls within the buyer-approved range and does not alter fit or performance. The decision must come from the agreed specification, not a universal internet number.
3. Check Measurements, Size Grading and Tolerances
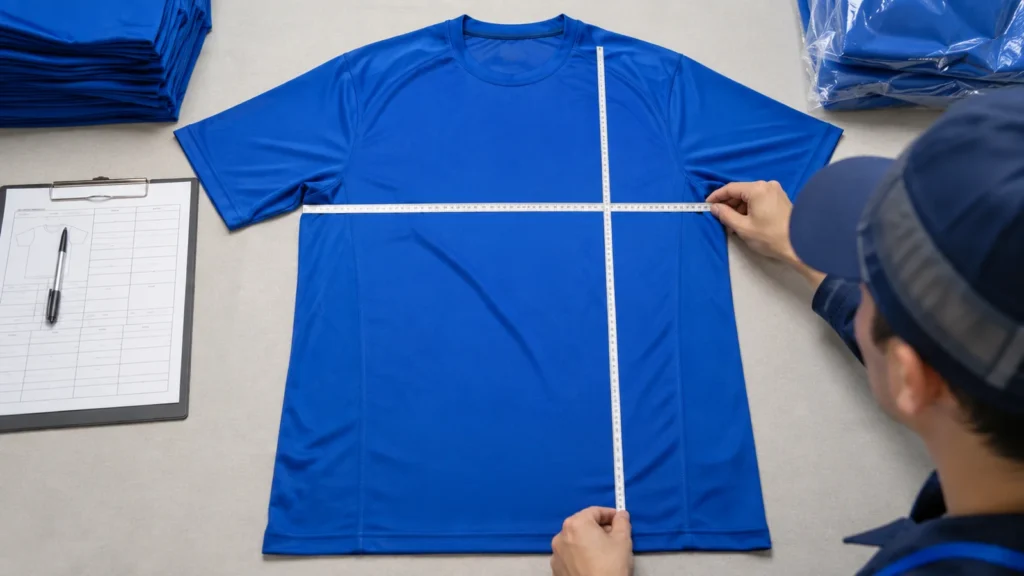
Measure the sample using the same points of measurement, garment position and technique defined in the measurement chart. Phrases such as “chest width” or “body length” can be interpreted differently unless the diagram shows exactly where the tape begins and ends. State whether the garment is measured flat, relaxed, stretched, fastened or unfastened.
Before measuring, allow the sample to relax under the agreed condition. Smooth it without stretching. Use suitable tools on a stable surface and record actual values rather than writing only “pass.” Check critical points such as chest, waist, body length, sleeve length, shoulder, armhole, collar, cuff, inseam or rise according to the product.
Size approval should consider more than isolated numbers. Check symmetry, garment balance, neckline position, sleeve pitch, rise, leg opening and how panels align when worn. A jersey can meet chest width yet feel restrictive because the armhole, shoulder or fabric stretch is wrong.
Define tolerances by point of measurement and size. Do not copy one tolerance across every dimension. A small logo offset or collar difference may be visually obvious even when a similar numerical variation on a large body length is manageable. If a size set is required, decide which sizes must be sampled and how unsampled sizes will be controlled by the grading rule.
Measurement record template
| Point of measurement | Spec | Tolerance | Sample actual | Deviation | Status/comment |
|---|---|---|---|---|---|
| Example: half chest | Buyer-defined | Buyer-defined | Record actual | Calculate | Approve or correct |
| Example: body length | Buyer-defined | Buyer-defined | Record actual | Calculate | Approve or correct |
| Example: sleeve length | Buyer-defined | Buyer-defined | Record actual | Calculate | Approve or correct |
Replace the examples with the product’s actual measurement points. Keep units consistent. If both inches and centimetres appear in the project, identify which system controls to avoid conversion and rounding disputes.
4. Inspect Stitching, Seams and Construction
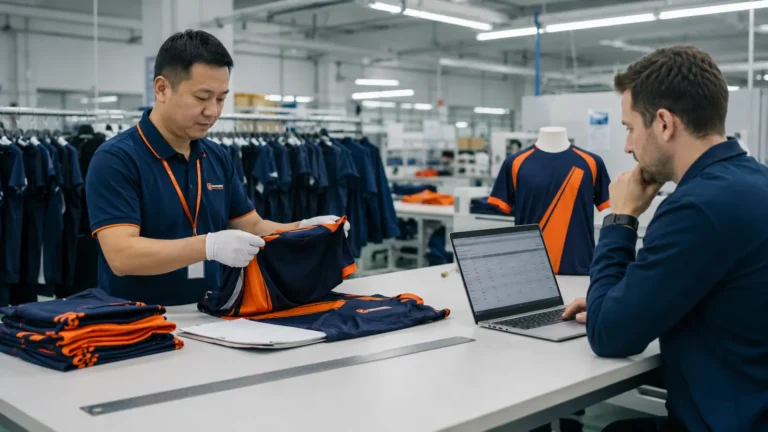
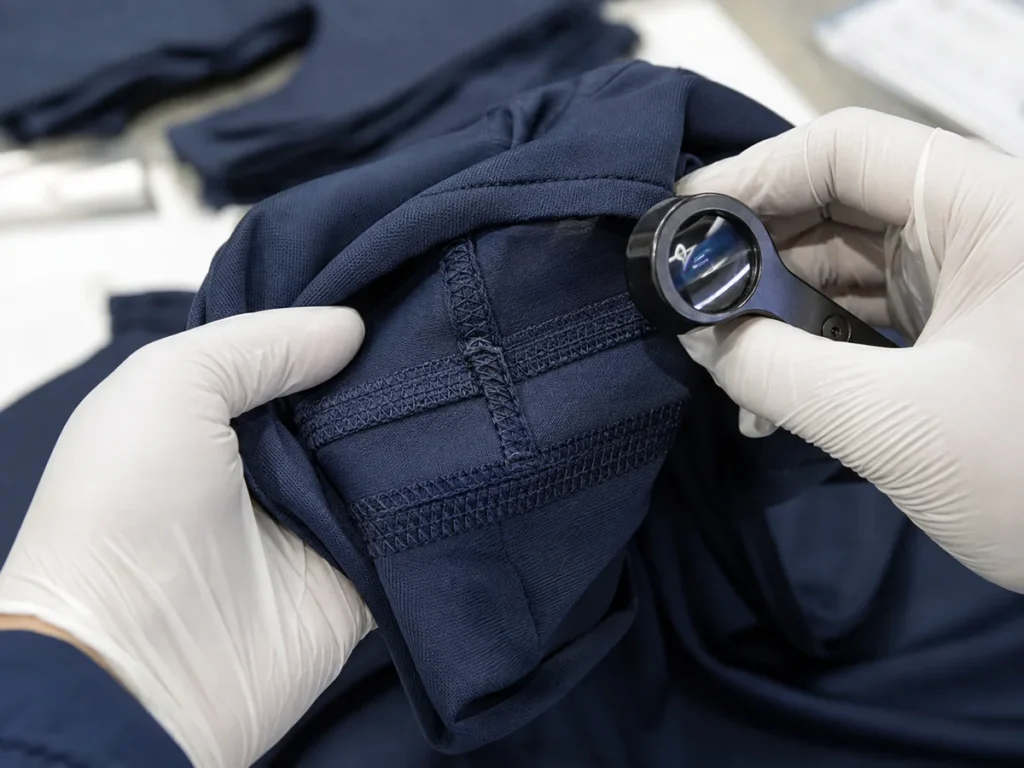
Construction review asks two questions: Was the sample assembled according to the intended method, and is the workmanship suitable for the product’s expected use? Turn the garment inside out. Inspect areas that product photography usually hides.
Look for skipped stitches, broken thread, open seams, loose ends, seam puckering, uneven topstitching, distorted hems, exposed raw edges, needle damage, oil marks and inconsistent seam allowance. Check that bartacks or reinforcement are present at buyer-defined stress points. Examine collar joins, underarms, pocket openings, zipper ends, crotch seams and side-slit ends where applicable.
Do not use a single stitch-count rule for every fabric. Needle, thread, stitch type and density must work together. Excessive needle penetration can damage lightweight or coated materials, while insufficient construction can allow seams to open. Stretch garments require seams and threads that accommodate the intended extension without popping.
Compare left and right sides for symmetry. Confirm stripe matching, panel alignment, piping continuity and print alignment across seams where the design requires it. Check snaps, zippers, drawcords, hook-and-loop, buttons and elastic through repeated normal operation. Record any sharp edges or components that could create safety or comfort concerns.
5. Approve Color and Shade Under Controlled Conditions
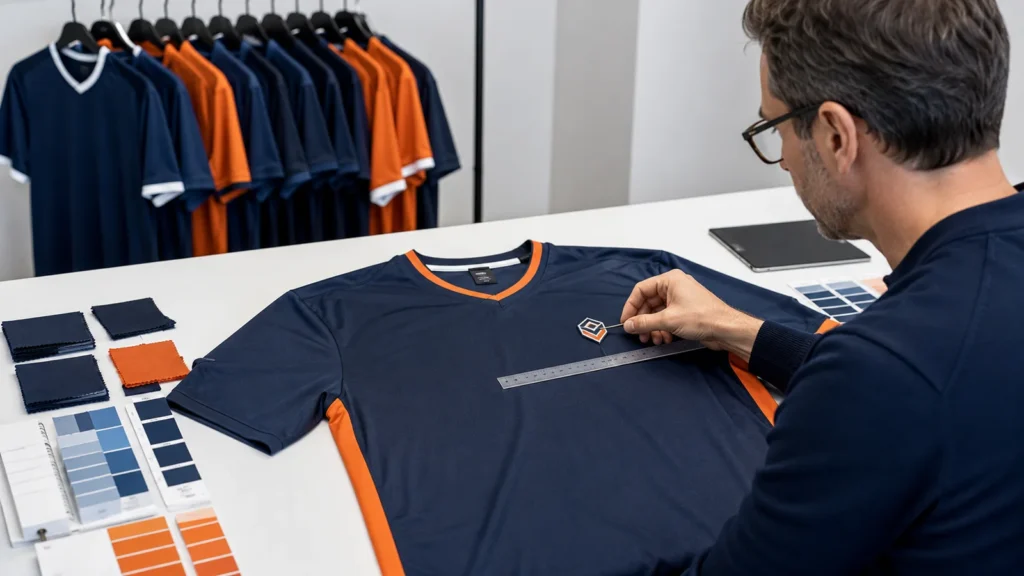
Color approval should identify what is being compared and under which viewing conditions. Screen images, office lighting and phone cameras can change perceived shade. Use an approved physical swatch, lab dip, strike-off, Pantone reference where appropriate, or other defined color master. State whether that reference is a target or an exact production control.
Compare body fabric, rib, thread, zipper tape, lining, labels, patches and printed areas. Different materials reflect light differently, so the buyer may need to approve a coordinated appearance rather than demand an impossible identical visual response across every substrate.
Inspect for panel-to-panel shade differences, side-to-side mismatch, dye marks, migration, white show-through and inconsistent printing. View the sample in the agreed lighting and at normal use distance as well as close range. For critical brand colors, define an instrumental or qualified assessment process rather than relying only on subjective phrases such as “close enough.”
Record the approved color reference, supplier color code, material article, date and reviewer. If multiple colorways are ordered, approve each one. Do not assume approval of navy authorizes black, red or a second navy fabric source.
6. Confirm Logo Size, Position and Orientation
Logo placement is a measurable specification. Approve the exact artwork revision, decoration size, orientation, color sequence and distance from defined garment landmarks. “Left chest” is not precise enough when a few centimetres can change the visual balance.
Use a placement diagram showing reference points such as centre front, shoulder seam, neckline, pocket edge or hem. Record the logo’s finished width and height, not only the digital file size. For curved panels or stretchy fabric, evaluate the logo while the garment is worn as well as laid flat.
Check:
- Correct logo and artwork revision
- Correct spelling, number, player name and sponsor hierarchy
- Finished decoration dimensions
- Horizontal and vertical placement from defined points
- Orientation and reading direction
- Alignment across centre lines, plackets or panels
- Clearance from seams, pockets, zippers and hems
- Consistency between youth and adult sizes
Logo scale may need adjustment across size ranges. If one size is used to approve all sizes, define whether the logo remains one fixed size or changes by garment group. Keep written approval for any scaling rule.
7. Inspect Embroidery Quality
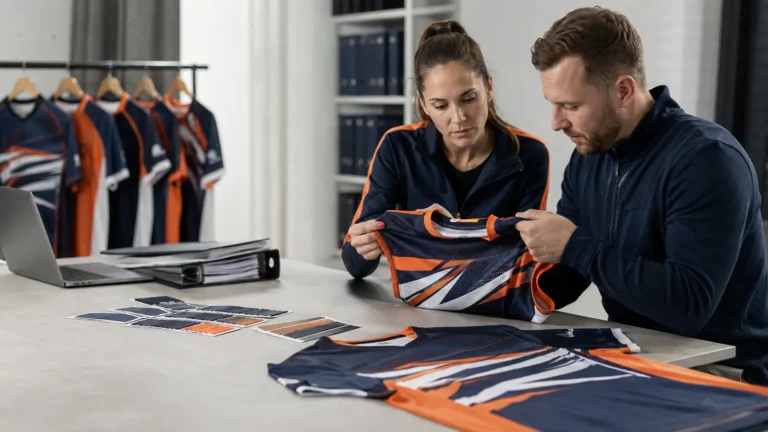
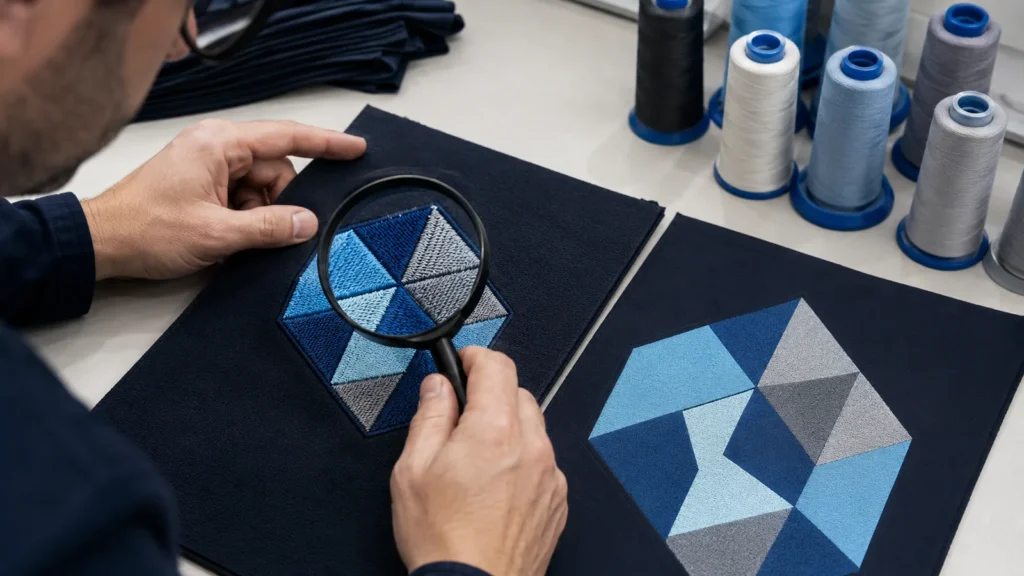
Embroidery approval involves appearance, construction and compatibility with the fabric. Compare the sew-out with the approved embroidery file or artwork. Check overall dimensions, thread colors, border, fill direction, registration, small-letter clarity and whether fine details remain readable.
Inspect the fabric around the embroidery for puckering, distortion, needle holes or excessive stiffness. Look at the reverse side for backing, loose threads and finishing. Confirm whether backing remains, is trimmed or is covered according to the product specification. On performance fabrics, an embroidery that is too dense may affect drape and comfort; on caps or structured areas, insufficient support may produce an uneven result.
Approve each location and size independently when the same logo appears on chest, sleeve, cap and bag. The same digitized file may not perform equally on every substrate. If personalization includes names and numbers, approve font, height, capitalization, spacing and the data-verification process.
Record the embroidery program version, finished size, thread reference, backing and placement. A photograph is useful evidence but should not replace the controlled file and physical sew-out.
8. Inspect Printing and Heat-Applied Decoration
Printing must be reviewed according to the chosen method—such as screen printing, sublimation or heat transfer—and the intended fabric. Confirm artwork, scale, color, opacity, edge definition, registration and placement. Inspect gradients and small details at normal viewing distance, not only in enlarged digital artwork.
For screen printing, look for incomplete coverage, pinholes, rough edges, misregistration, excessive thickness or unintended marks. For sublimation, check color, sharpness, panel alignment, white creases, ghosting and whether important graphics are disrupted by seams. For heat-applied decoration, inspect edge adhesion, bubbles, wrinkles, scorch marks, carrier impressions and the flexibility of the application.
Do not approve long-term durability from appearance alone. Include the decoration in the agreed wash-and-dry evaluation. If the garment may be stretched during wear, observe whether the print cracks, whitens or distorts under normal extension. Define whether color migration or dye bleed is a known risk for the fabric and process.
9. Confirm Labels, Trims and Product Identification
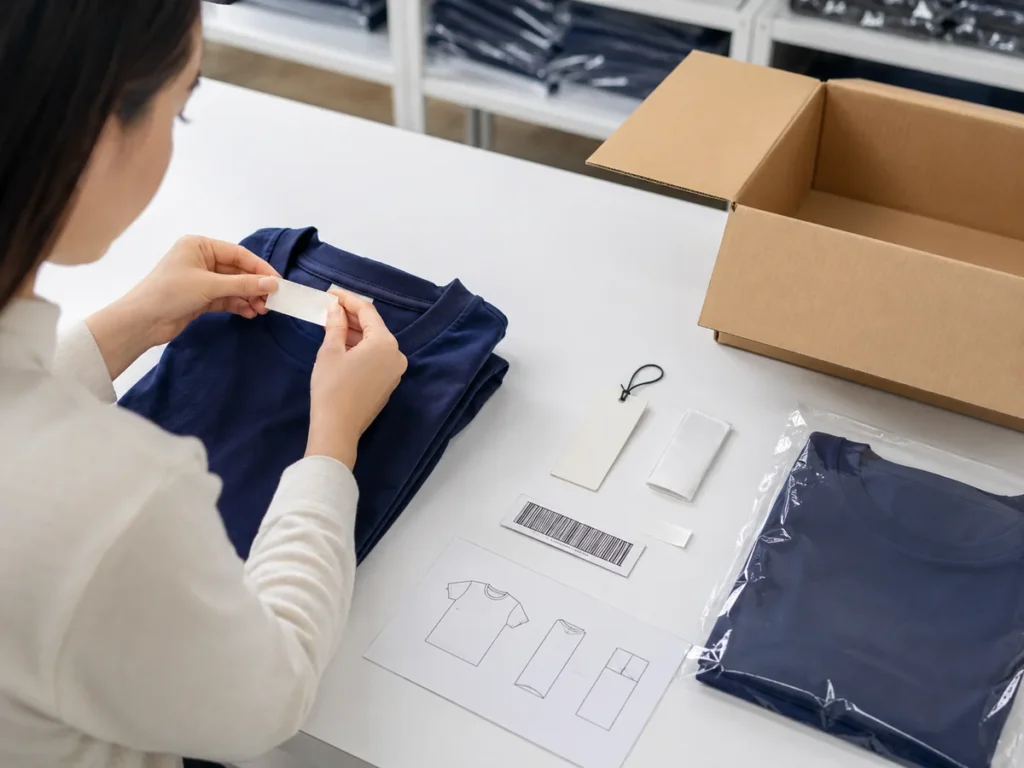
Inspect the main, size, care, composition and origin labels, plus barcodes, hangtags and carton marks where applicable. Confirm wording, language, symbols, fiber information, size, color, style number and attachment position.
Requirements depend on the product and destination market. For clothing covered by the U.S. Federal Trade Commission’s Care Labeling Rule, manufacturers and importers must provide care instructions through the required labeling method. The FTC’s apparel care-label guidance explains that the instruction should provide at least one safe care method. Buyers should obtain appropriate legal or compliance review for their market rather than copying a care label from another product.
Check readability, orientation, comfort, edge finish and attachment. Create a label matrix with artwork version, dimensions, material, colors, fold type, location and required text. Approve the physical item as well as its artwork.
10. Approve Packaging as Part of the Product
Sample packaging before bulk packing. Pack one finished unit exactly as proposed and confirm folding, protection, bag dimensions, required warnings, size sticker, barcode, hangtag, assortment, carton quantity and shipping marks.
The package should protect decoration and shape without excessive creasing, transfer or abrasion. Confirm the correct size and color can be identified and that retail or ecommerce barcodes scan in the buyer’s system.
Do not add unsupported environmental claims to packaging. If recycled content, recyclability or restricted-material requirements matter, define the evidence and destination-market rules before approval.
11. Conduct a Wear and Fit Evaluation
A flat measurement check cannot fully reveal comfort, mobility or visual balance. Evaluate the sample on an appropriate fit model or wearer representing the intended size. The purpose is not to collect a casual opinion; it is to observe defined movements and record issues.
For jerseys and teamwear, evaluate arm lift, reach, rotation, bending, sitting and running-related motion where relevant. For workwear or school apparel, consider layering, pocket access and repeated movement. Observe whether the neckline shifts, the hem rides up, seams twist, cuffs restrict movement or decoration causes stiffness.
Record the wearer’s relevant measurements, sample size, underlayers and test actions. Separate personal preference from specification failure. If several people test the garment, use the same questions. Comments such as “tight across upper back during forward reach” are more actionable than “fit is bad.”
Wear testing should also check skin contact, label comfort, internal seam feel, component operation and whether the fabric becomes too transparent when stretched. Any change affecting the pattern or measurements should trigger an updated sample or documented approval path.
12. Perform the Agreed Wash-and-Dry Evaluation
A useful wash test begins with a written procedure. Record the washing method, temperature or program, detergent, load, drying method, number of cycles, measurement points and acceptance criteria. Saying “the sample was washed” does not create a reproducible result.
Before washing, photograph the garment, condition it as agreed and record measurements. After the specified procedure, allow it to recover under the agreed condition before remeasurement. Check dimensional change, twisting, seam appearance, pilling, surface damage, shade change, staining, print cracking, transfer lifting, embroidery distortion, label readability and component performance.
ISO 5077 describes determining dimensional change after specified washing and drying procedures, while ISO 6330 defines domestic washing and drying procedures for textile testing. ISO 105-C06 addresses colorfastness to domestic and commercial laundering. These references illustrate why the method must be defined; they do not create one universal pass limit for every garment. Buyers should select suitable methods and limits with qualified technical support where required.
If the sample fails, identify the cause before requesting a repeat. Pattern allowance may address expected dimensional change, but it cannot correct every material or construction problem. Decoration failure may require different preparation, curing, adhesive, artwork or process control. Retest the revised sample under the same documented procedure.
Turn the Approved Sample Into a Controlled Production Reference
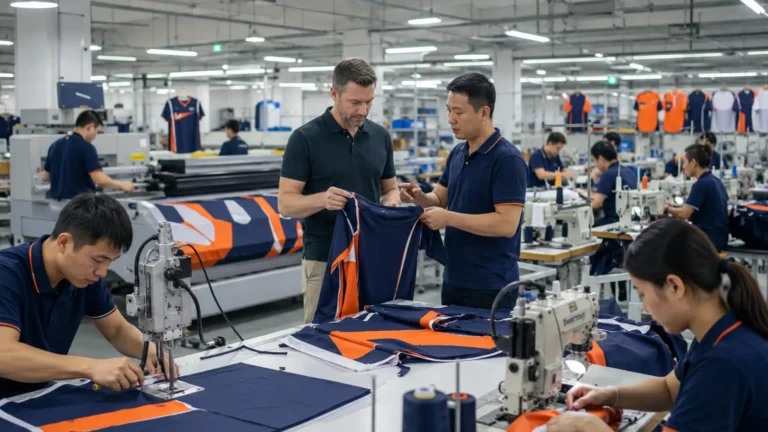
Approval is complete only when the physical sample and documents tell the same story. The Golden Sample should carry a control tag with style, color, size, version, approval date and signatures or other traceable authorization. Ideally, buyer and supplier retain matching controlled references from the final version.
The approval package should include:
- Current tech pack and construction details
- Bill of materials with approved sources or permitted alternatives
- Measurement table with point diagrams and tolerances
- Artwork and decoration production files
- Approved physical color references
- Label and packaging artwork
- Wash or performance test plan and results where required
- Sample photographs showing important details
- Open-issue list closed or explicitly accepted
- Written production-release decision
State the change-control rule clearly: the supplier must not replace an approved fabric, trim, color, label, packaging component, decoration method or material source without a documented request and written buyer approval. The request should explain the reason, proposed alternative, measurable differences, cost and timing impact, and whether a new sample or test is needed. Silence is not approval.
For a deeper production-control workflow, see How to Make Sure Bulk Production Matches Your Approved Sample. Buyers should also connect sample approval to the supplier’s Quality Control and Manufacturing Capabilities processes.
Copyable Custom Apparel Sample Approval Checklist
| Item | Requirement/reference | Actual finding | Evidence attached | Status | Correction owner/date |
|---|---|---|---|---|---|
| Sample identity | Style, revision, color, size | Approve / revise / reject | |||
| Fabric composition | BOM and documentation | ||||
| Fabric weight/GSM | Method and allowed range | ||||
| Measurements | Measurement chart/tolerances | ||||
| Fit and mobility | Fit brief and test actions | ||||
| Stitching/construction | Tech pack and seam details | ||||
| Color/shade | Physical approved reference | ||||
| Logo placement | Artwork and placement diagram | ||||
| Embroidery | Program, thread and sew-out | ||||
| Printing/transfer | Artwork, method and appearance | ||||
| Labels | Approved label matrix | ||||
| Packaging | Packing specification | ||||
| Wash/dry result | Defined procedure and criteria | ||||
| Final documents | Tech pack/BOM/artwork aligned |
Use three clear outcomes:
- Approved for bulk production: all release-critical items are accepted and document versions are frozen.
- Approved with written conditions: only minor, precisely defined corrections remain, and the buyer accepts the risk of releasing production before seeing another full sample.
- Not approved: one or more release-critical items require correction, replacement, testing or another sample.
Avoid “approved except everything in the email.” If conditions are extensive or affect material, fit, color, construction, decoration or care, request a revised PPS.
What Buyers Should Send for an Accurate Sample and Quotation
Send a structured brief rather than distributing requirements across chat messages. Include product type, reference photos, intended users, target market, quantity by size and color, fabric composition and weight target, measurements, logo files, decoration method, label content, packaging, required tests, target delivery date and shipping destination.
Also identify commercial priorities. If the buyer must choose between a specific fabric, lower MOQ, shorter lead time and a price target, the supplier needs to know which constraints are fixed. Review JIUMU’s MOQ & Lead Time information and confirm the order-specific schedule before treating a sample date as a bulk-delivery commitment.
Questions to Ask the Supplier Before Sample Approval
- Is every material production-intent, and which details remain provisional?
- What fabric and trim references will control the bulk BOM?
- How will bulk weight, shade, measurements and decoration be checked?
- Which physical sample and document revisions will production use?
- What happens if an approved material becomes unavailable?
- Which tests are included, and which require a qualified third party?
- How will sample corrections reach cutting, sewing, decoration and packing teams?
- Who can authorize a material or process change?
Common Sample-Approval Mistakes
- Approving from photographs only: photos cannot prove hand feel, fit, internal construction or wash behavior.
- Reviewing without the current specification: approval has no stable baseline.
- Assuming one sample proves every size and color: grading, materials and decoration may differ.
- Using vague comments: identify the measurement, seam, shade or logo change required.
- Skipping labels and packaging: both affect identification, readiness and shipment condition.
- Confusing an internal wash check with a laboratory claim: document which type of evaluation was performed.
- Failing to freeze revisions: production may use an older artwork or measurement file.
How JIUMU Supports Sample-to-Bulk Control
JIUMU supports B2B custom teamwear, logo apparel, hats, uniforms, bags and branded merchandise. Customization can include embroidery, sublimation, screen printing, heat transfer, patches, fabric sourcing, Pantone color matching, private labels, hangtags and packaging. Buyers should treat materials, logo method, sizes, labels, packaging and sample controls as one specification package. MOQ, timing, material availability and testing remain order-specific.
Frequently Asked Questions
Final Recommendation
Do not approve a custom apparel sample with a one-line message. Approve a defined product version. Check the physical garment against the current tech pack, BOM, measurement table, color master, artwork, label files and packaging specification. Record actual findings, close critical issues, retain a Golden Sample and require written authorization for every substitution.
This process does not eliminate manufacturing risk, but it makes expectations visible and deviations easier to detect before they spread through bulk production.
Request a documented sample review: Send JIUMU your product concept or tech pack, quantity by size and color, fabric requirements, logo files, label and packaging needs, target market and delivery date through the Contact Us page. Ask which materials are production-intent, what remains provisional and which approval evidence will control bulk production.