Flat Embroidery vs 3D Puff Embroidery for Custom Hats
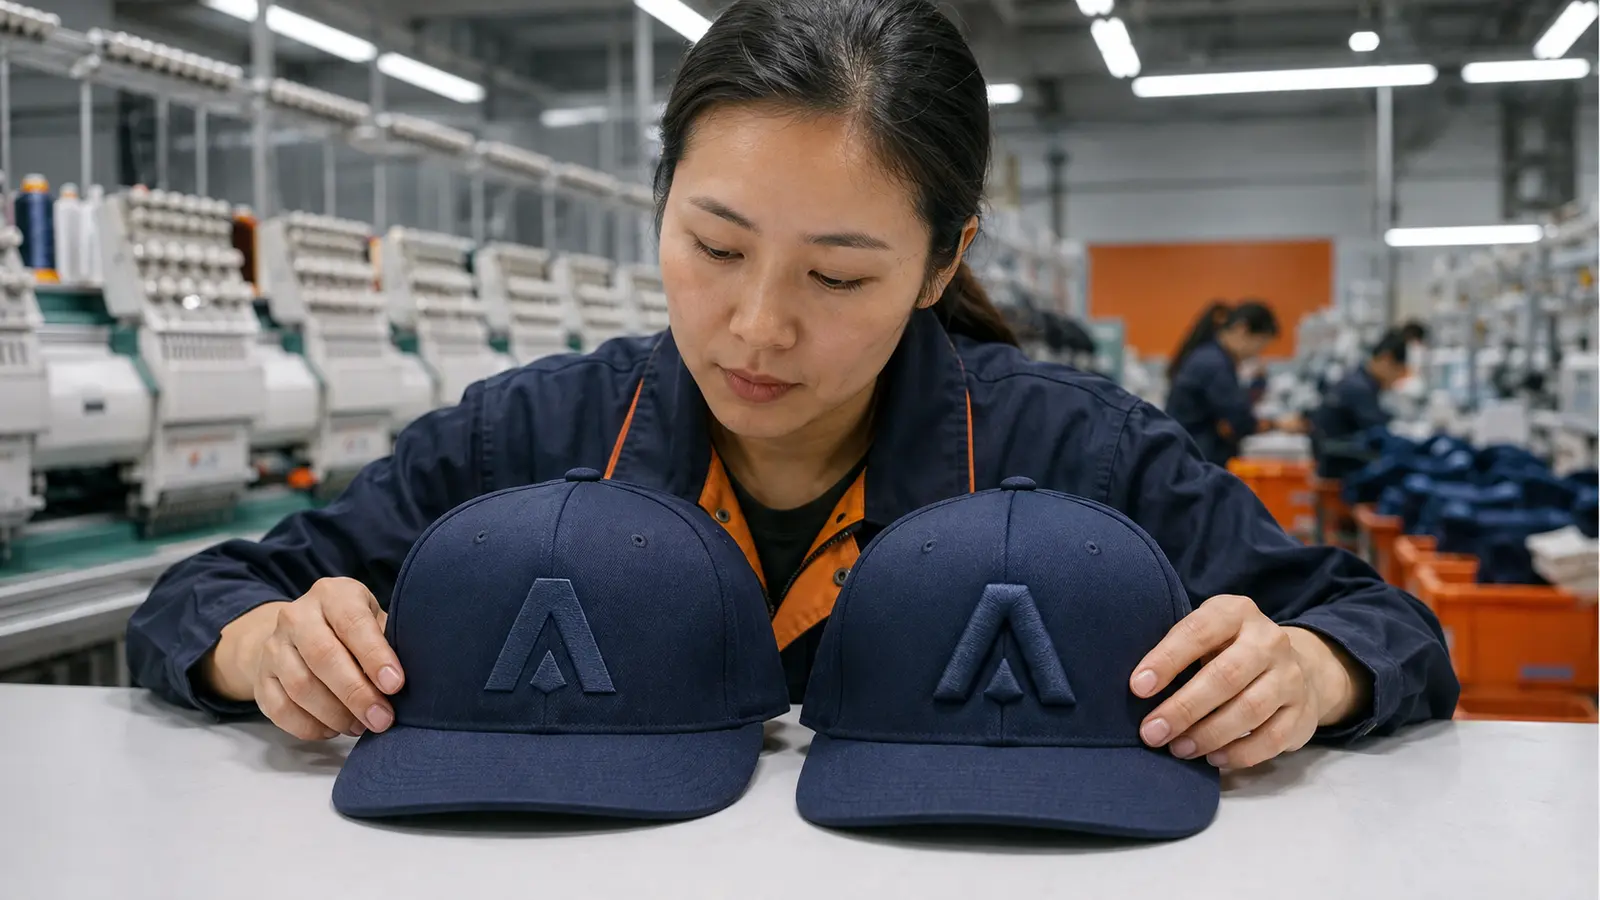
Direct answer: Choose flat embroidery for small text, fine outlines, layered details and logos that need accurate color separation. Choose 3D puff embroidery for bold lettering and simple shapes that are wide enough to cover foam cleanly. Use hybrid embroidery when one logo needs a raised main element plus flat supporting detail. The final decision must also consider the hat’s crown structure, seams, curvature, available embroidery field, digitizing, thread, foam and an actual sew-out on the intended hat.
3D puff is not automatically a better or more premium replacement for flat embroidery. It creates a different visual effect and requires a logo that can physically support raised satin coverage. A detailed crest may look cleaner in flat embroidery, while a simple team initial may gain impact from puff. The best method is the one that preserves the identity of the artwork on the selected hat without creating foam exposure, puckering or lost detail.
This guide helps sports teams, schools, apparel brands, distributors and private-label buyers decide among flat, 3D puff and hybrid embroidery for custom hats.
Flat vs 3D Puff vs Hybrid Embroidery: Quick Decision Table
| Decision factor | Flat embroidery | 3D puff embroidery | Hybrid flat + puff |
|---|---|---|---|
| Visual effect | Smooth, stitched surface | Raised dimensional surface | Raised focal element with flat detail |
| Best logo style | Fine detail, small text, outlines, multi-part artwork | Bold letters, broad satin columns, simple geometry | Bold main mark plus smaller supporting elements |
| Hat support | Works across more structured and soft constructions with correct stabilization | Usually most predictable on supportive crown panels | Requires a crown that can carry combined stitch density |
| Detail risk | Very small features may fill in or become unreadable | Thin areas may expose foam or fail to close | Registration and sequencing become more complex |
| Digitizing | Cap-specific stitch path and density | Dedicated puff file, underlay, penetrations and edge closure | Separate flat and puff objects with planned sequence |
| Sampling need | Sew-out recommended | Physical hat sample essential | Physical sample essential |
| Typical use | Crests, scripts, small secondary marks, detailed logos | Team initials, block words, simple mascots | Puff initials with flat outline, tagline or small details |
What Is Flat Embroidery on a Hat?
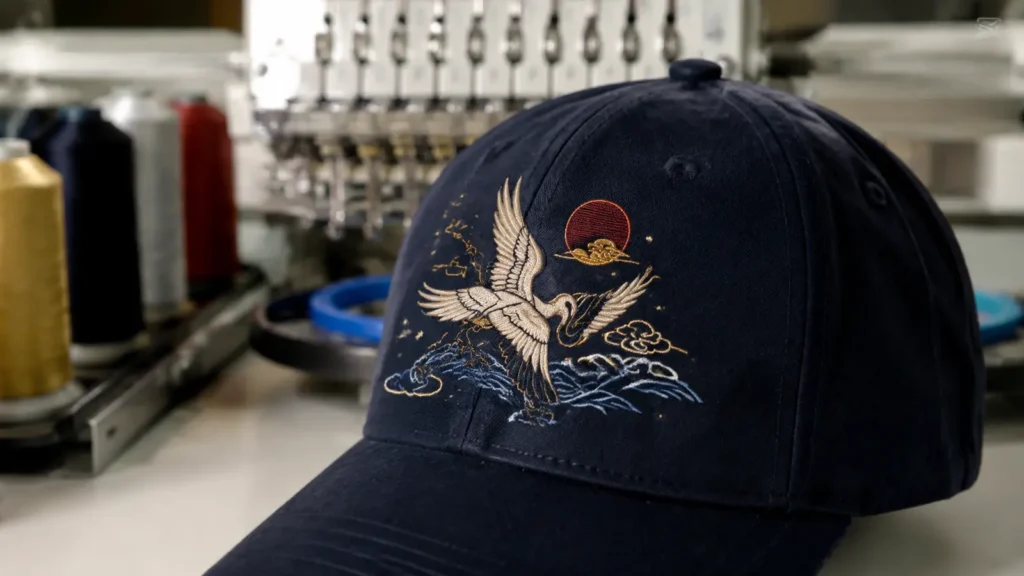
Flat embroidery forms a design with stitches lying close to the hat surface. Depending on the artwork, a digitizer may use satin stitches, fill stitches, running stitches and suitable underlay. “Flat” describes the absence of raised foam; the stitched design still has texture and slight height.
Flat embroidery is usually the more flexible option for:
- small words and secondary text;
- thin outlines and scripts;
- detailed crests and multi-part mascots;
- several thread colors in a compact area;
- shading effects created through stitch direction or color;
- side and back placements with smaller usable fields;
- softer caps where excessive density may distort the crown.
It is not unlimited. Very small counters inside letters can close, thin gaps can disappear and dense fill can pucker soft fabric. The artwork still needs to be simplified for the physical scale and digitized for a curved cap rather than copied directly from a chest embroidery file.
Why flat embroidery preserves more detail
Flat stitching does not need to wrap over and hide foam. The digitizer can use narrower elements and more varied stitch types. This makes it easier to reproduce internal lines, small shapes and multiple levels of visual hierarchy.
Flat embroidery is often the right choice when brand recognition depends on detail rather than depth. A complex school crest, small sponsor line or script signature may lose its character if forced into thick puff columns.
What Is 3D Puff Embroidery?
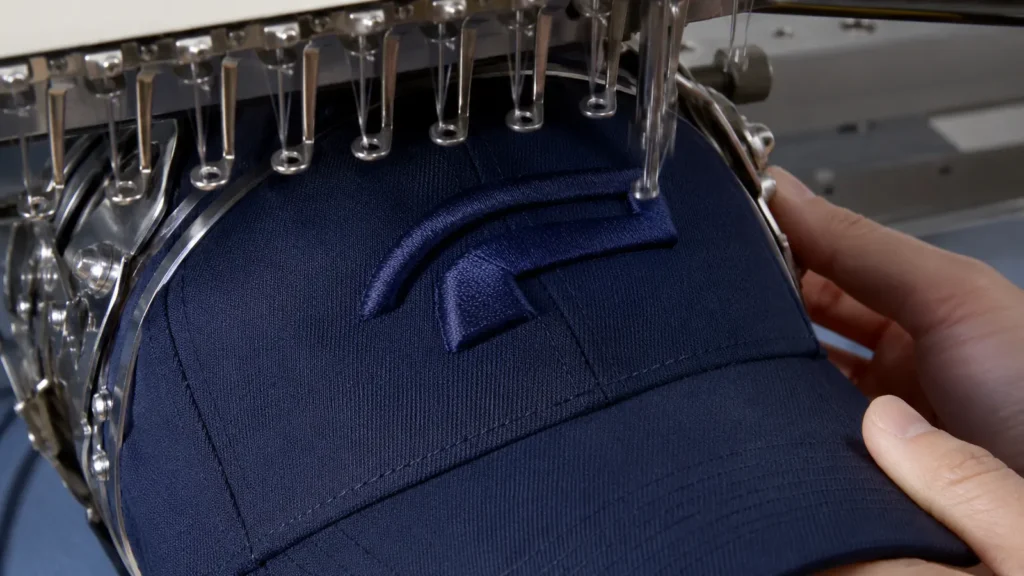
3D puff embroidery places embroidery foam over the hat panel before selected logo elements are stitched. A specially digitized sequence penetrates and cuts the foam while dense stitches wrap over it. After stitching, excess foam is removed, leaving covered foam under the thread and creating a raised shape.
The file must be designed for puff. It normally needs broad satin-style coverage, suitable underlay, additional edge penetrations and closures at the ends of columns. A standard flat file may leave visible foam, incomplete corners or weak edges if used without modification.
3D puff works best when the selected artwork has:
- bold block lettering;
- thick initials;
- simple geometric forms;
- broad logo segments;
- limited internal detail;
- clear separation between raised elements;
- enough space inside the actual embroidery field.
It works poorly when the artwork relies on very fine text, narrow script strokes, tiny gaps, delicate outlines or complex color transitions. There is no single universal minimum stroke width: suitability depends on the foam, thread, needle, hat, machine settings, stitch file and sample result.
Why foam changes artwork requirements
The thread must cover the foam from one side to the other. If a column is too narrow or a corner too sharp, the foam may remain visible. Closely spaced elements may merge after the design gains physical height. Small counters inside letters can close. An artwork file that looks spacious on a monitor may feel crowded on the curved hat front.
When Hybrid Flat and 3D Puff Embroidery Is Better
Hybrid embroidery combines raised puff elements with flat-stitched elements in one logo. It is useful when the logo has a strong primary element but also contains details that should not be raised.
Examples include:
- a puff team initial with a flat outer keyline;
- a raised brand word with a small flat tagline;
- a puff mascot name with flat facial or uniform details;
- a raised geometric icon beside flat text;
- puff foreground elements over a flat background fill.
Hybrid work requires deliberate sequencing. Flat sections may need to stitch before foam is placed. Puff elements then cover selected areas. If stitching crosses an already raised area unnecessarily, the result can compress foam or damage the intended relief.
Hybrid embroidery is not a way to keep every original detail. The artwork still needs simplification, adequate spacing and a clear hierarchy. A buyer should identify exactly which objects are puff and which remain flat on the artwork proof.
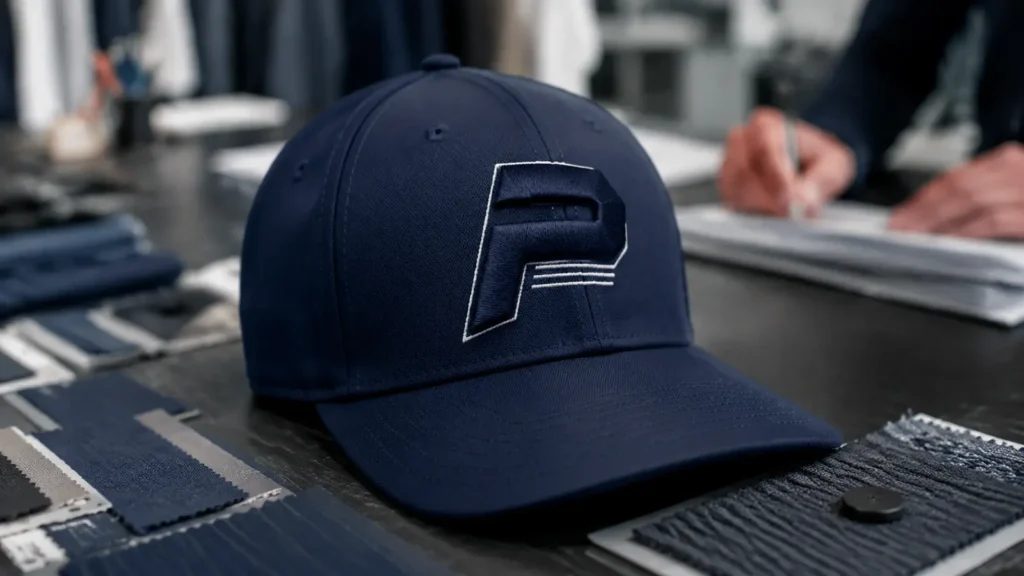
Which Logo Features Suit Each Method?
| Logo feature | Recommended starting method | Reason | Approval focus |
|---|---|---|---|
| Bold block letters | 3D puff or hybrid | Broad columns can cover foam and create depth | Foam coverage, corners and letter spacing |
| Fine script | Flat | Narrow curves and joins need flexibility | Readability and thread buildup |
| Small tagline | Flat | Puff would enlarge or close small details | Minimum readable size on actual hat |
| Simple geometric icon | Puff, flat or hybrid | Method can follow desired visual hierarchy | Corners, edges and overall scale |
| Detailed crest | Flat | Multiple internal details need controlled stitch types | Registration and lost detail |
| Thick mascot silhouette | Puff or hybrid | Simple broad areas may hold dimension | Internal openings and edge closure |
| Gradient or photographic effect | Simplify; usually flat or another decoration method | Thread and puff do not reproduce continuous-tone artwork directly | Color reduction and buyer expectation |
| Thin outline around puff letters | Hybrid | Flat outline can support contrast if correctly sequenced | Registration and border consistency |
Simplify before digitizing
The best time to adjust a logo is before sampling. Create a hat-specific artwork version rather than shrinking the master brand file until it fits. Possible adjustments include enlarging counters, thickening selected strokes, removing tiny text, separating touching shapes and reducing colors.
Keep the original brand artwork unchanged and name the production adaptation clearly. The buyer should approve both the visual proof and physical result.
Why Hat Embroidery Is Different from Flat Apparel Embroidery
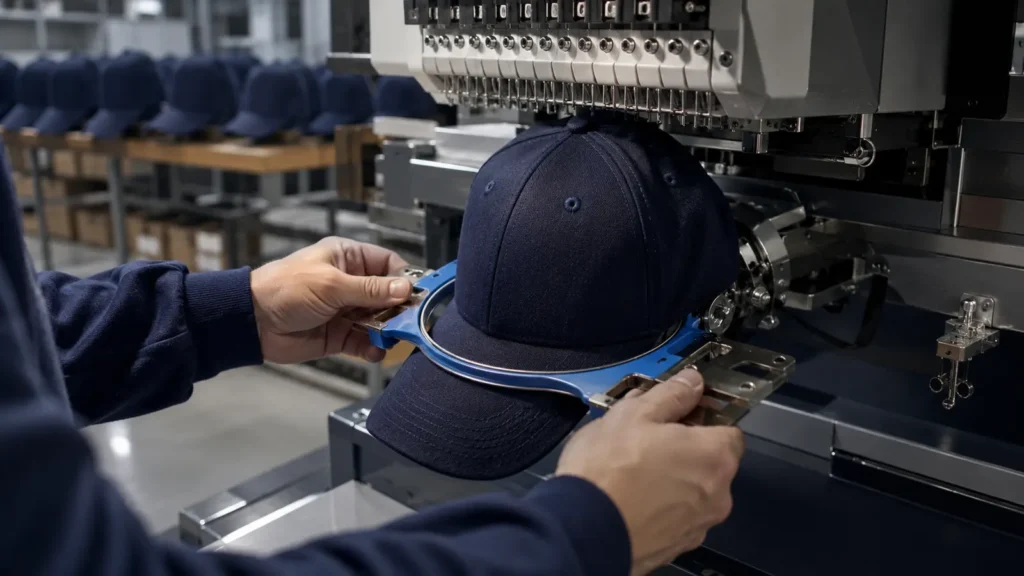
A cap is curved, partially closed and restricted by seams and the visor. It cannot be hooped like a flat shirt panel after assembly. A cap frame supports the crown around a curved fixture and presents a limited section to the embroidery machine.
This geometry affects:
- the usable width and height;
- how close stitching can approach the visor;
- clearance near crown seams and the top button;
- distortion as the frame moves around the curve;
- the direction and sequence used to control registration;
- which side and back locations can be reached;
- how strongly the hat construction supports dense stitches.
The reference page supplied for this project notes that cap embroidery is commonly digitized to sew from the center outward and from the bottom upward to manage cap-frame tension. It also provides a roughly 2.5-by-4-inch front area for its own service. That number is useful as an example, not a universal specification. Actual fields must be confirmed using the selected hat pattern, frame, machine, seam locations and production sample. EmbroideryLI hat embroidery reference
Do not approve only a digital rectangle
A mockup can show the intended visual scale, but it does not demonstrate machine clearance or how the design follows the crown. Define finished width and height, centerline, vertical distance from the visor seam and relationship to the center seam. Then approve the stitched hat.
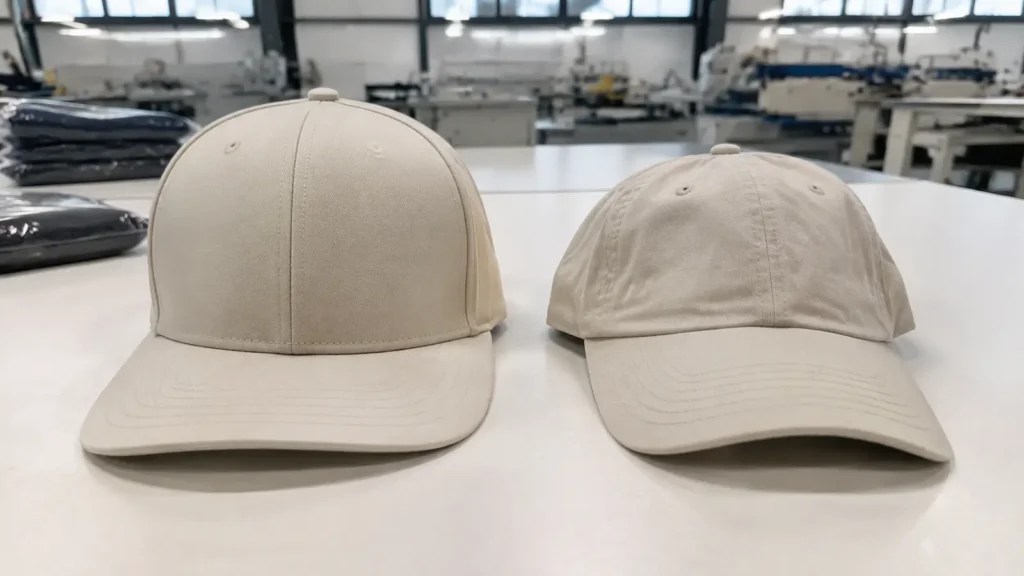
Structured vs Unstructured Hats
Hat structure changes how well the panel resists dense stitching and supports raised foam.
Structured crowns
Structured caps normally use supportive front panels, often with buckram or another stabilizing layer. Snapbacks, fitted caps and some trucker constructions commonly provide a firm surface for bold front embroidery. This makes them a logical starting point for 3D puff, but the exact cap still needs testing.
Unstructured crowns
Dad hats, washed caps and soft five-panel styles conform more closely to the head. Dense embroidery can pull or pucker the fabric if stabilization, digitizing or density is unsuitable. Flat embroidery is often more forgiving, especially for smaller designs, but puff may still be feasible on a particular construction after testing.
Avoid absolute rules. “Structured” covers many panel materials and stiffness levels, while “unstructured” hats vary in fabric, seams and shape. A sample is more reliable than a category label.
Trucker hats require construction-specific review
Some trucker hats have supportive buckram-backed fronts; others use foam front panels. The existing front material may compress, move or respond differently when additional puff foam and dense stitching are added. Confirm the chosen blank or custom pattern rather than assuming all truckers behave the same way.
Hat-Type Decision Matrix
| Hat type | Flat embroidery | 3D puff starting suitability | Main production concern |
|---|---|---|---|
| Structured snapback | Strong option | Often suitable for bold front designs | Front seam, visor clearance and dense columns |
| Structured fitted cap | Strong option | Often suitable | Crown profile, size consistency and frame setup |
| Trucker cap | Strong option with correct stabilization | Construction-dependent | Foam/buckram front behavior and mesh handling |
| Dad hat | Often preferred for detailed or moderate-density designs | Sample-specific | Puckering and crown distortion |
| Five-panel cap | Strong option | Sample-specific | Shorter/different front-panel geometry |
| Side/back placement | Suitable for small marks | Usually limited and highly equipment-dependent | Small field, seams, closure and separate hooping |
The matrix is a starting point. The actual custom hat specification controls the decision.
Front, Side and Back Placement Decisions
The front crown normally offers the strongest visual impact and the largest continuous area, but even front placement is interrupted by the center seam on many six-panel caps. A narrow outline or small counter positioned directly over a bulky seam can sew differently from the same detail on a smooth five-panel front. Puff elements crossing the seam need especially careful sampling because the foam, thread and crown layers must remain covered and balanced on both sides.
Side embroidery is commonly used for a secondary icon, year, flag-inspired mark or short identifier. The available area is smaller and the panel curves away quickly. Flat embroidery is usually the practical starting point for small side artwork, although the factory must confirm the actual frame and hat construction. Do not scale a detailed front logo down mechanically and expect it to remain readable.
Back placement must account for the closure, rear opening, seams and size-adjustment hardware. A fitted cap and an adjustable snapback can have very different usable rear fields. Small flat text or an icon may work, while raised foam can be constrained by access, stability and cleanup.
Each placement is normally a separate machine operation. Multi-placement orders therefore add framing, alignment, run time and inspection. State the dimensions and reference points for every location, approve each sew-out, and make sure the quotation identifies whether front, side and back embroidery are included.
Digitizing Requirements for Flat, Puff and Hybrid Files
Vector artwork helps a digitizer identify clean shapes, but it is not a stitch file. Embroidery digitizing defines stitch type, direction, order, density, underlay, pull compensation, trims and color changes.
Flat embroidery file considerations
- choose satin, fill or running stitches by feature;
- plan underlay for fabric and crown structure;
- control density to avoid puckering;
- compensate for pull and curved placement;
- sequence objects to preserve registration;
- simplify small text and internal openings;
- digitize specifically for cap-frame production.
3D puff file considerations
- select only sufficiently broad artwork objects;
- use coverage that wraps the chosen foam cleanly;
- add edge penetrations and end closures;
- adjust spacing because raised elements occupy visual volume;
- sequence flat work and foam placement deliberately;
- avoid unsupported narrow bridges and tiny cavities;
- account for the crown seam and cap movement.
File version control
Store the approved stitch file with the hat style, placement, finished size, thread specification, foam and sample ID. A file approved for one cap may not run identically on another crown construction. For repeat orders, confirm that the same hat pattern and production settings remain applicable.
Artwork Information Buyers Should Provide
| Required item | What to provide | Why it matters |
|---|---|---|
| Vector artwork | AI, EPS, SVG or production PDF when available | Clean geometry for digitizing |
| Logo version | Exact approved brand file | Prevents an old logo from being used |
| Technique map | Flat, puff or hybrid by object | Removes ambiguity in mixed designs |
| Finished dimensions | Width and height in millimeters | Controls scale and quotations |
| Placement | Reference from center seam, visor seam or panel | Supports repeatable positioning |
| Thread colors | Pantone target or approved thread code | Creates a traceable color decision |
| Hat construction | Style, panel structure, fabric and color | Determines stabilization and feasibility |
| Quantity | Units by color/style | Affects setup, cost and production planning |
| Reference sample | Existing cap or approved photo if relevant | Clarifies expected relief and appearance |
Cost and Lead-Time Drivers
Pricing should be quoted for the actual project. Flat and puff costs can be influenced by:
- stitch count and run time;
- number of placements and separate hoopings;
- thread color changes;
- dedicated puff digitizing;
- foam and manual cleanup;
- rejected or repeated sew-outs;
- cap construction and framing difficulty;
- order quantity and size/color variation;
- quality-inspection requirements;
- packaging and individual identification.
Puff may cost more because of special digitizing, material, setup and finishing, but no universal surcharge applies across suppliers or orders. Hybrid designs can increase complexity beyond either single method.
Lead time begins after artwork, hat specification and approvals are sufficiently complete. JIUMU’s owner-supplied planning guidance for hat samples is typically 5–7 days, subject to design, materials and confirmation. Complex puff or hybrid development may require additional iterations; confirm the quoted schedule.
Common Defects and What They Mean
| Defect | Likely contributors | What to inspect or correct |
|---|---|---|
| Foam visible at edges | Narrow columns, poor coverage or weak edge cutting | Redigitize, adjust foam/thread/process and resample |
| Puff corners look rounded or incomplete | Shape too sharp, closure/penetration issue | Simplify corner or revise digitizing |
| Small counters close | Artwork too compact or excessive buildup | Enlarge openings or use flat embroidery |
| Crown puckers | Excess density, poor stabilization or soft fabric | Adjust underlay/density/backing and test cap |
| Logo tilts or waves | Framing, seam, curvature or placement problem | Check hooping, centerline and usable field |
| Flat and puff layers misregister | Sequence, pull or movement | Revise order/compensation and inspect sew-out |
| Hat shape deforms | Dense stitching and crown support mismatch | Reduce design stress or choose another construction |
| Loose threads or incomplete cleanup | Finishing/QC issue | Trim, inspect and define workmanship standard |
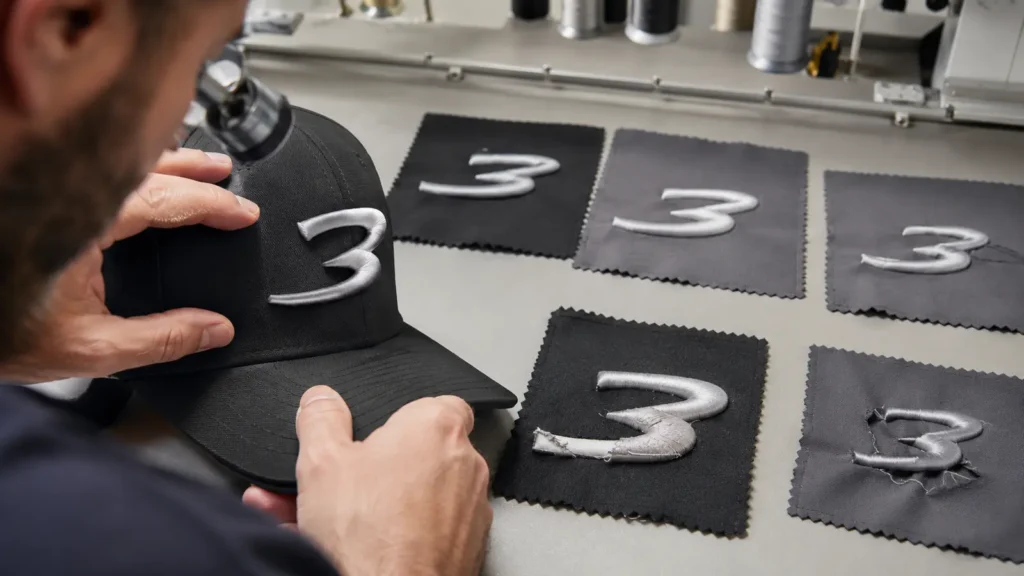
Approve a Sew-Out and Pre-Production Hat
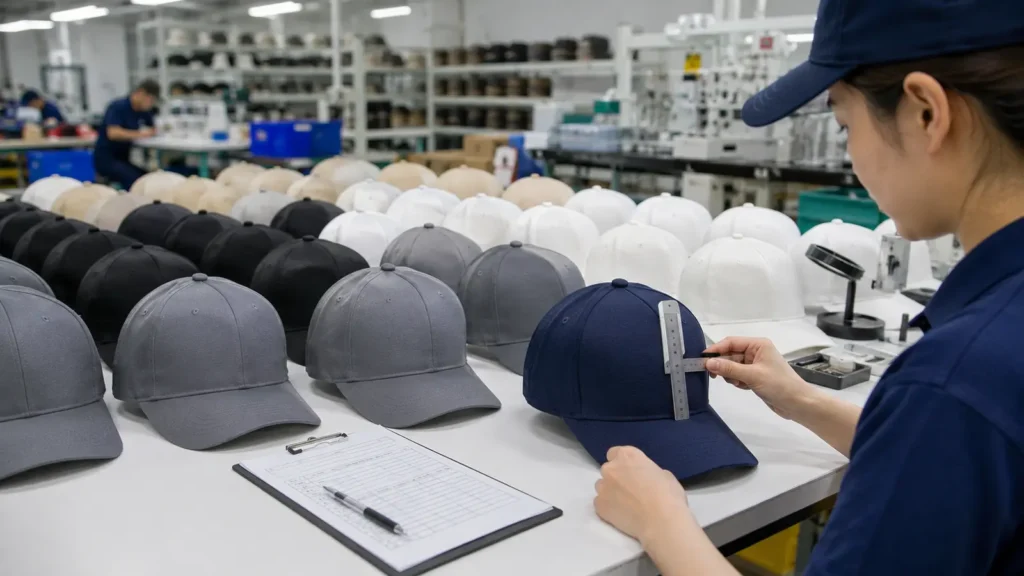
A digital embroidery simulation is not sufficient for final production approval. Review a thread sew-out and, for important orders, a completed hat using the intended construction.
Check:
- overall logo shape and brand recognition;
- finished dimensions;
- vertical and horizontal placement;
- readability of small text;
- foam coverage and height consistency;
- sharpness of corners and ends;
- flat/puff registration;
- thread colors and sheen;
- puckering and crown distortion;
- center seam interaction;
- backing and interior comfort/cleanup;
- appearance from normal viewing distance.
Photograph the approved sample, assign an approval ID and retain it as the Golden Sample. Record whether the approval applies to one hat style or can be used on additional styles only after confirmation.
Bulk Quality Control and Repeat Orders
During production, compare first pieces and inline samples with the approved hat. Monitor placement, size, relief, foam cleanup, thread tension, registration, crown shape and workmanship. Inspect across machines or production batches when relevant.
For repeat orders, retain the approved stitch file, hat pattern/style, thread codes, foam specification, backing, finished dimensions, placement and Golden Sample. If the hat construction or fabric changes, revalidate the design rather than assuming the stored file will behave identically.
Questions to Ask a Custom Hat Manufacturer
- Is this logo better suited to flat, puff or hybrid embroidery, and why?
- Which artwork details must be simplified?
- What is the usable embroidery field on this exact hat pattern and placement?
- Is the crown structured enough for the proposed density and relief?
- Will the file be digitized specifically for cap-frame production?
- Which elements will be puff and which will remain flat?
- Will you provide a sew-out and completed pre-production hat?
- How will finished size and placement be measured?
- Which defects are checked during bulk production?
- Which stitch file and process records are retained for reorders?
How JIUMU Supports Custom Hat Embroidery Projects
JIUMU Gear develops custom hats and teamwear for B2B buyers. For hat embroidery, buyers can submit vector artwork, intended dimensions, placement, hat construction, quantity and visual references. The artwork and cap structure can then be reviewed for flat, puff or hybrid feasibility before sampling.
JIUMU reports an approximately 200-person operation, about 25,000 square meters of production space and average monthly capacity of approximately 30,000 pieces. Starting MOQ guidance for hats is 50 pieces and typical sample guidance is 5–7 days; exact feasibility, price, lead time and embroidery process depend on the chosen hat, artwork, materials and approvals.
Review Custom Hats, Custom Snapback Hats, Custom Fitted Hats, Custom Trucker Hats, Custom Dad Hats, Manufacturing Capabilities and Quality Control.
Final Custom Hat Embroidery Checklist
- Exact hat pattern, fabric, structure and color are confirmed.
- Current vector artwork and logo version are identified.
- Flat, puff and hybrid elements are mapped clearly.
- Finished dimensions and placement references are stated.
- Usable embroidery field is confirmed on the actual hat.
- Artwork is simplified where physical detail cannot be reproduced.
- Digitizing is prepared for cap-frame production.
- Thread, foam and backing are confirmed for the sample.
- Sew-out and pre-production hat are physically approved.
- Golden Sample and production file version are retained.
- Bulk QC checks placement, relief, foam coverage, registration and crown shape.
- Changes to hat construction or artwork trigger revalidation.
To review your logo, contact JIUMU Gear with the vector artwork, desired hat type, quantity, color, logo dimensions, placement and target delivery date.